
 Faux Cake Roll on Platter
This blog today deals with how to make a faux cake roll out of two oatmeal containers, packing paper, acrylic paint, basket filler material and recycled packing sponge material.
 Faux Cake Roll Ready to be Painted
 Cylinder Shaped Packing Paper
I found this interesting shaped piece of packing paper in a tube shape which immediately sparked my imagination.
I thought it looked liked an iced cake roll.
You could also use crushed and folded brown paper glued down the center to make the cake “icing” tube. However, try to make the folds look like icing.
I always like the idea of using recycled materials for my faux food projects.
It’s like making something unique and useful out of trash items.
I saved two 25-ounce oatmeal containers for this project.
The size and shape of an oatmeal container fit exactly into the paper tube without much room to spare. I removed the plastic lids for this project.
I had to be careful not to tear the paper when pushing the oatmeal containers into the paper tube.
 Two Oatmeal Containers Used
 Cutting off the Top of the Oatmeal Container
 Gluing Containers Together
I found that one oatmeal container was too small but two were too large to be a cake roll.
To make things work, I cut down one of the containers. I used white household glue on the edges to connect the two oatmeal boxes together.
Gluing really did not securely hold the containers together, so I also wrapped a piece of duct tape around the glued area.
 Taped Containers Carefully Pushed into Paper Tube
Faux Cake Roll Ready to be Painted
Taped Containers Carefully Pushed into Paper Tube
Faux Cake Roll Ready to be Painted
This is a photograph of the faux cake roll ready for painting.
Do not glue the paper to the sides of the oatmeal containers.
You will want to move and adjust the faux icing layers at the end of the project.
This photograph shows the outside of the faux cake roll being painted with a small brush.
You will need to get paint in all the nooks and folded areas of the faux cake roll.
Dark chocolate and black colored acrylic paints were mixed together to get this chocolate color.
You will need to experiment a little with mixing the colors to get the shade you want.
 Painting Faux Cake Roll
 Ready to Glue on the First Sponge Layer
The ends of the painted paper roll were pulled and glued down to cover both ends of the oatmeal boxes.
This will give your ends a finished look.
Use white household glue for this.
Make the cake rolls ends by cutting up recycling packing sponges into thin strips. Arrange these strips to resemble the layers of a rolled sponge cake.
When you are pleased with the circular arrangement, glue the sponges down. Again, I used white household glue for this.
 Packing Sponge Ends
 Painting the Sponge Layer
The two rolled packing sponge areas were then painted with off white, vanilla and yellow acrylic paints.
I mixed the colors together to get the cake shade I wanted.
Paint the area using a small brush with stiff bristles.
To make the chocolate layers in the faux cake roll, I used natural colored basket “grass” material painted with dark chocolate/black acrylic paints.
After painting, separate the strands of basket filler and allow to dry.
When dry, push the material in between the sponge layers with a small knife or you can use a pointed object like a wooden skewer and glue.
I only used a small amount of basket filler but you can add more or less depending on the look you are trying to achieve.
Use white household glue.
 Basket Packing
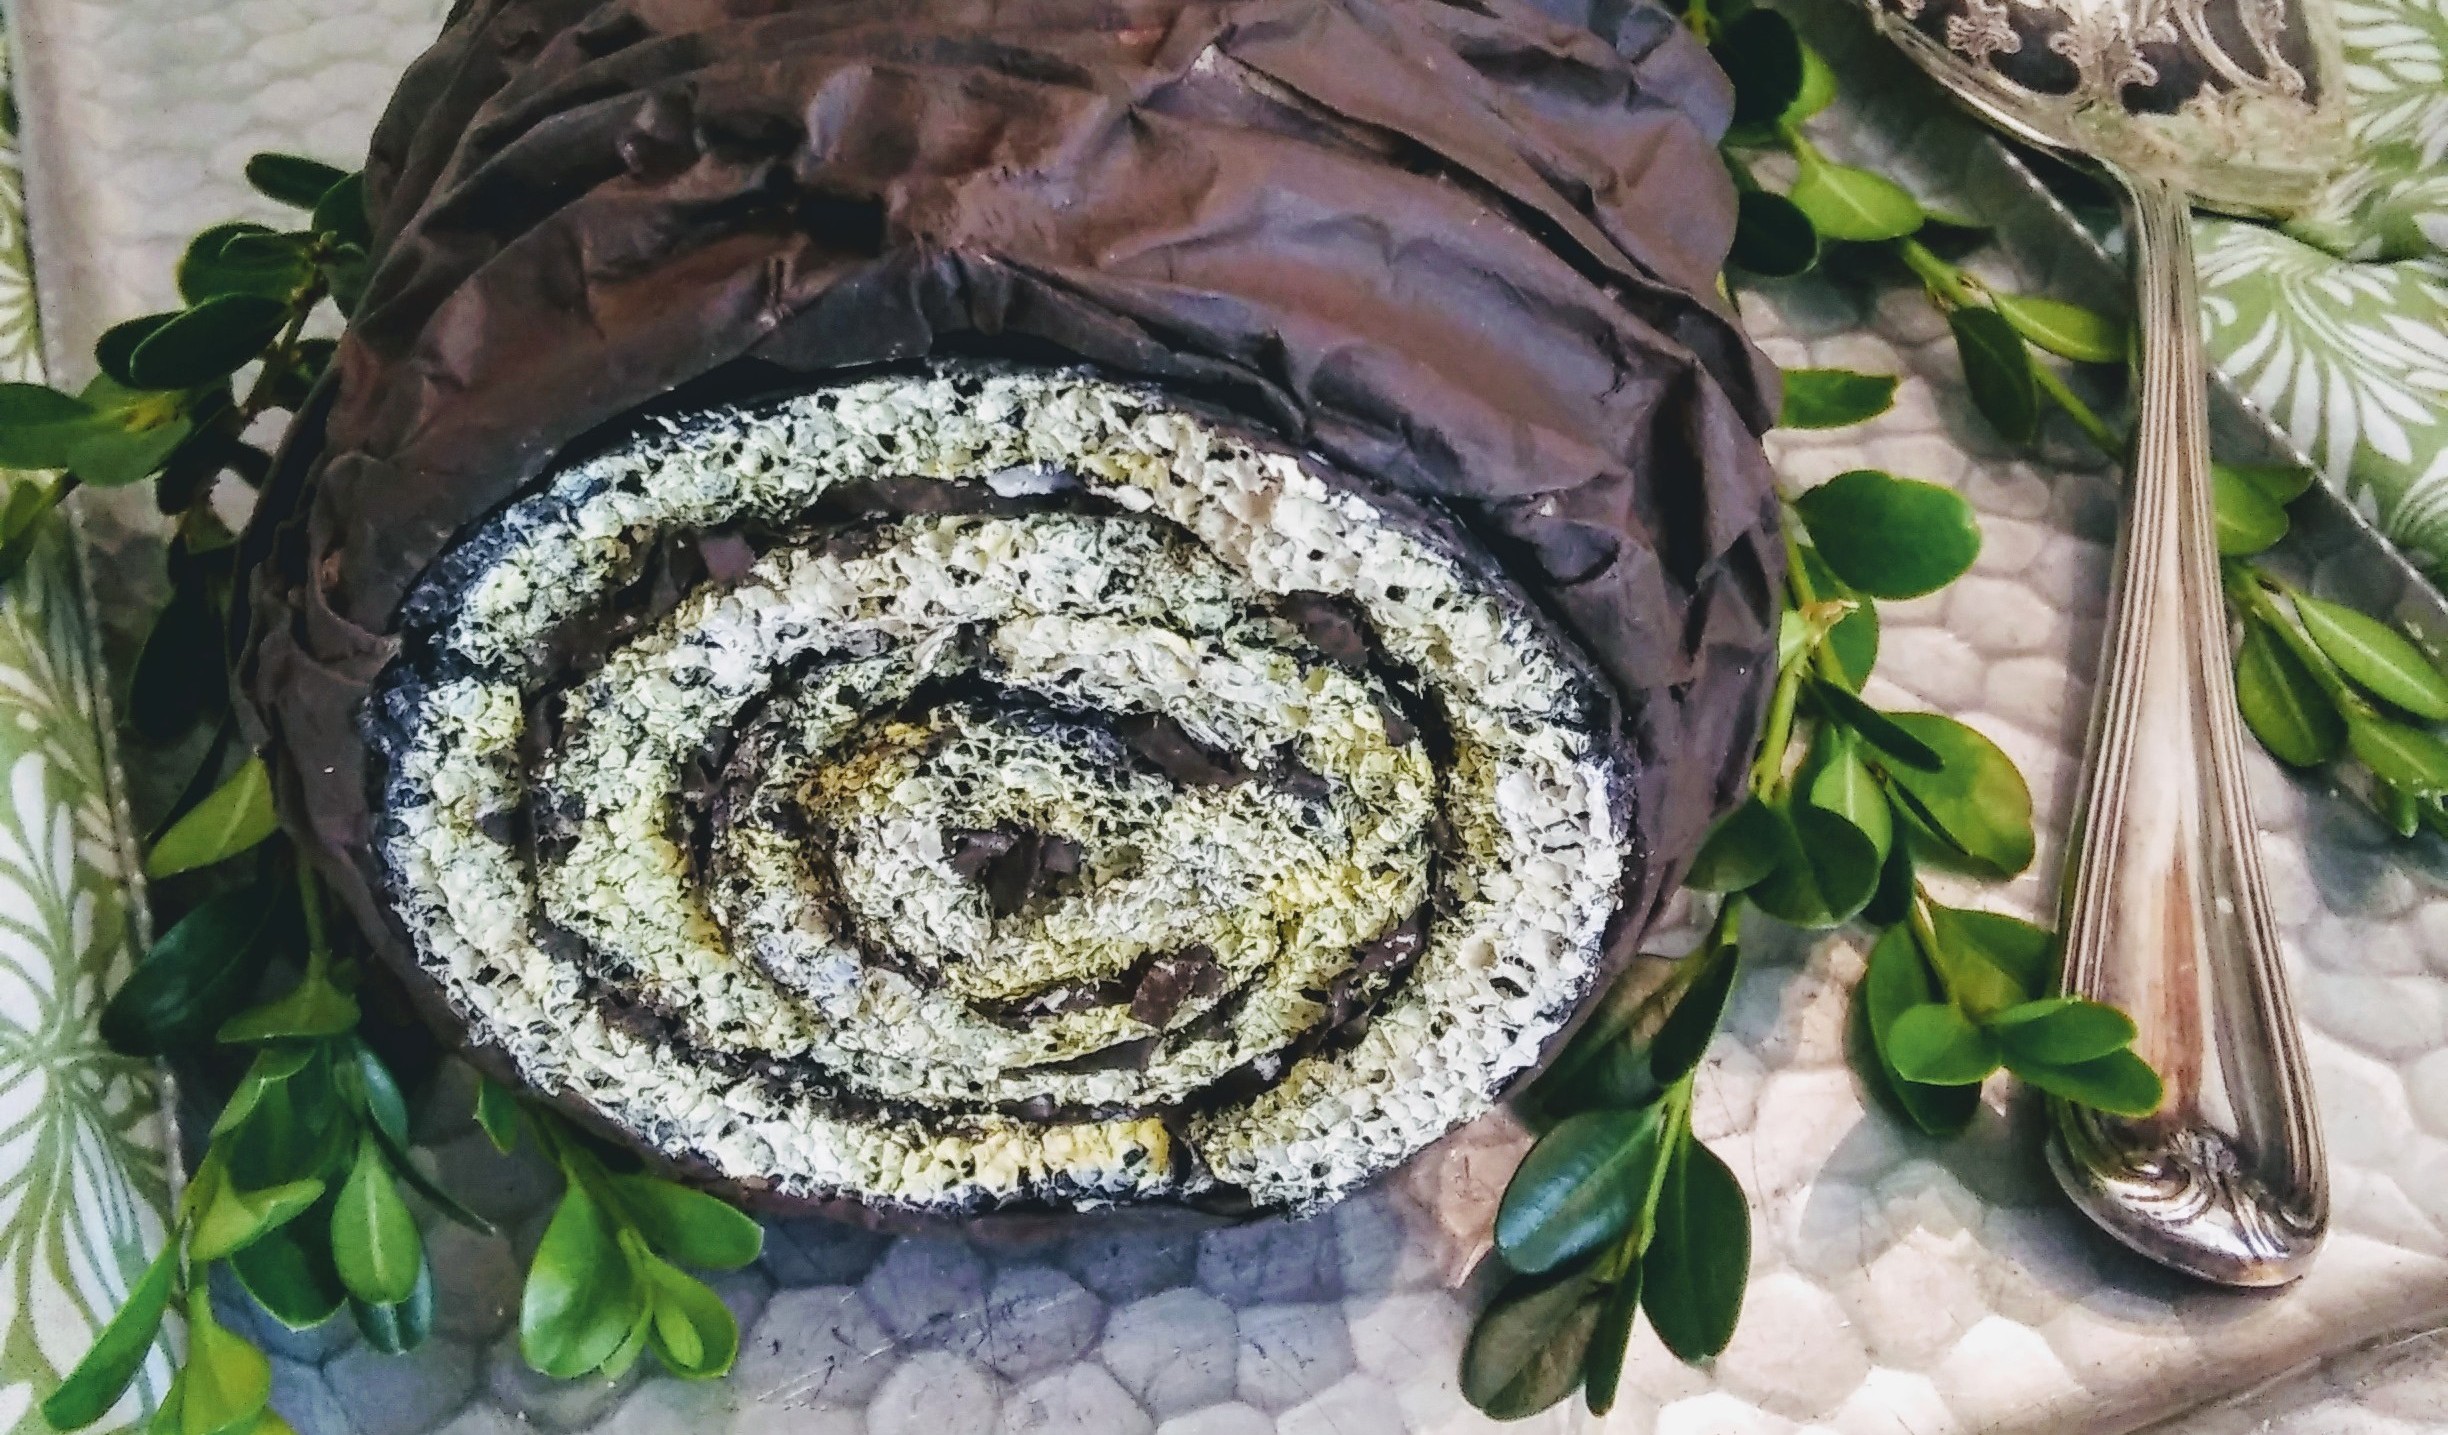
Faux Cake Roll on Platter
Basket Packing
Faux Cake Roll on Platter
I’m thinking I might try to use a clear satin spray on the chocolate roll to give it a little shine like real chocolate frosting.
For now, this is a photograph of the completed project on a vintage serving tray with fresh boxwood sprigs scattered around the sides.
I will be donating this faux cake roll to the farmhouse museum where I volunteer.
It will make a great special occasion faux dessert for the farmhouse displays.
Happy Faux Food Crafting from Farmhouse Magic Blog.com.
 Faux Cake Roll with Cake Server
Tyron and Raymundo,
Thanks for your interest in our blog on garden hosta. I’ve added a lot of new gardening blogs since then. Keep reading and thanks.
FARMHOUSE MAGIC BLOG.COM
Rudy,
Good luck with your new weblog. I’m also a fairly new blogger but to get started you need a web hosting site. I used a theme to get started with my blog so no coding required. I also learned to use WordPress. I often refer to online information sites to get additional information on topics. I take all my own photographs and video. I, also, do all my own writing. Costs can be inexpensive to costly. It all depends on what you want. Good Luck with things.
FARMHOUSE MAGIC BLOG.COM