
Right now I have so many projects sitting around the house, I’m finishing up the faux squirrel and acorn cookies from January. I need space right now for more artistic projects and, of course, I never have enough room.
Farmhouse Magic Blog’s dream is to have an art studio to work on my art projects and store all art supplies. But for now, the faux cookies are stored on top of my jewelry box and that’s a good spot.
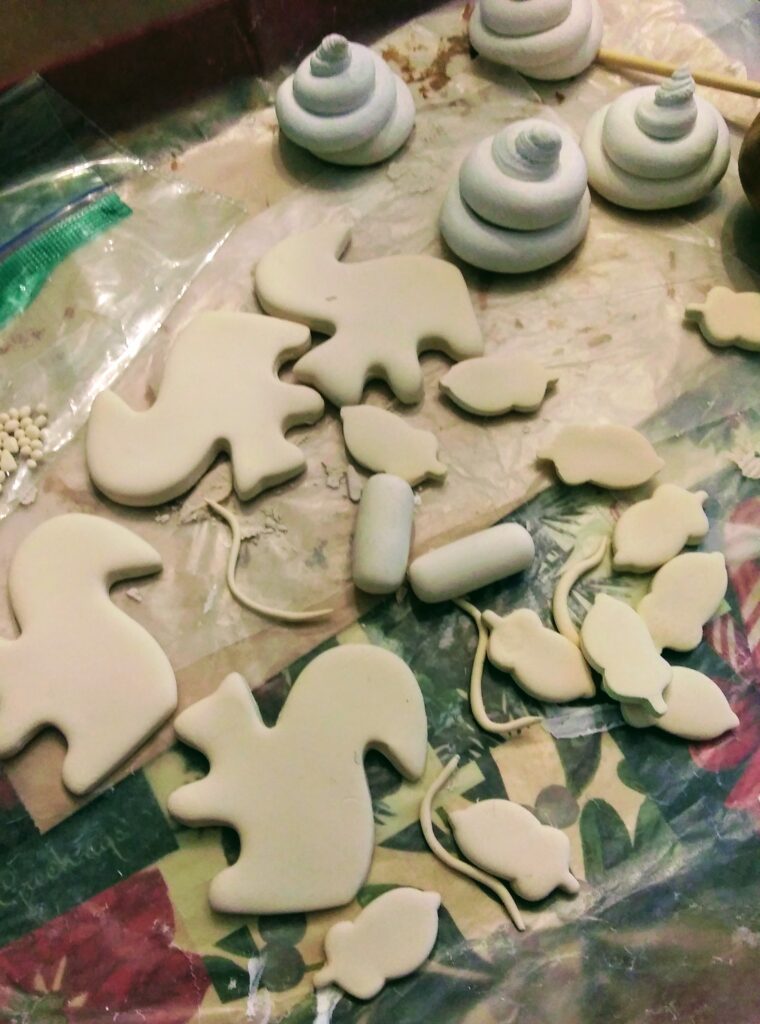
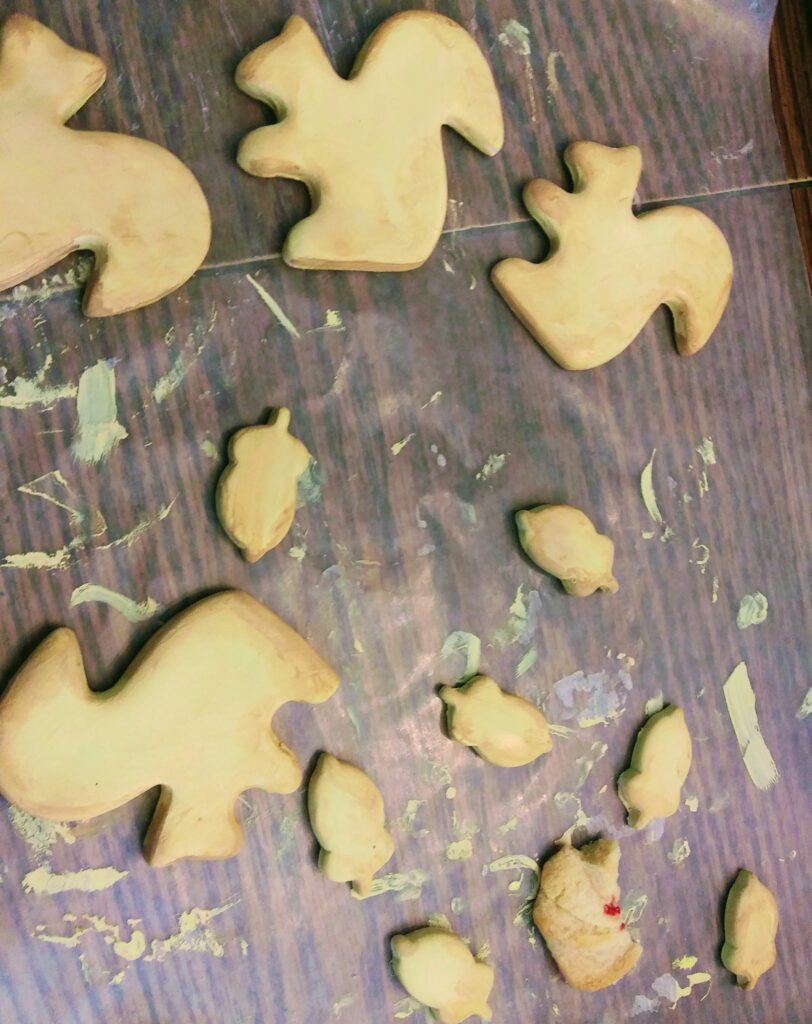
This tray looks like a huge mess, but not to worry, because I know what everything is.
Painting & Finishing Faux Squirrel and Acorn Cookies
In January, 2021, the faux squirrel cookies were cut out of white Crayola Clay Magic much like regular cookies with a squirrel cookie cutter but only slightly thicker. They had all this time to dry out so they are now they are ready for painting.
Directions for Finishing Faux Squirrel and Acorn Cookies
The first step is to get a sample of the food you are painting to help match the colors. In this case, I saved a vanilla cookie edge for a color comparison.
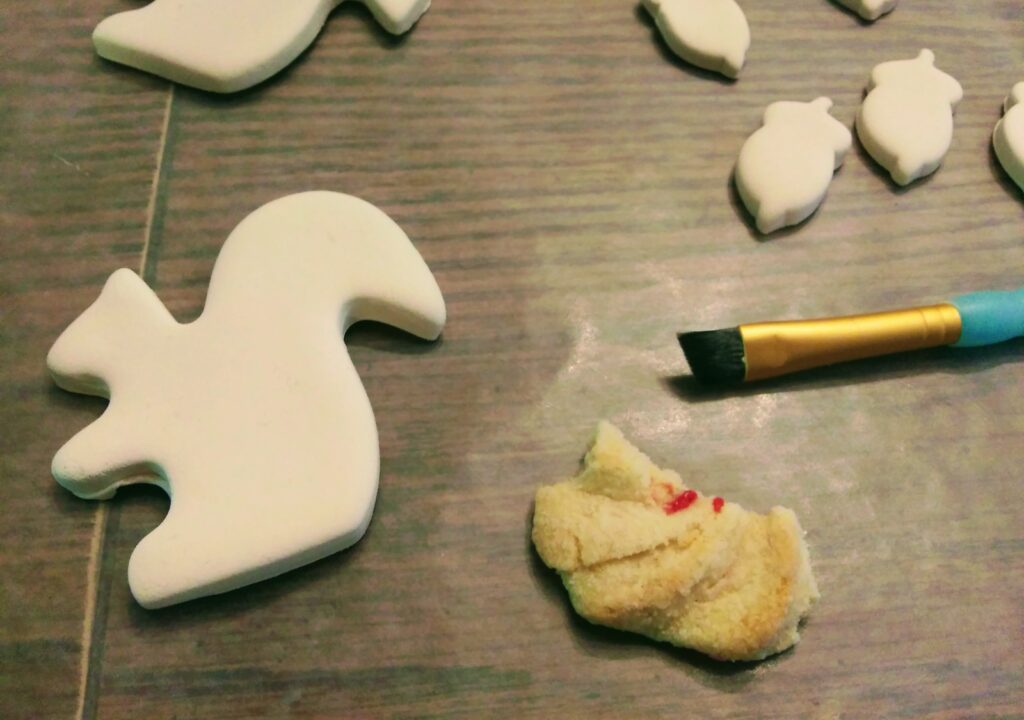
The Crayola Clay Magic squirrel is next to a real cookie crumb.
When shopping for paint, go to the craft store and look for the closest match. This is your base color. Be sure to take your cookie crumb with you to match things up.
But, most likely, the paint will still need to be mixed with other colors to get a close match.
I use non-toxic acrylic paint because I paint with fingers a lot to avoid visible brush strokes.
The base paint for this project was vanilla to which I added bright yellow, lemon chiffon, golden brown and dark chocolate acrylic paints. I always use a piece of wax paper for mixing my paints, since I toss it out for easy clean up.
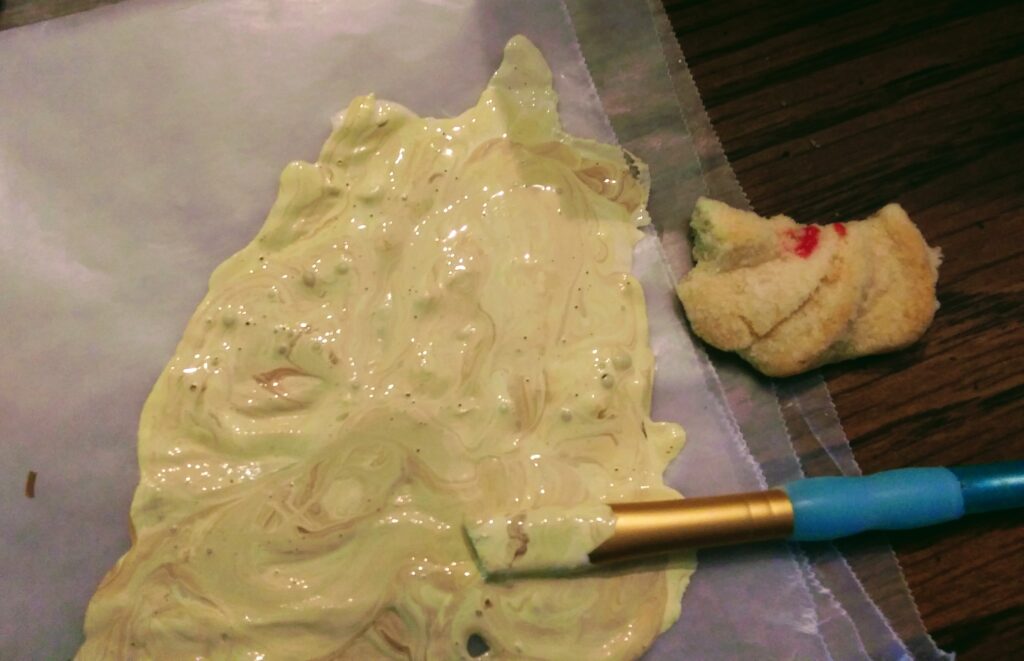
Be sure to mix each color addition thoroughly.
This is the first layer of paint on the faux squirrel and acorn cookies. I always dry my items on wax paper to keep things clean and to keep them from sticking to the tray. Allow the first layer of paint on the faux cookies to thoroughly dry.

Painting the “Brown” Edges
The next step takes a little patience and experience because to make the faux cookies look realistic, they need to be slightly brown on the edges.
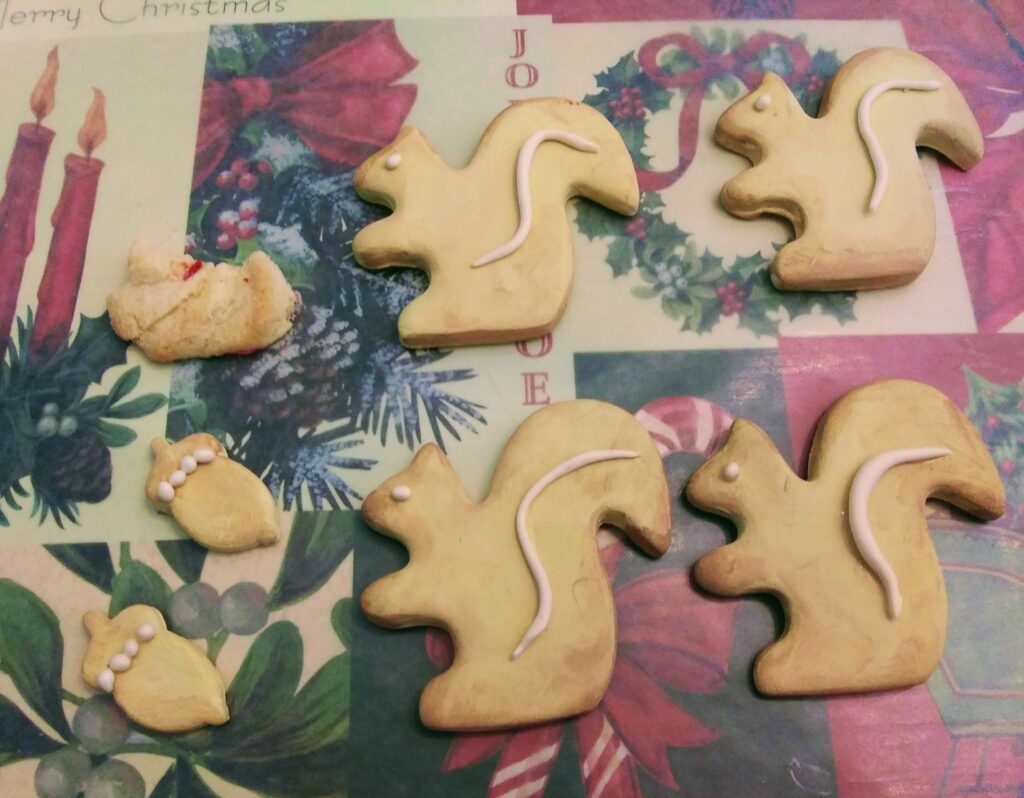
If you look closely the the below photograph, you will notice the real cookie sample among the acorns. It’s hard to pick the real cookie crumb out since the color match is so perfect.
To “brown” the faux cookies edges, I take the acrylic paint I’ve been using and add a touch of brown paint to my wax paper mixing sheet. Then using a brush I add a little brown paint bit by bit until the match is perfected.
I generally use a dab of paint first on my finger run it around the cookies’ edges. I also keep a small container of water near by to thin the paint if gets too thick. What you end up with is a very thin layer of brownish paint on the cookies edges. It looks like they came out of the oven.
Finishing “Royal Icing” Touches
Of course, we are not using real royal icing on our cookies, only small rolled bits and pieces of previously dried Crayola Clay Magic.
Using a wooden skewer and white household glue, carefully wet the back of each piece of white Crayola Clay Magic “royal icing” and attach it to the squirrel or acorn so it looks like real royal icing.
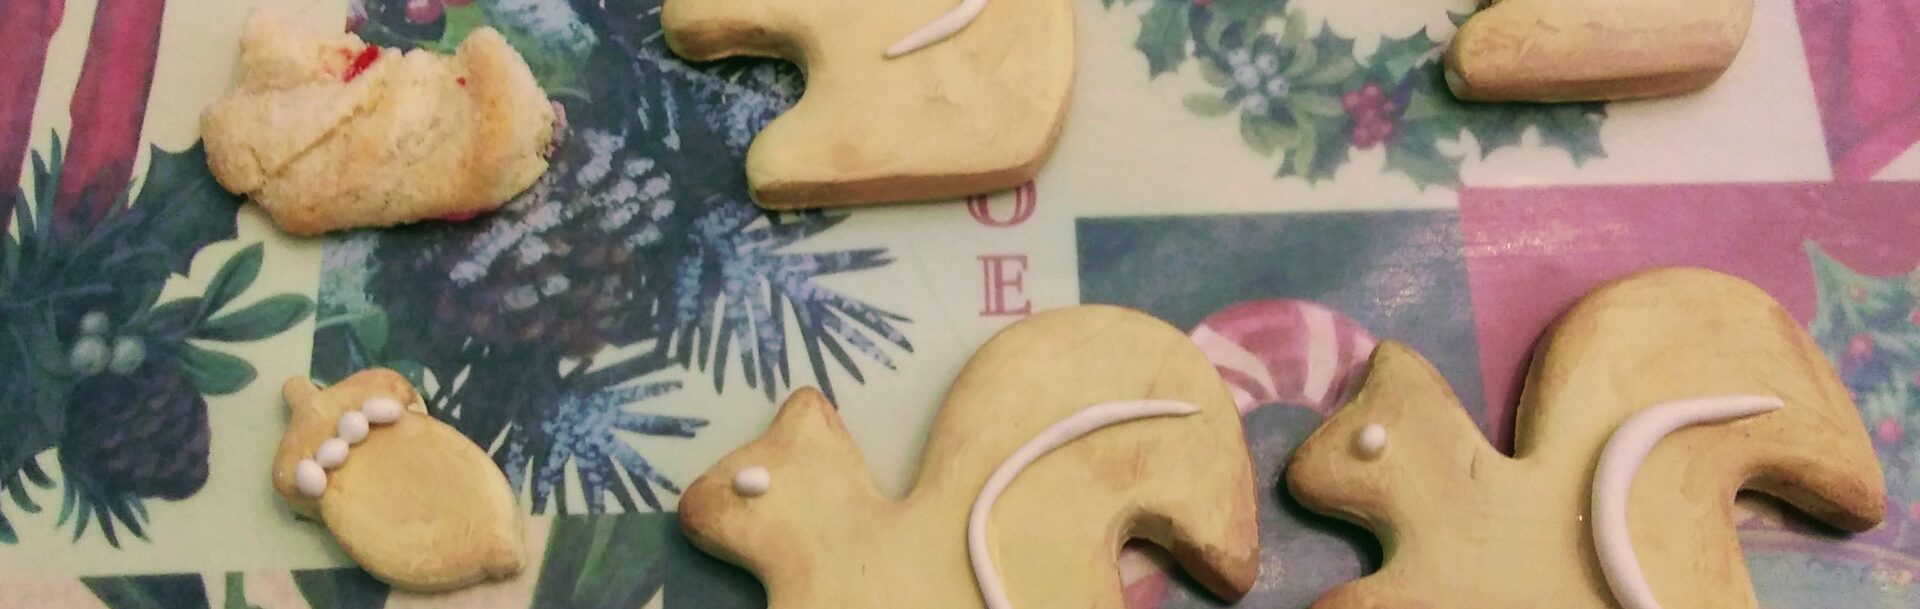
Each “sugar cookie” squirrel has one white dot for an eye and a curve for the tail. The faux acorns have either three or four white dots on the caps.
Finishing the Faux Squirrel Acorn Cookie Project
Now to allow all the paint and glue to thoroughly dry. Also check during the drying time to make sure everything is staying in place.
Now those faux sugar cookies in squirrel and acorns shapes are ready for donation to a historic site which can only use faux foods in their displays.