
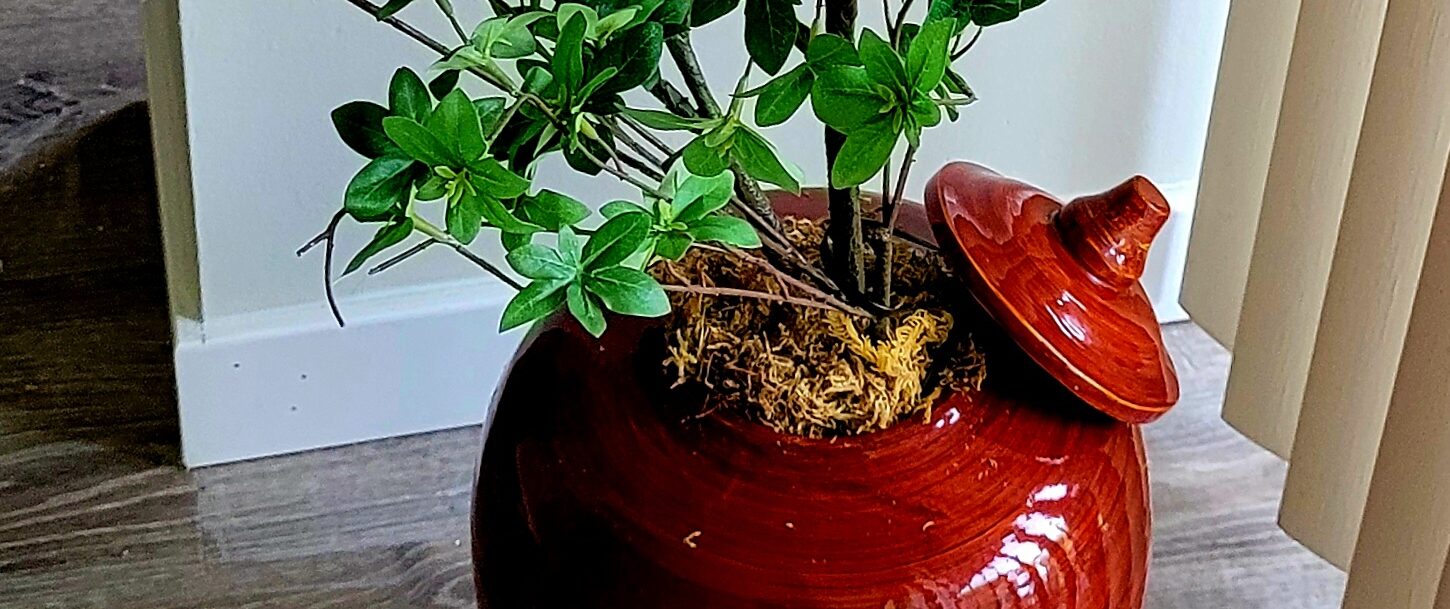
So, today’s topic is on Ginger Jar Greenery which is a “how-to” decorating blog. Wonderful, in case you haven’t guessed, we are talking about the condo decorating project.
Today our decorators are thinking about the three “P’s”of decorating–that is, pillows, pictures, and plants. We have pillows and pictures, however, but we do not have much in the way of plants. Except for a faux plant in the bathroom which came with the condo.
Over the weekend, the decorating team was looking for a “matching” end table for the living room. However, we found and purchased a great looking lacquered ginger jar of spun bamboo in a secondhand store. It is in great shape no marks or scratches and came with a lid. Actually, we had two choices in the store the warm red ginger jar or a very heavy ceramic vase. Thinking the ginger jar has a wider base to support our greenery, we opted for that one.
How to: Project Ginger Jar Greenery
Earlier we had purchased online a faux small shrub branch with lots of green leaves on it. The branch was marked down from $100 to about $30. Even that is a huge amount of money to spend on one frugal condo decorating project. However, we felt the realistic-looking branch was worth it.
It was a little difficult to get the faux branch end into the small opening of our cleaned ginger jar. To correct this, we zip tied the ending branches together and cut off the extra zip tie ends.
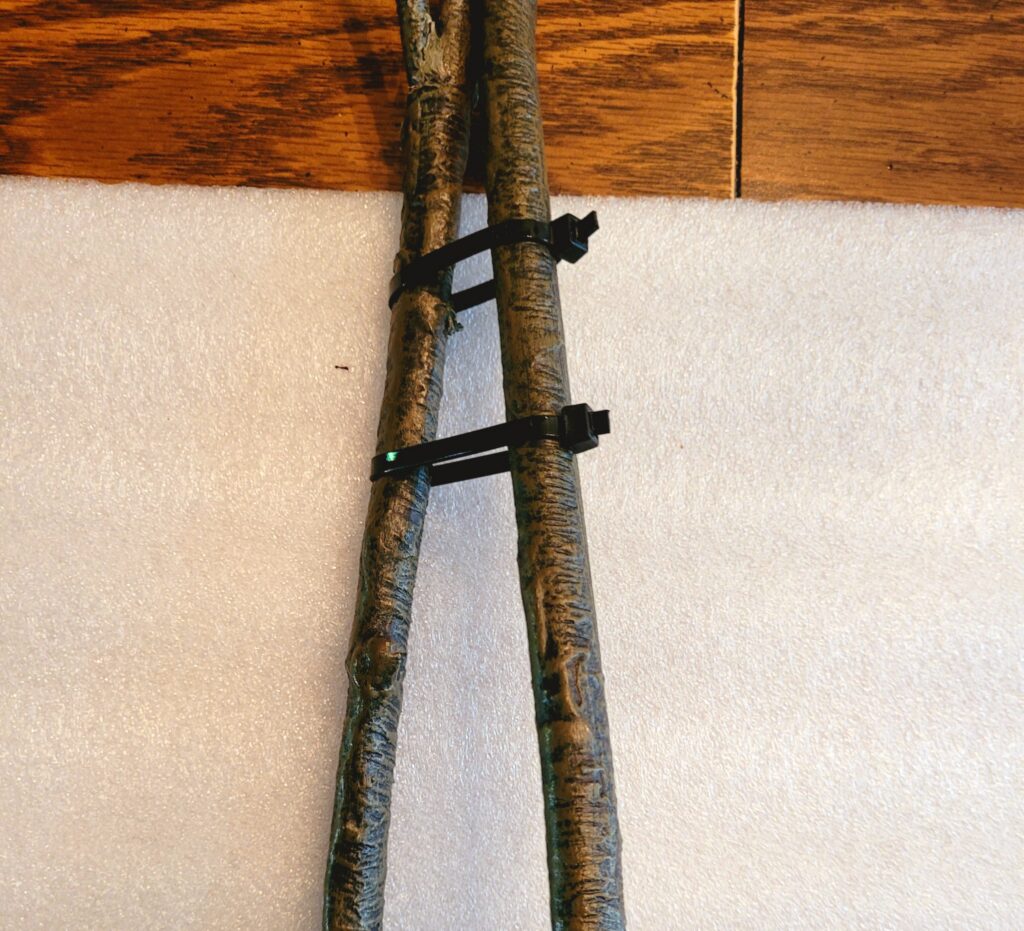
The two zip ties securely keep the ends together.
Getting the Branch to Stand Upright
Creatively, I’m giving the next steps a ten rating for recycling efforts. OK, we reused old packing materials to pack around the branch in the ginger jar to keep the jar protected and the stem standing straight.
Also, by using light weight packing materials, the huge ginger jar remains light enough to easily move it around.
We wrapped the ends of the faux stem with used packing materials to keep it from scratching the inside of the ginger jar.
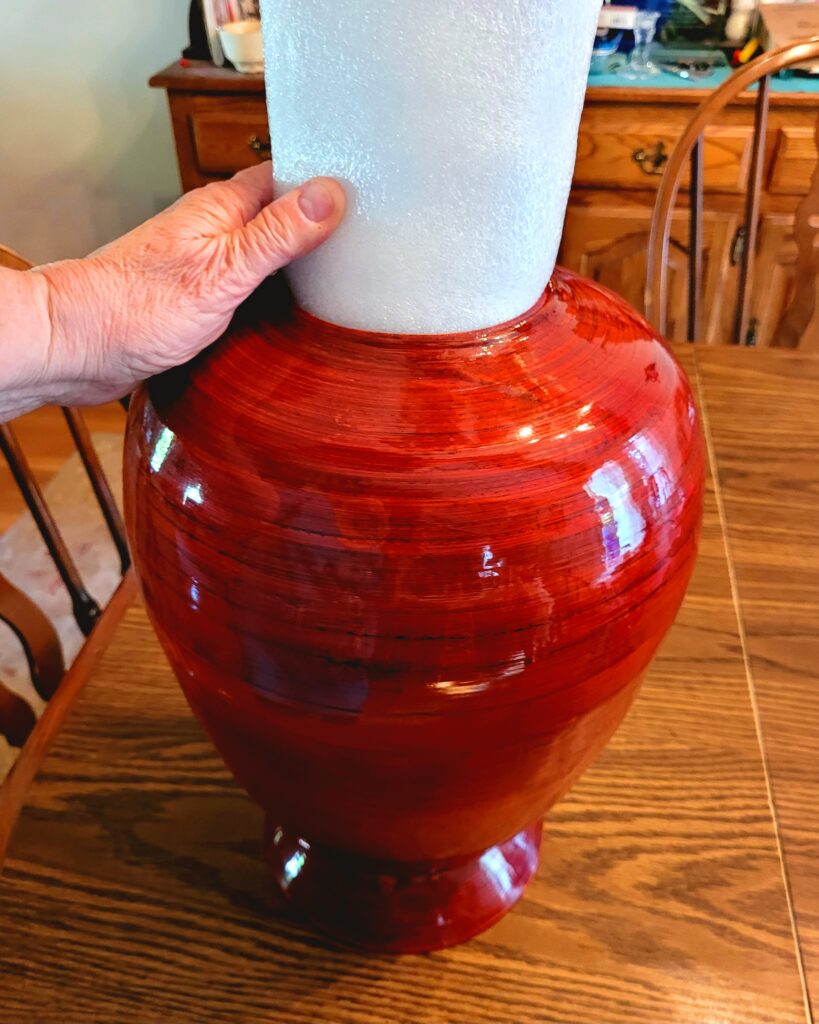
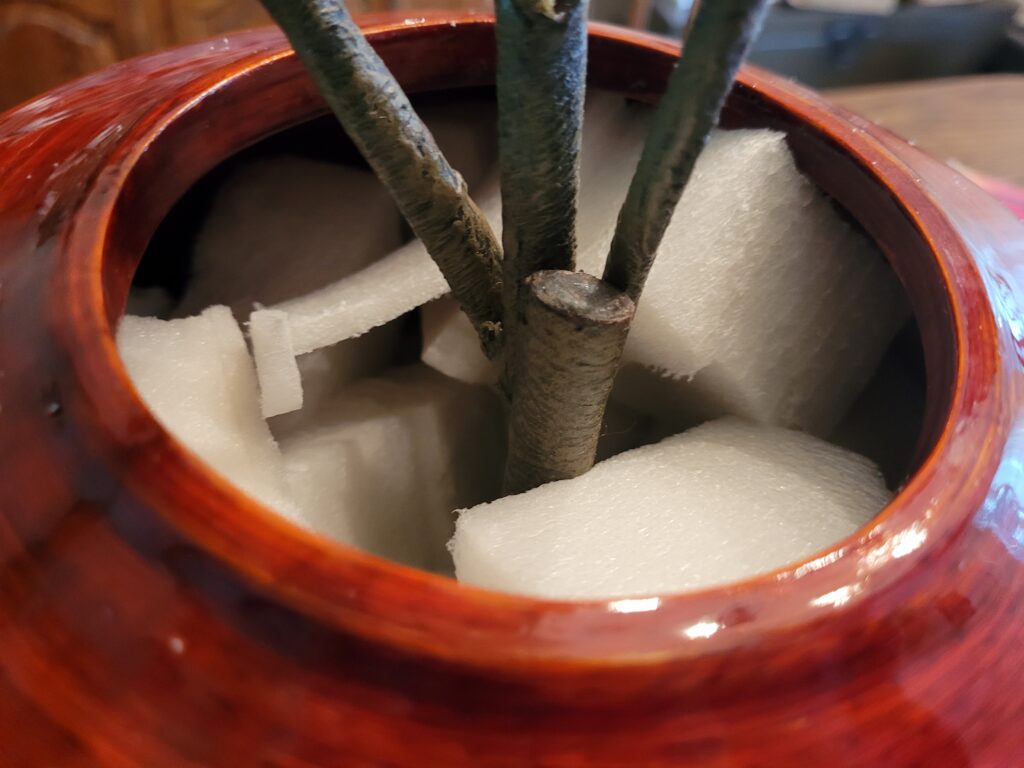
We cut up old packing material and stuffed the pieces into the ginger jar to keep the main stem standing upright.
Finishing the Project?
We then stopped in our favorite garden store and picked up a package of bright green preserved moss to top off our floral design. Unfortunately, we are going to return it and get the natural neutral looking moss as we think it is a better fit.
All in all, the project is almost done. Only the stuffing of the moss at the top of the ginger jar needs to be completed.
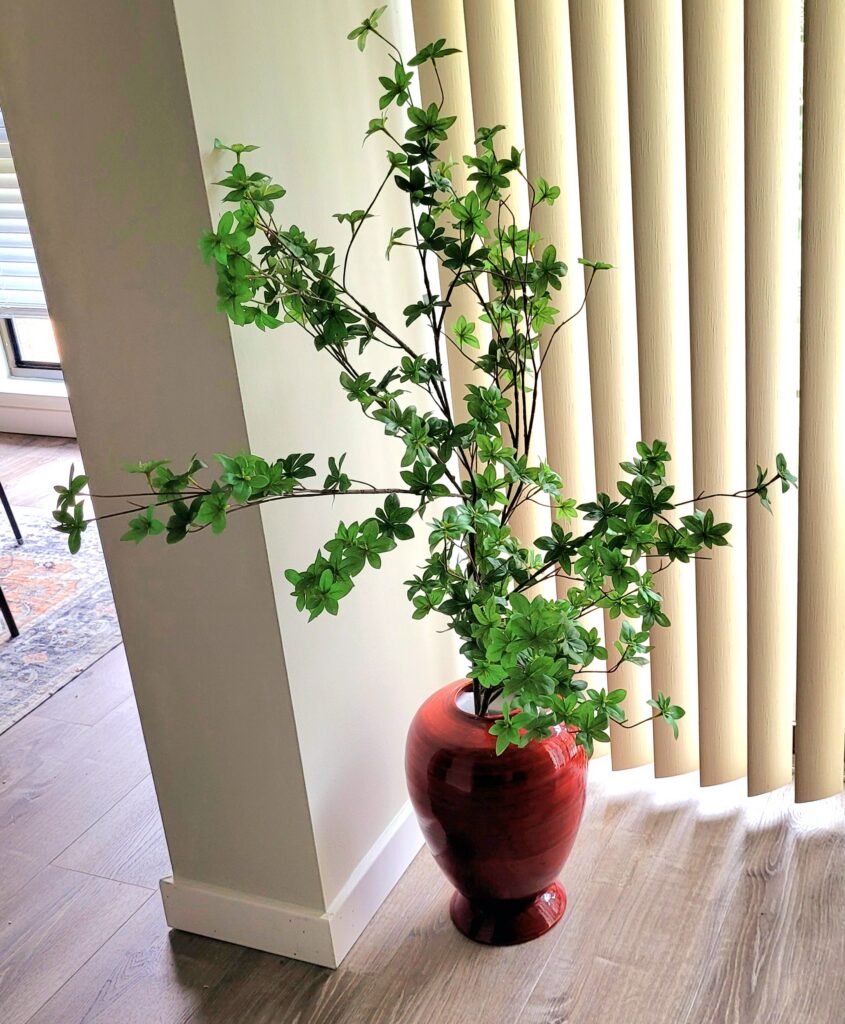
Also, we are trying to figure out how to attach the top of the ginger jar without damaging it. I’m going to have to think about this one. This might not work out, but that’s how things go. The photograph below is of the “almost completed” ginger jar greenery project.
We are continuing to adjust the branches until we get the look we want.
What is Spun Bamboo?
In this blog, I’ve never heard of spun bamboo, so I checked it out online. One form of spun bamboo is a traditional Vietnamese technique to make home decor and light weight tableware.
The artisans split the bamboo in to very fine thin strips and then glue them together. One place said the bamboo is first soaked in water for a while but I’m not sure about that one. The coiled bamboo is then pressed into wooden or ceramic molds to form trays, bowls, plates, etc. Finishing workers sand the pieces by hand and then apply food safe lacquer.
Ending Notes on Ginger Jar Greenery Blog
This decorating project is quick and easy to do. We were also lucky to find a huge ginger jar to start our project.
However, we still need to return the floral green moss we purchased and get something else. We will update this blog as soon as this is done, so Readers please check back.
I think the new spot of greenery in the condo looks about right.
UPDATE- Ginger Jar Greenery Project – 10-10-2026
We finally finished up our ginger jar project.
First, we restuffed the top of the ginger jar with packing material as some of it has settled.
Secondly, dry tan moss was added to the top of the ginger jar to hide any white packing material and to give it a natural look. I think the natural color of the dry moss looks much better than the bright green moss I originally purchased.
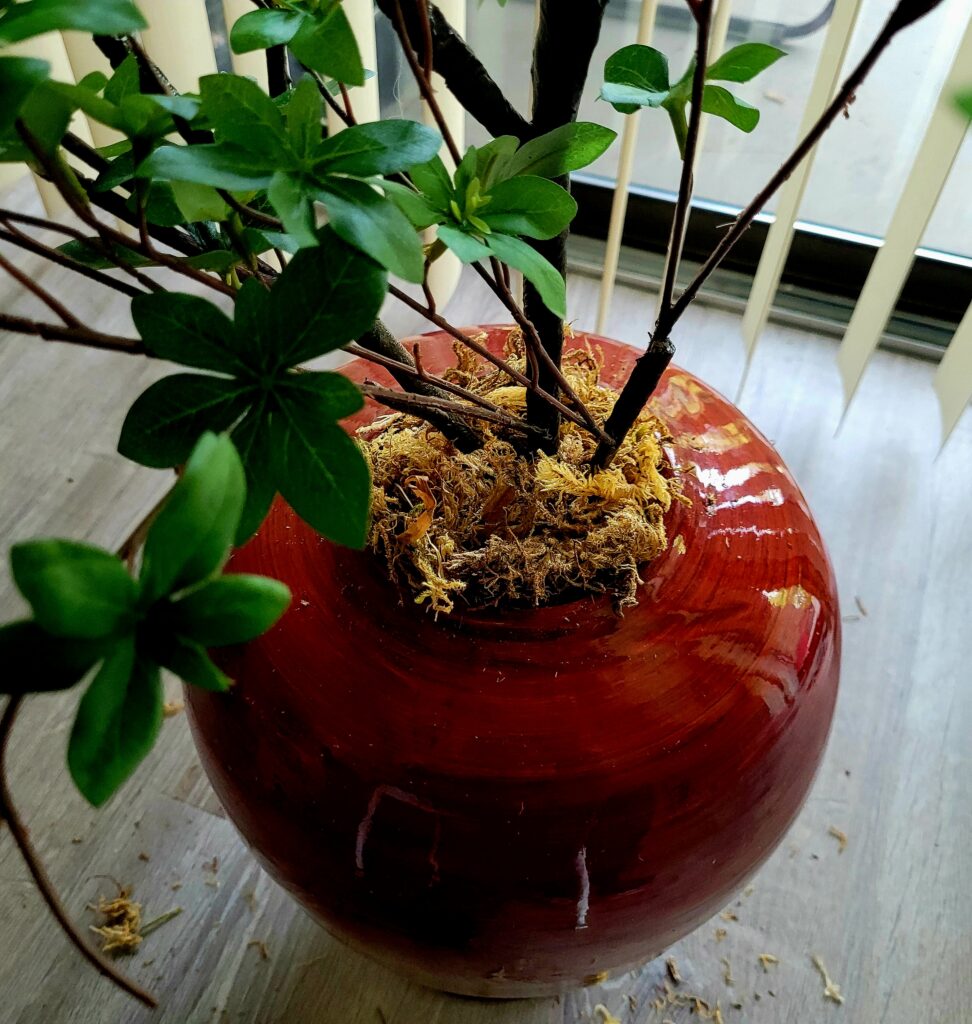
The moss was stuffed in the top of the ginger jar to make it more realistic looking.
To add the lid to the project took some thought. I saw the same ginger jar online for $180, so I wanted to be careful to keep the lid with the jar and to make sure it wasn’t marred in any way. Note – I only paid $5 for the ginger jar in a secondhand store.
Back to the zip ties again! Two black zip ties were placed around the inside lid of the ginger jar. At first, I didn’t think this would work, but so far, it is holding the lid on to the top of the jar.
The ends of the black zip tie were attached to the stem of the greenery. It looks like it might have been glued on; but it isn’t.
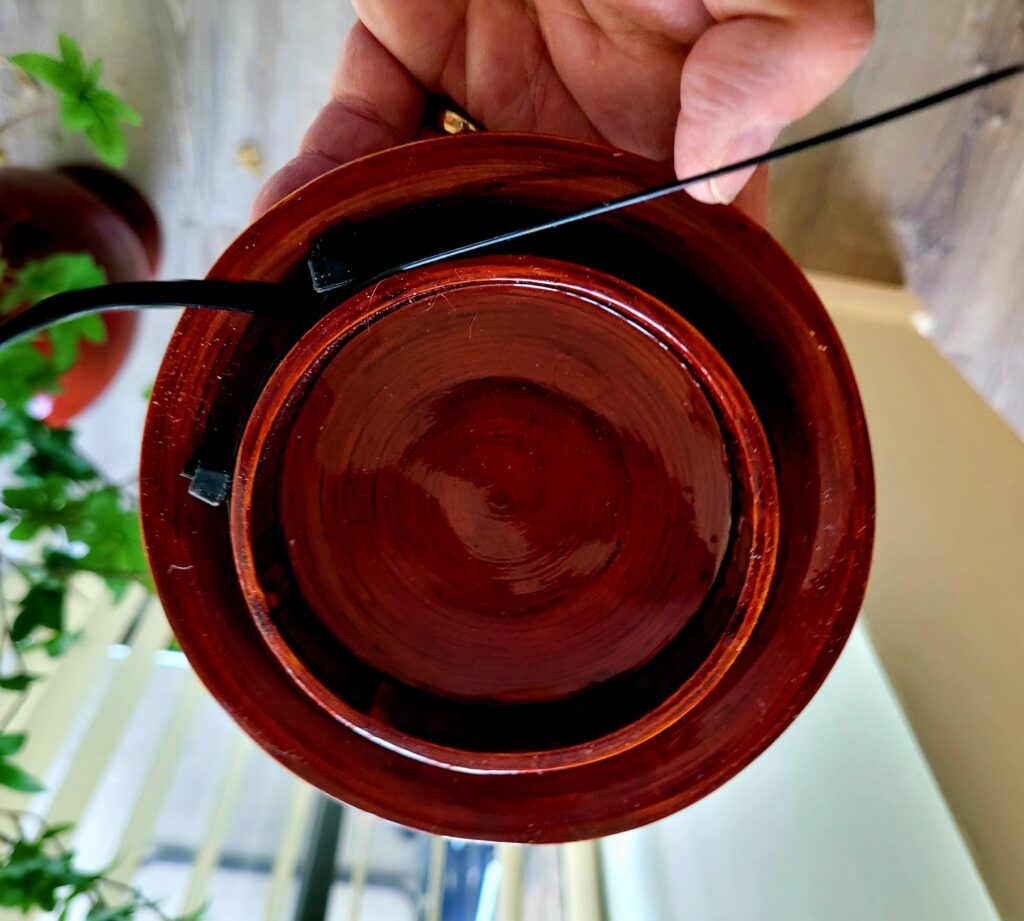
Finished Ginger Jar Greenery Project
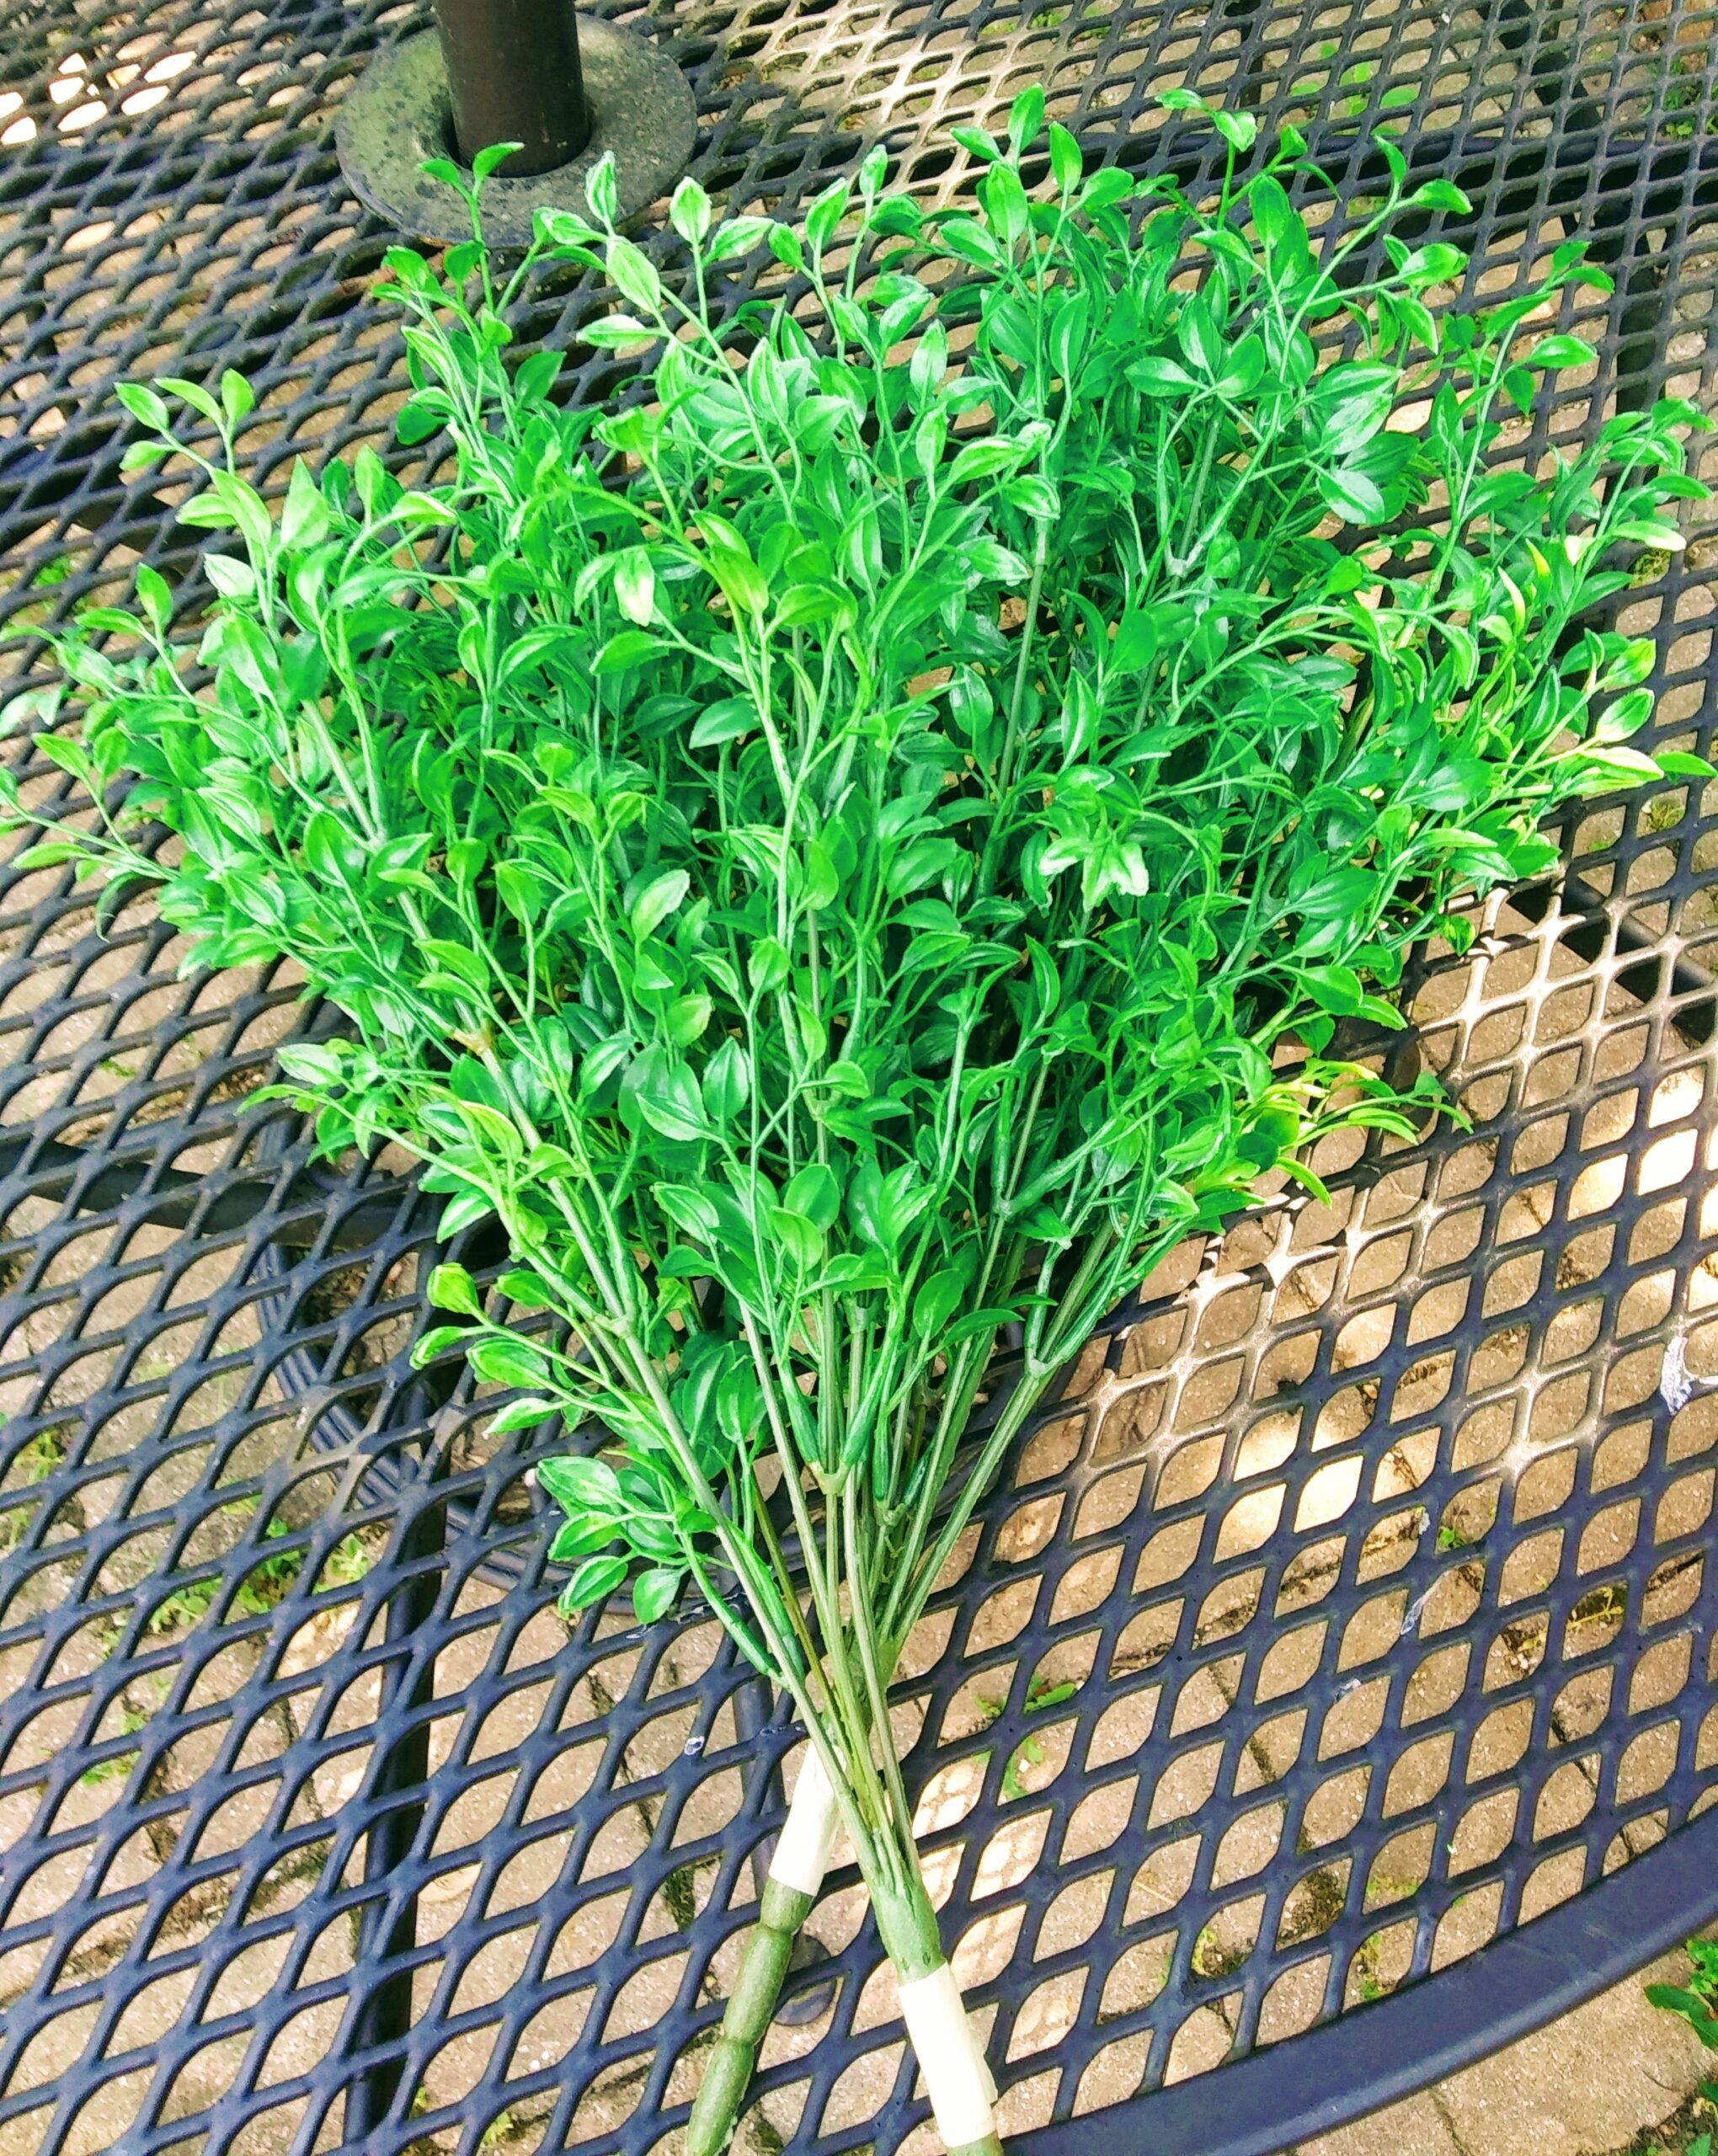
All that is to be done now, is the fluff out the silk leaves and stems for a stunning original greenery look.
Happy Crafting Everyone!
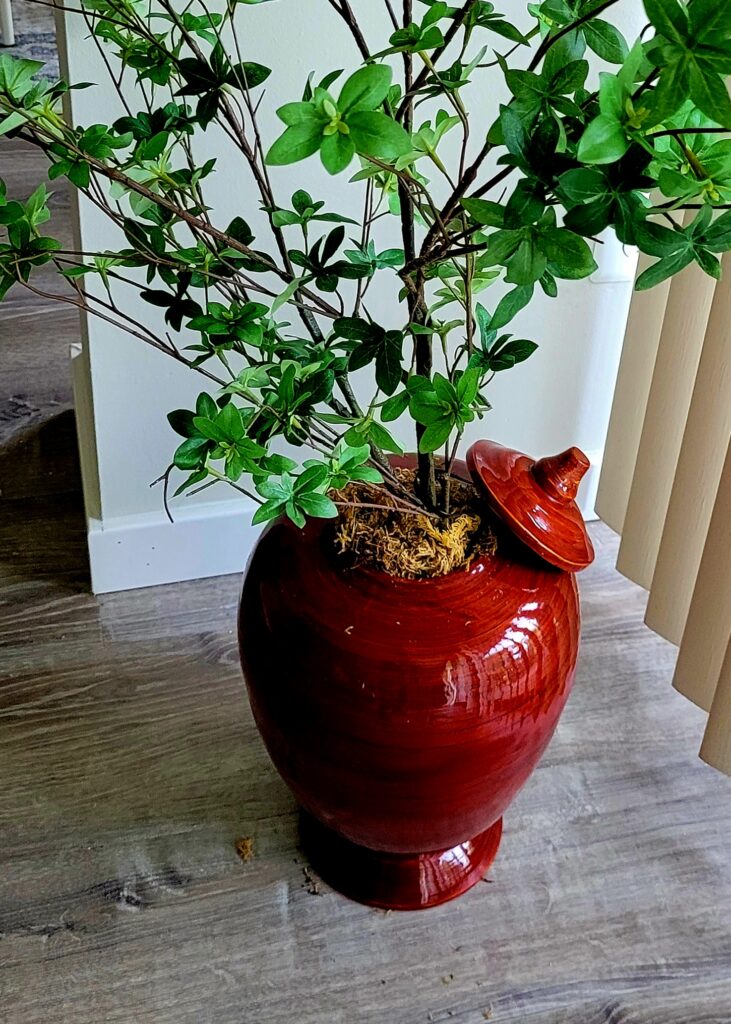
NOTE – Dry moss pieces can get on the floor. You will probably need to sweep once your complete your project.
A Special Thank You to Trail Diva for her knowledge of ginger jars from Japan. Yes, I was initially calling this piece a vase. LOL
PS – Don’t forget to sign up for our blog with our new subscribe button.
Resource Sites – AI overview, WorthPoint, and Zodax web site.