
 Old Flush Seal
Toilet Repair Tips – Replacing the Accelerator Flush Seal
I know what you are thinking but it is not all parties and galas for Farmhouse Magic Blog. We also need to repair the toilets when issues arise.
One of the best things you can teach yourself is basic plumbing repairs. You do not need to call a plumber for everything. A lot of repairs can be done easily and you will save quite a bit of money. Please note, that I am not a plumber.
Here I am today replacing an accelerator flush valve seal on a American Standard Champion 4 Toilet. You will notice that the flush valve is a worn whitish color. The problem with this toilet is that the seal must be leaking as it does not give a good flush.
 Marking the Toilet Water Level
If you are not sure what is wrong with the toilet, flush the toilet and mark the high water point once the water stops running.
Check the toilet an hour later and see if the water level has gone down.
If it has gone down, there is probably a leaking seal, flapper, or some other issue.
 Replacing the Flush Valve Seal with the Top Off
First Step – Be sure to always turn off the water supply under the toilet tank. When the water supply is off, flush the toilet to remove the water from the tank.
In this case, I had to remove the clevis pin from the trip level rod. Then I removed the top of the flapper and replaced the seal. This photograph shows that the old flush valve seal has been removed, (the top is off). I then screwed the top back on which contained the new seal.
Then I reattached the clevis pin. The final step is to turn the water back on.
")
The new flush valve seal was purchased for about six dollars in a hardware store.
It is next to the old worn flush valve seal.
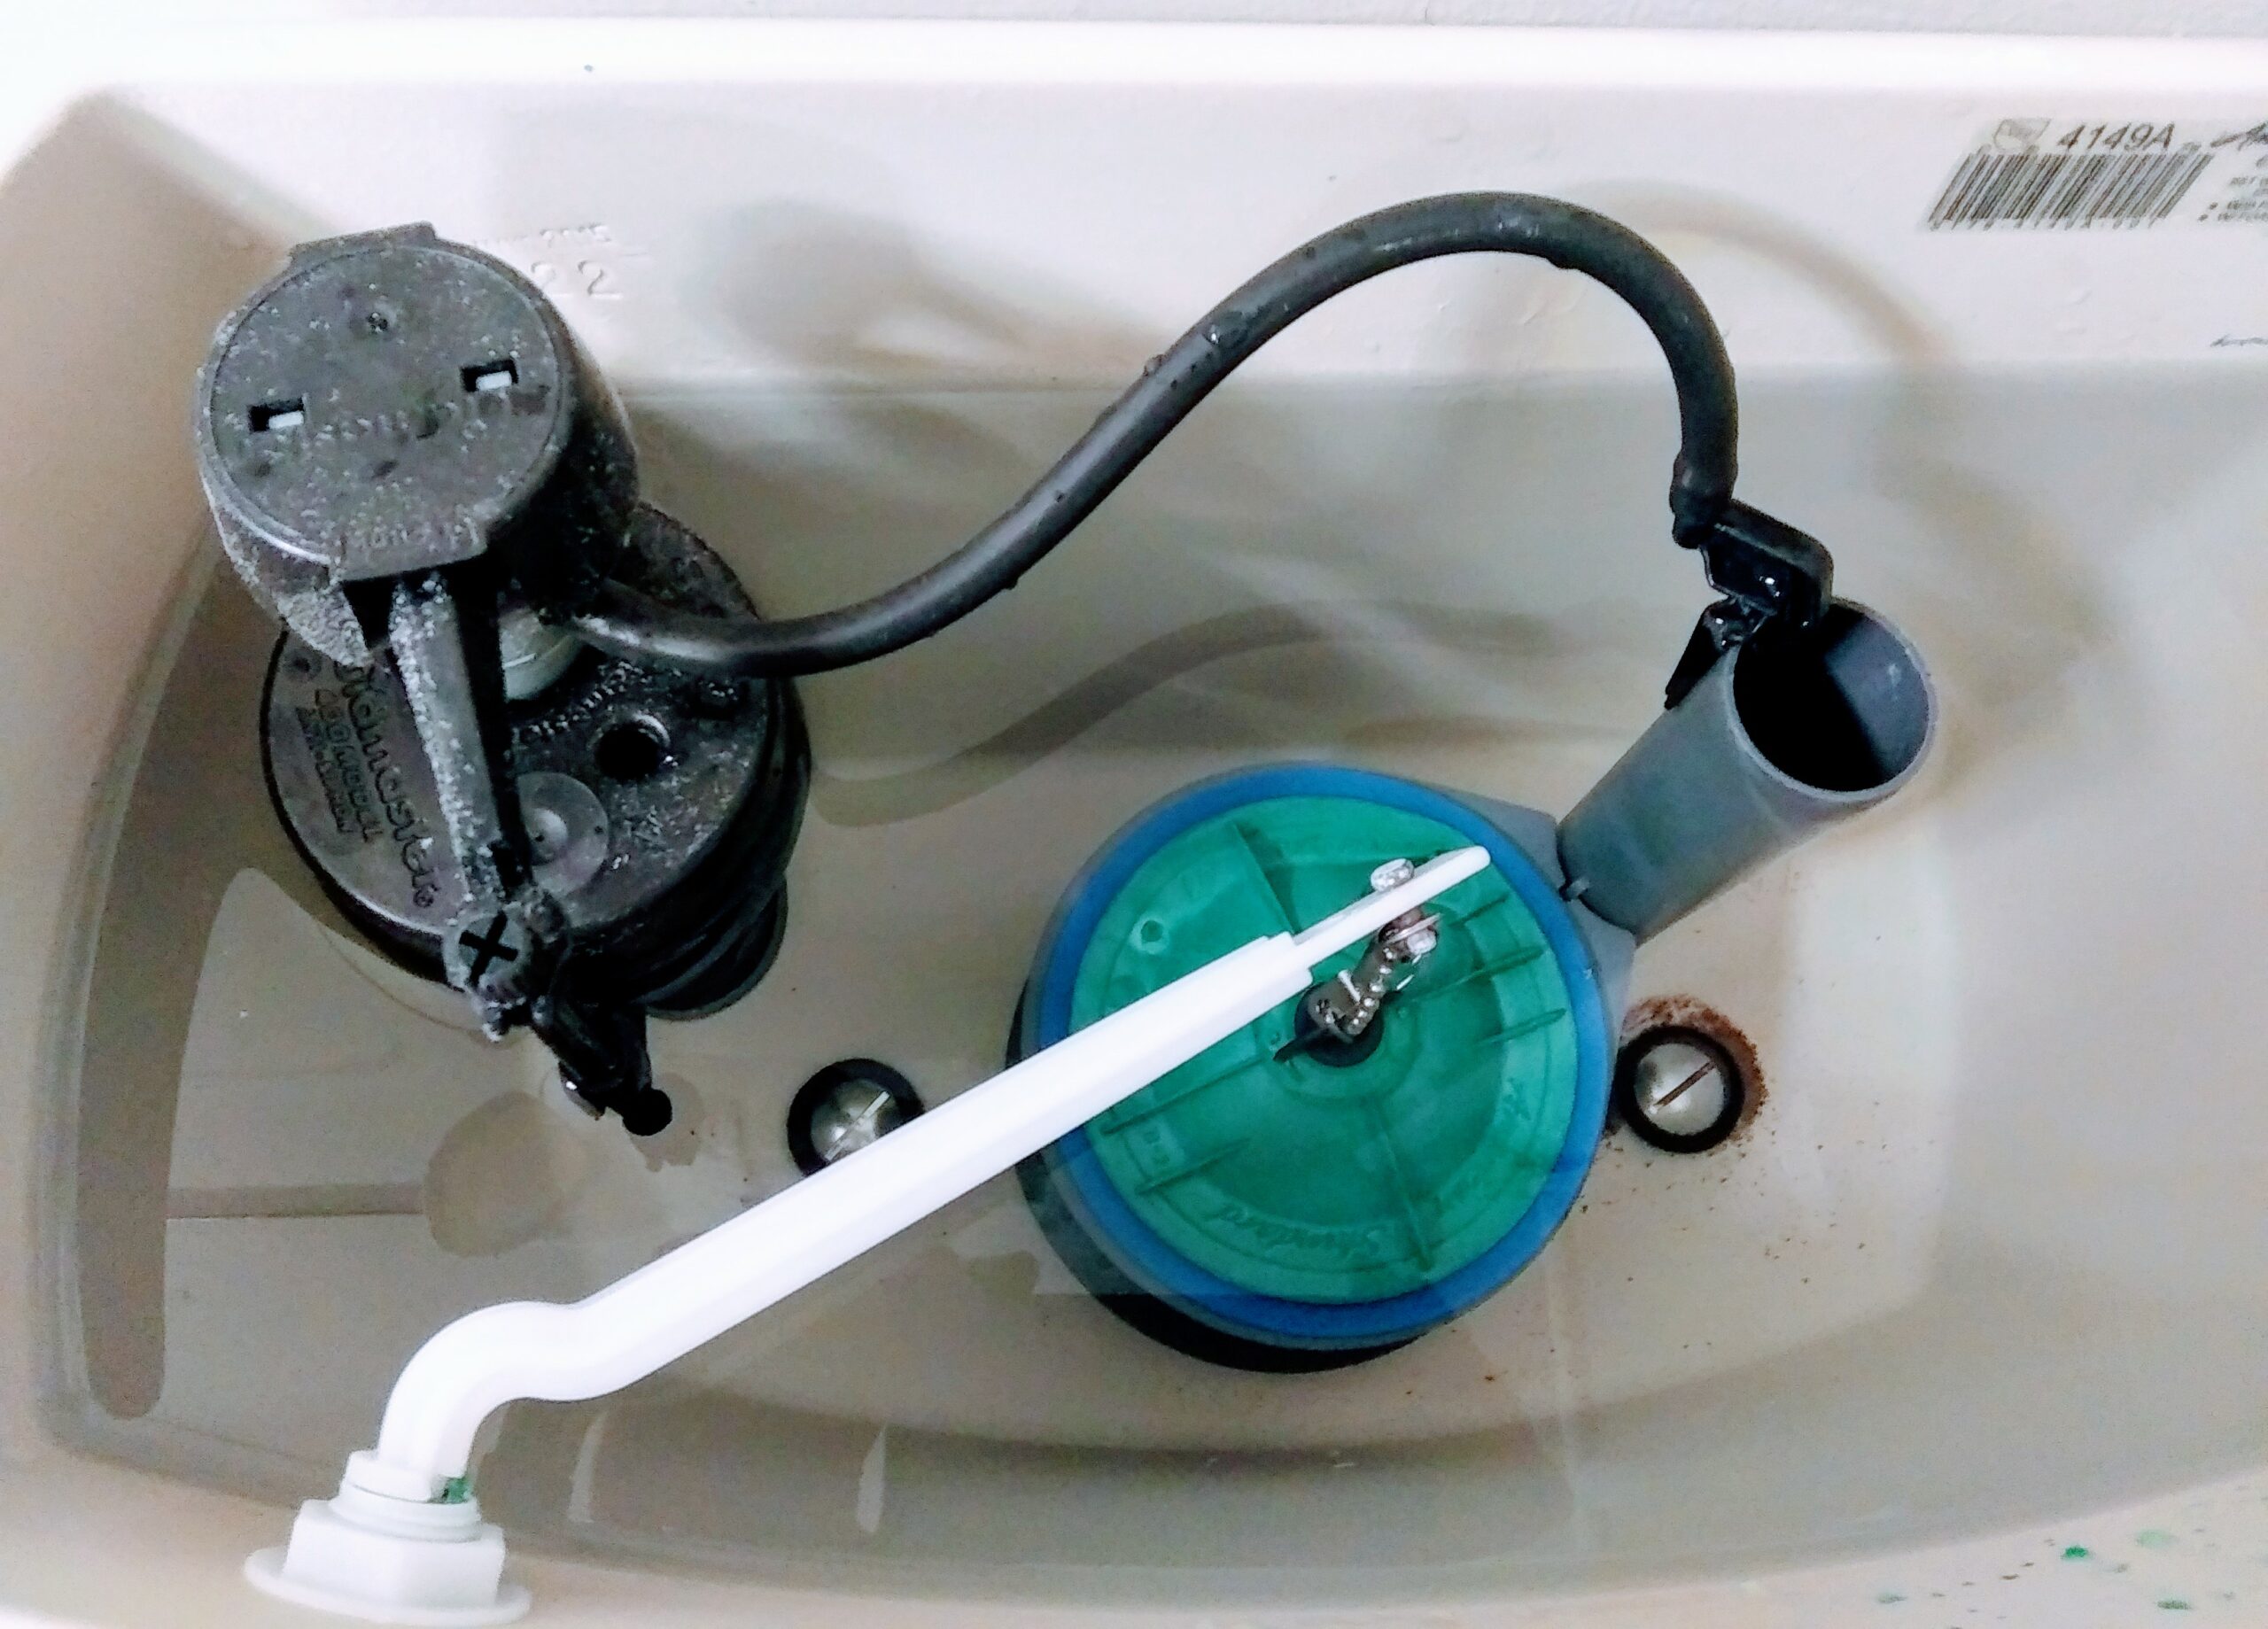
 Toilet with New Blue Flush Seal
Here I am testing out the toilet. I also added some green flood coloring to the top tank and waited to see if it would seep into the toilet bowl but this didn’t happen with the new seal.
I’ve saved myself approximately $150. plus for a plumber’s service call.
Next step, observe toilet to make sure the issue has been fixed.