How to Install a Bathroom Coat Rack
 Re-Hung Coat Rack
Today Farmhouse Magic Blog decided to make a few bathroom repairs.
The first project was to rehang the wall mounted coat rack in my travertine tiled bathroom.
The coat rack had previously fallen off the wall. I like to hang my clothing on it while showering.
The first step is to remove the two screws from the old coat rack.
The next step is to examine the wall and find a good placement for the rack.
It took awhile to find the studs in the wall with the stud finder. I discovered with the old coat rack placement, that I would not be able to hit a wooden stud both times. This presented a problem since I want the rack to hang on two studs.
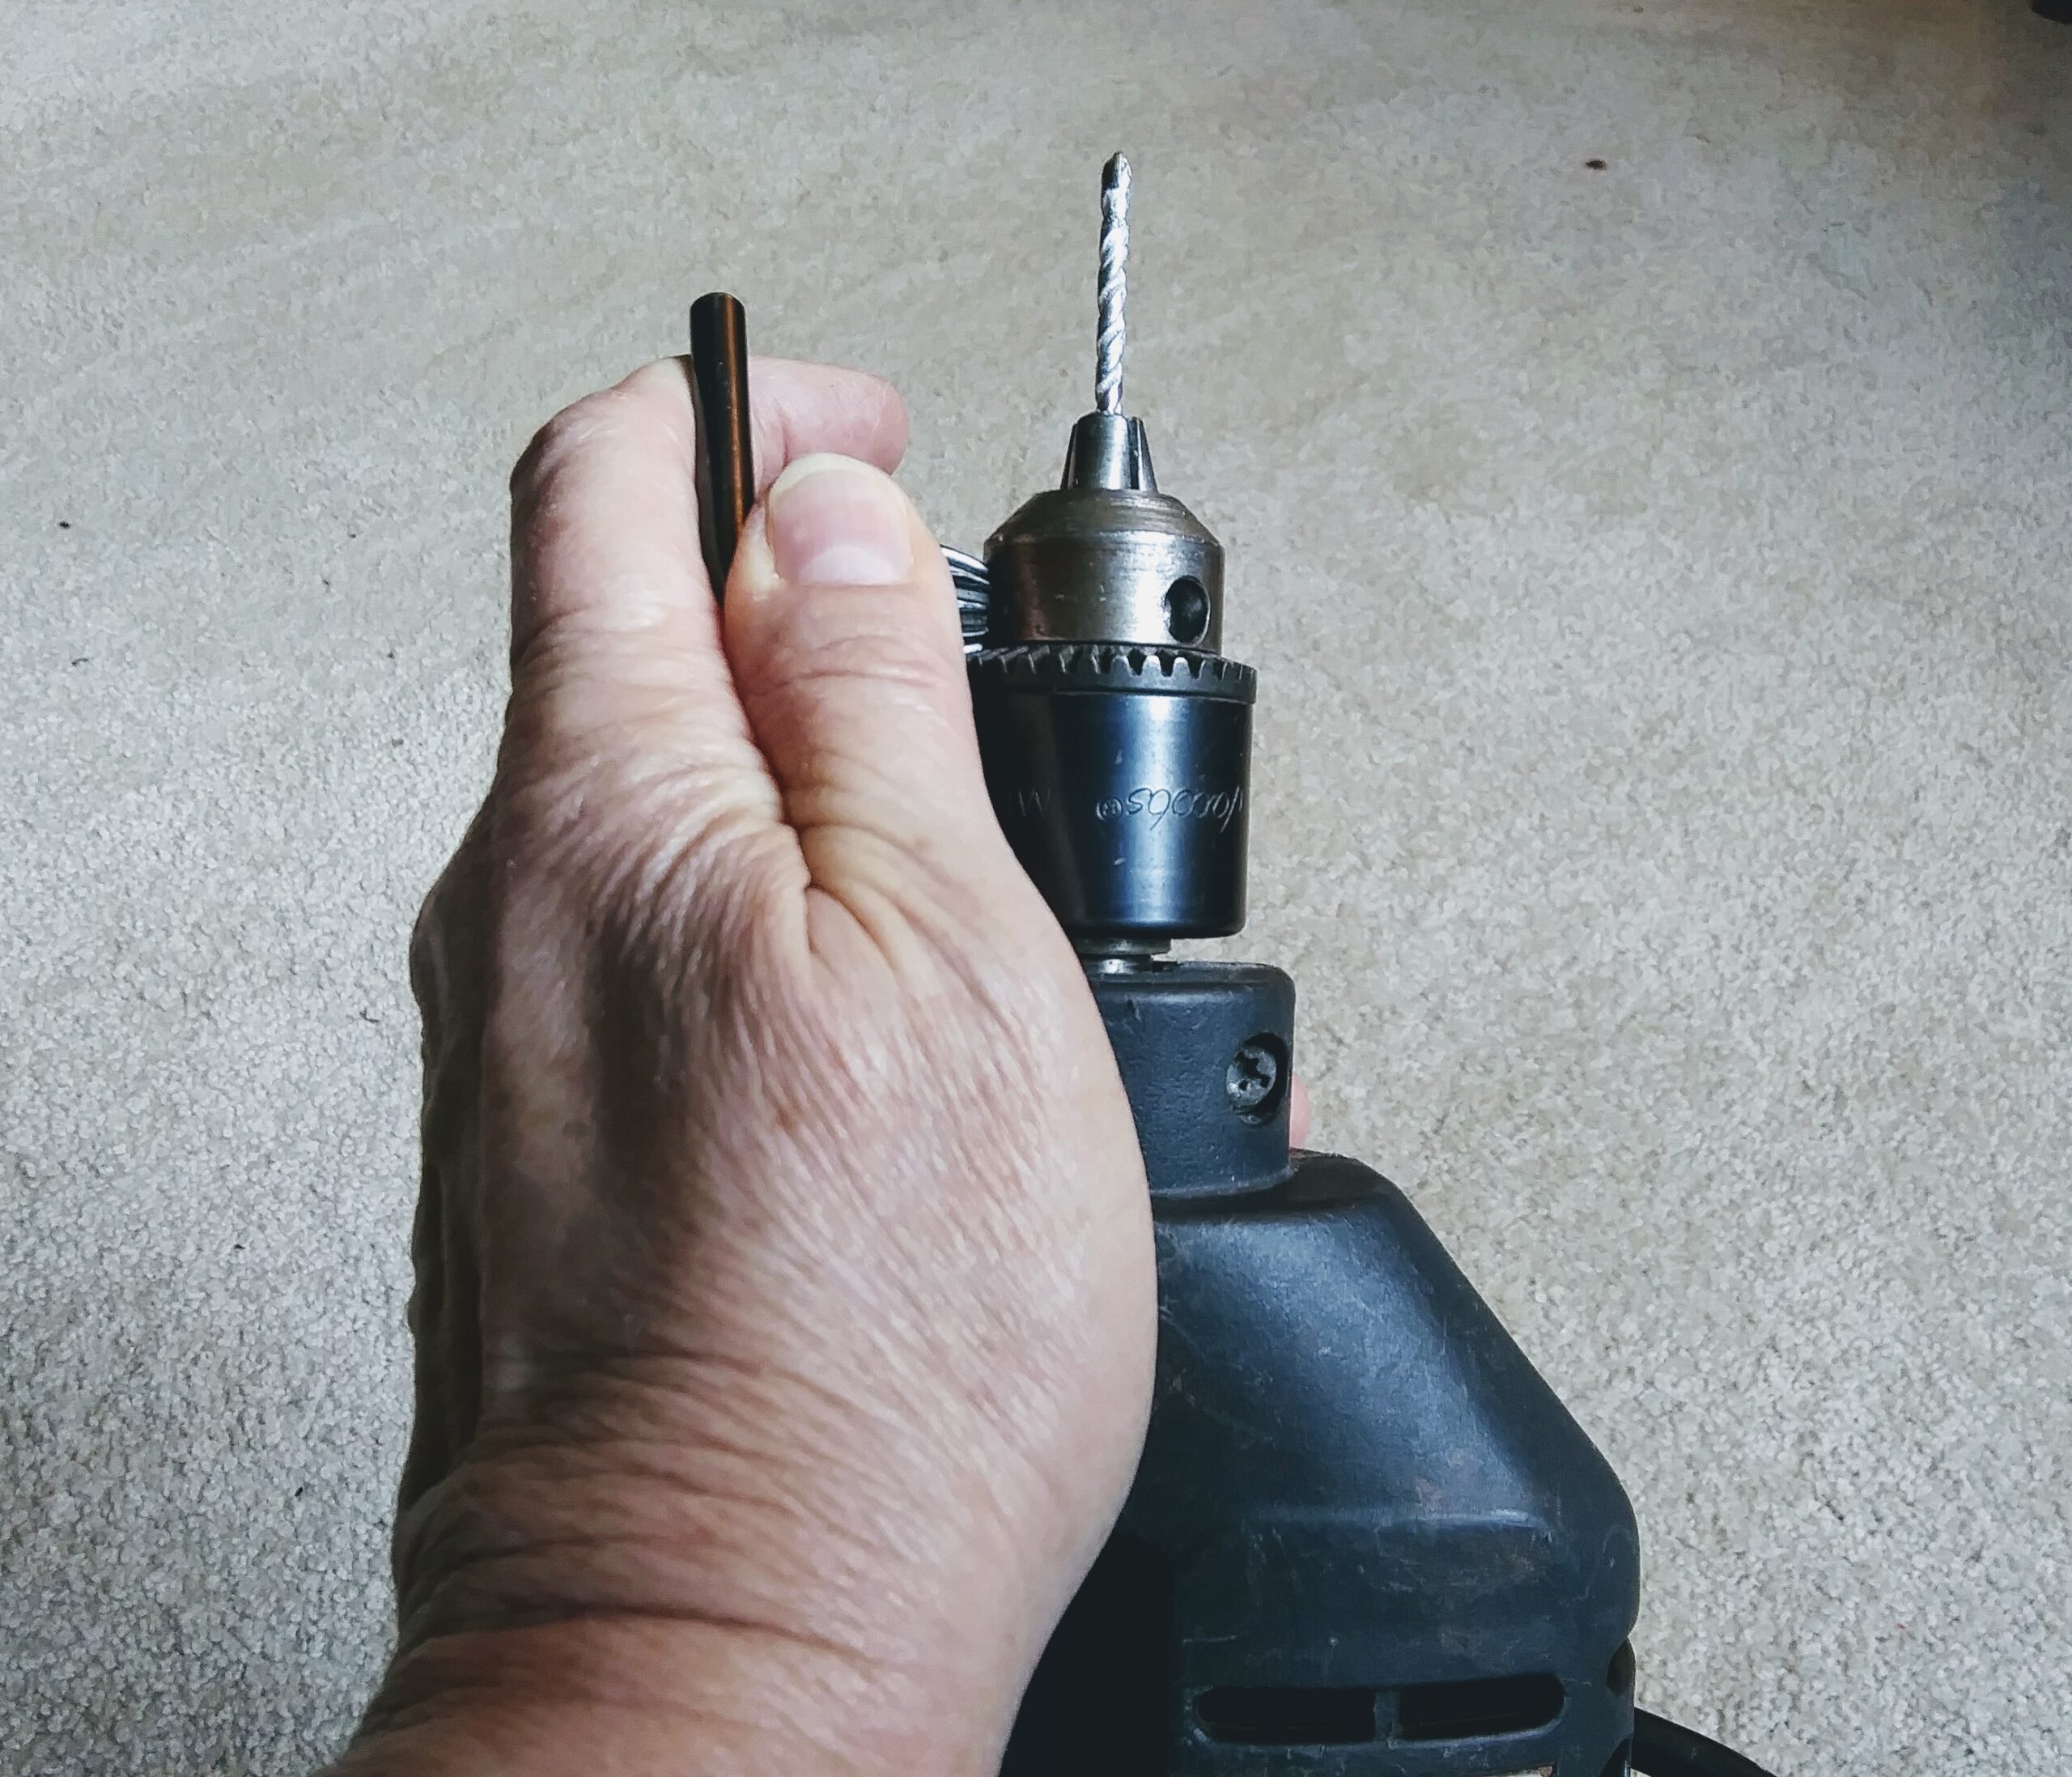 Changing the Drill Bit
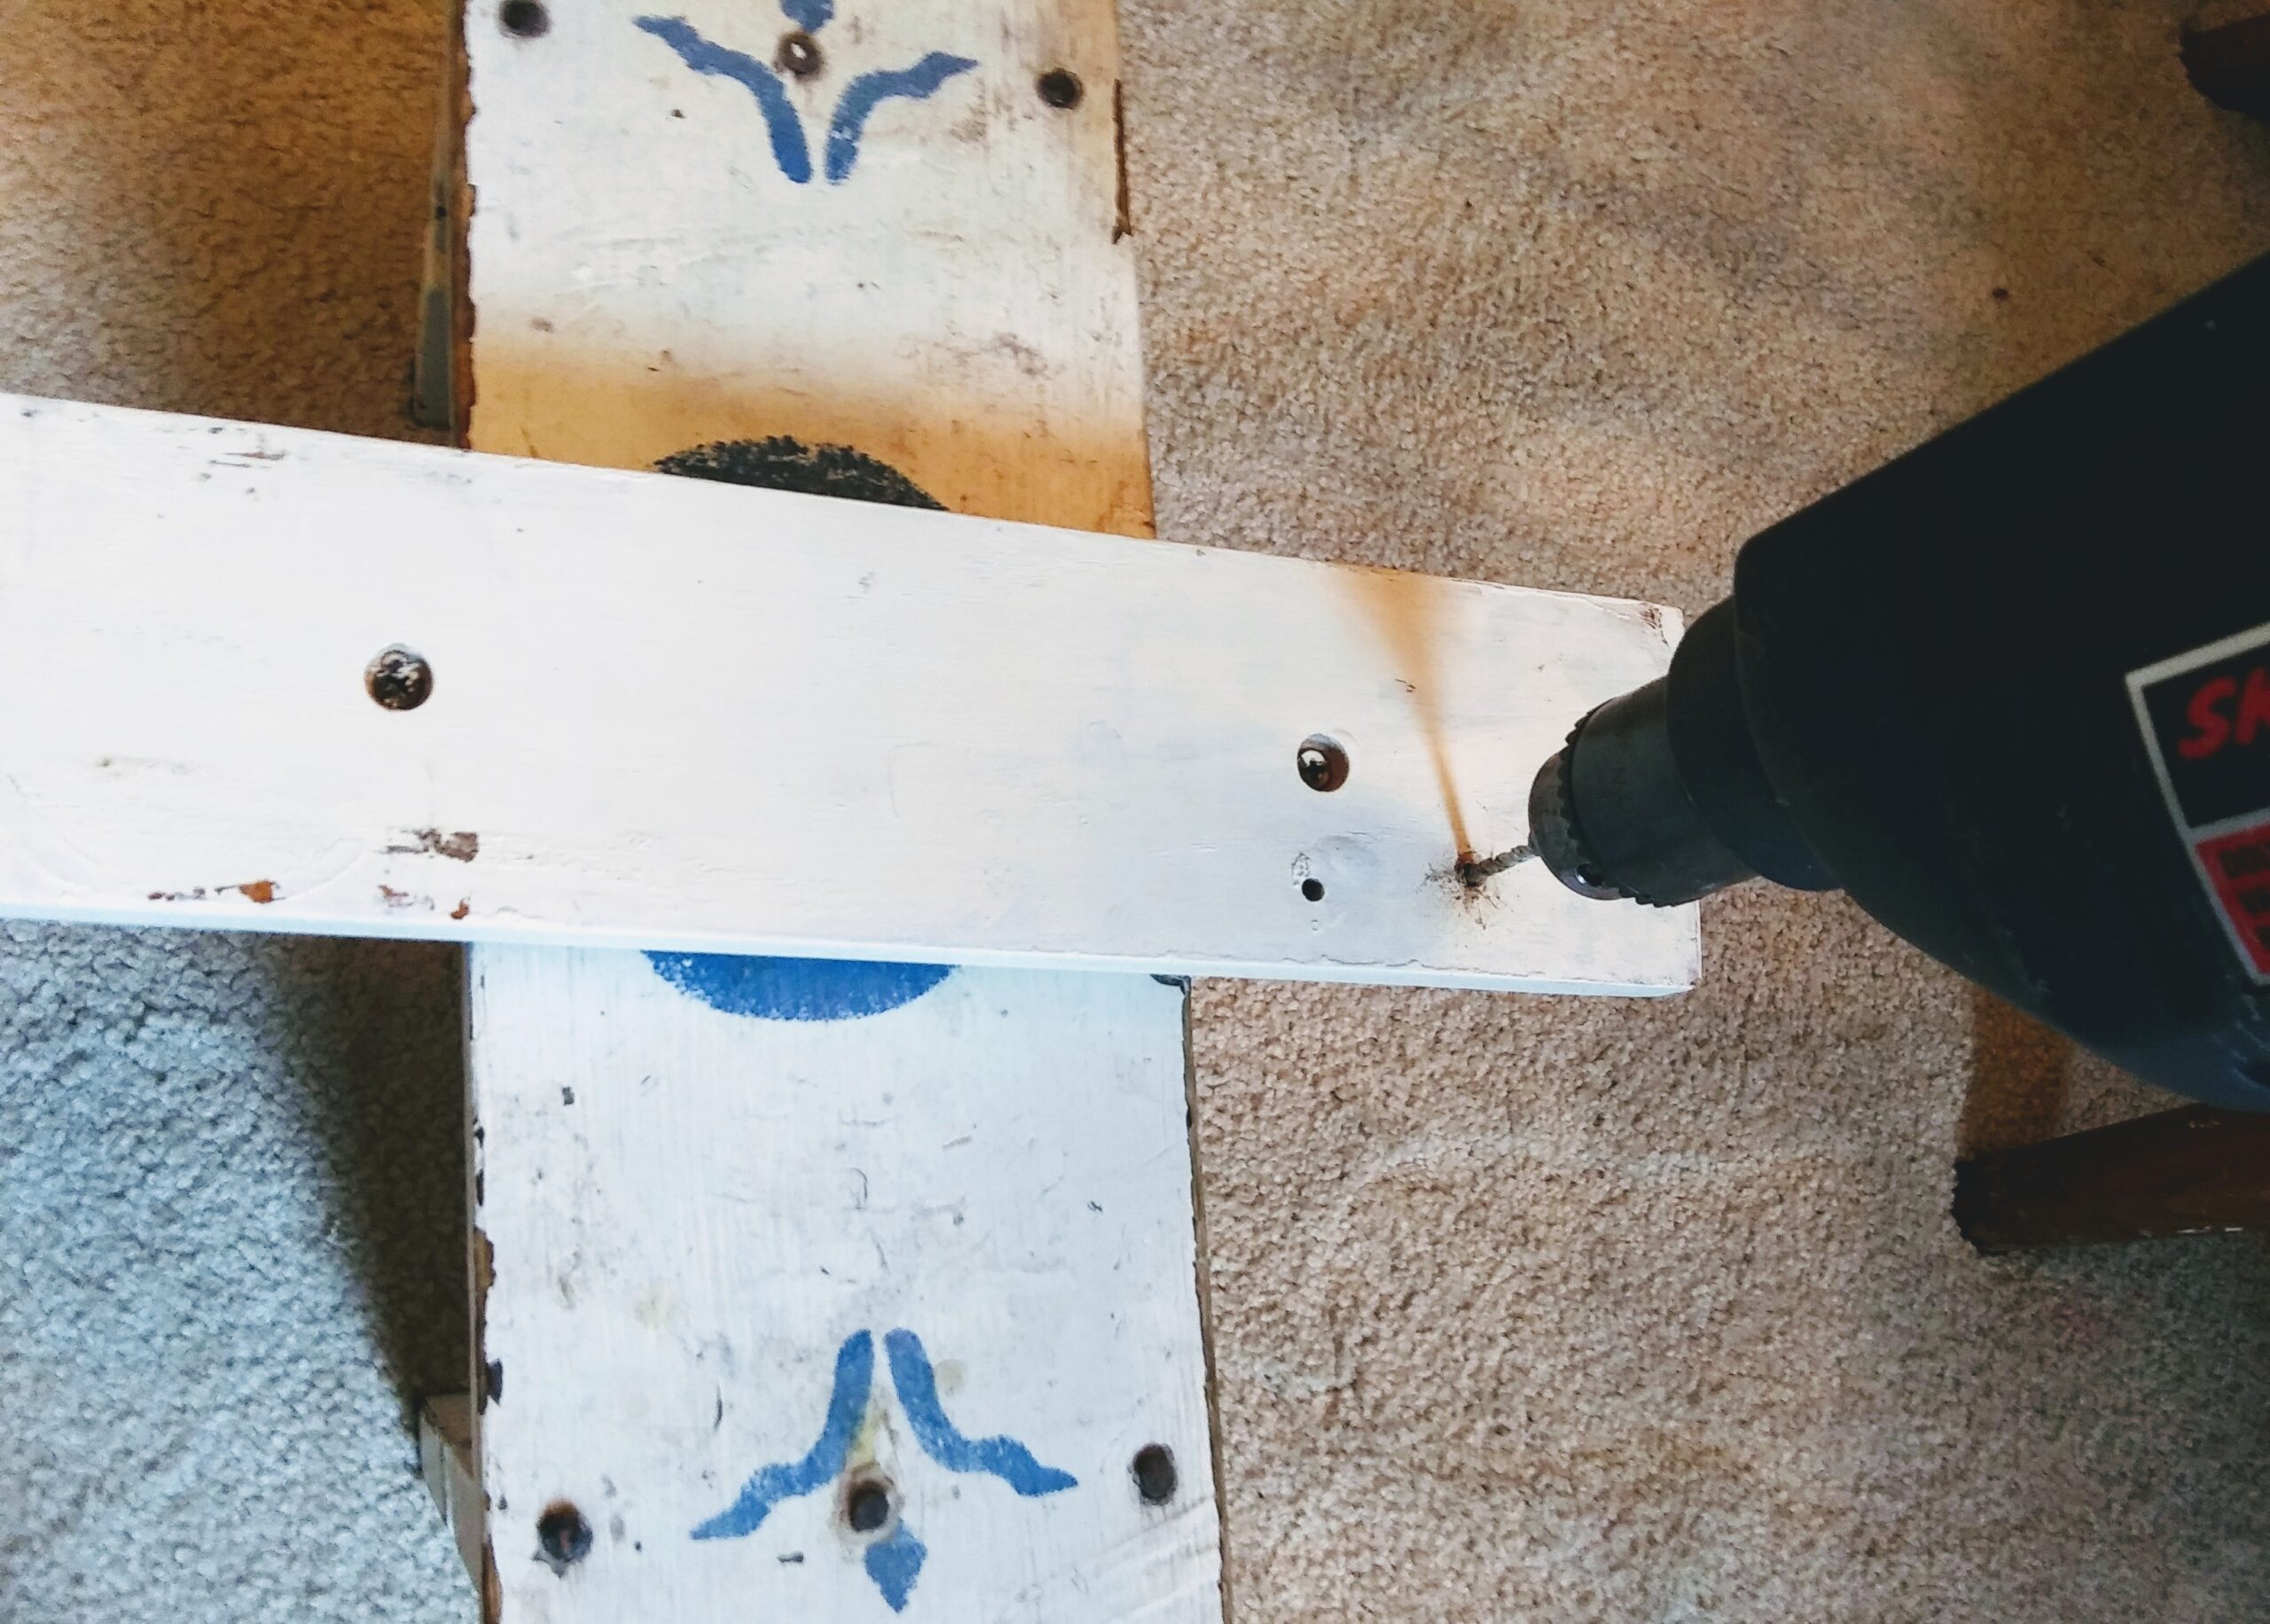 Drilling a New Hole in the Coat Rack
I also wanted to move the coat rack away from the travertine shower tile.
I decided I could correct this issue by drilling a third hole in the coat rack approximately an inch over from the old hole.
This way the coat rack is securely attached to the wall by two studs.
I like to use this mini level to check if things are hung evenly.
I also have a larger contractor’s level but I find this mini level to be easier to work with.
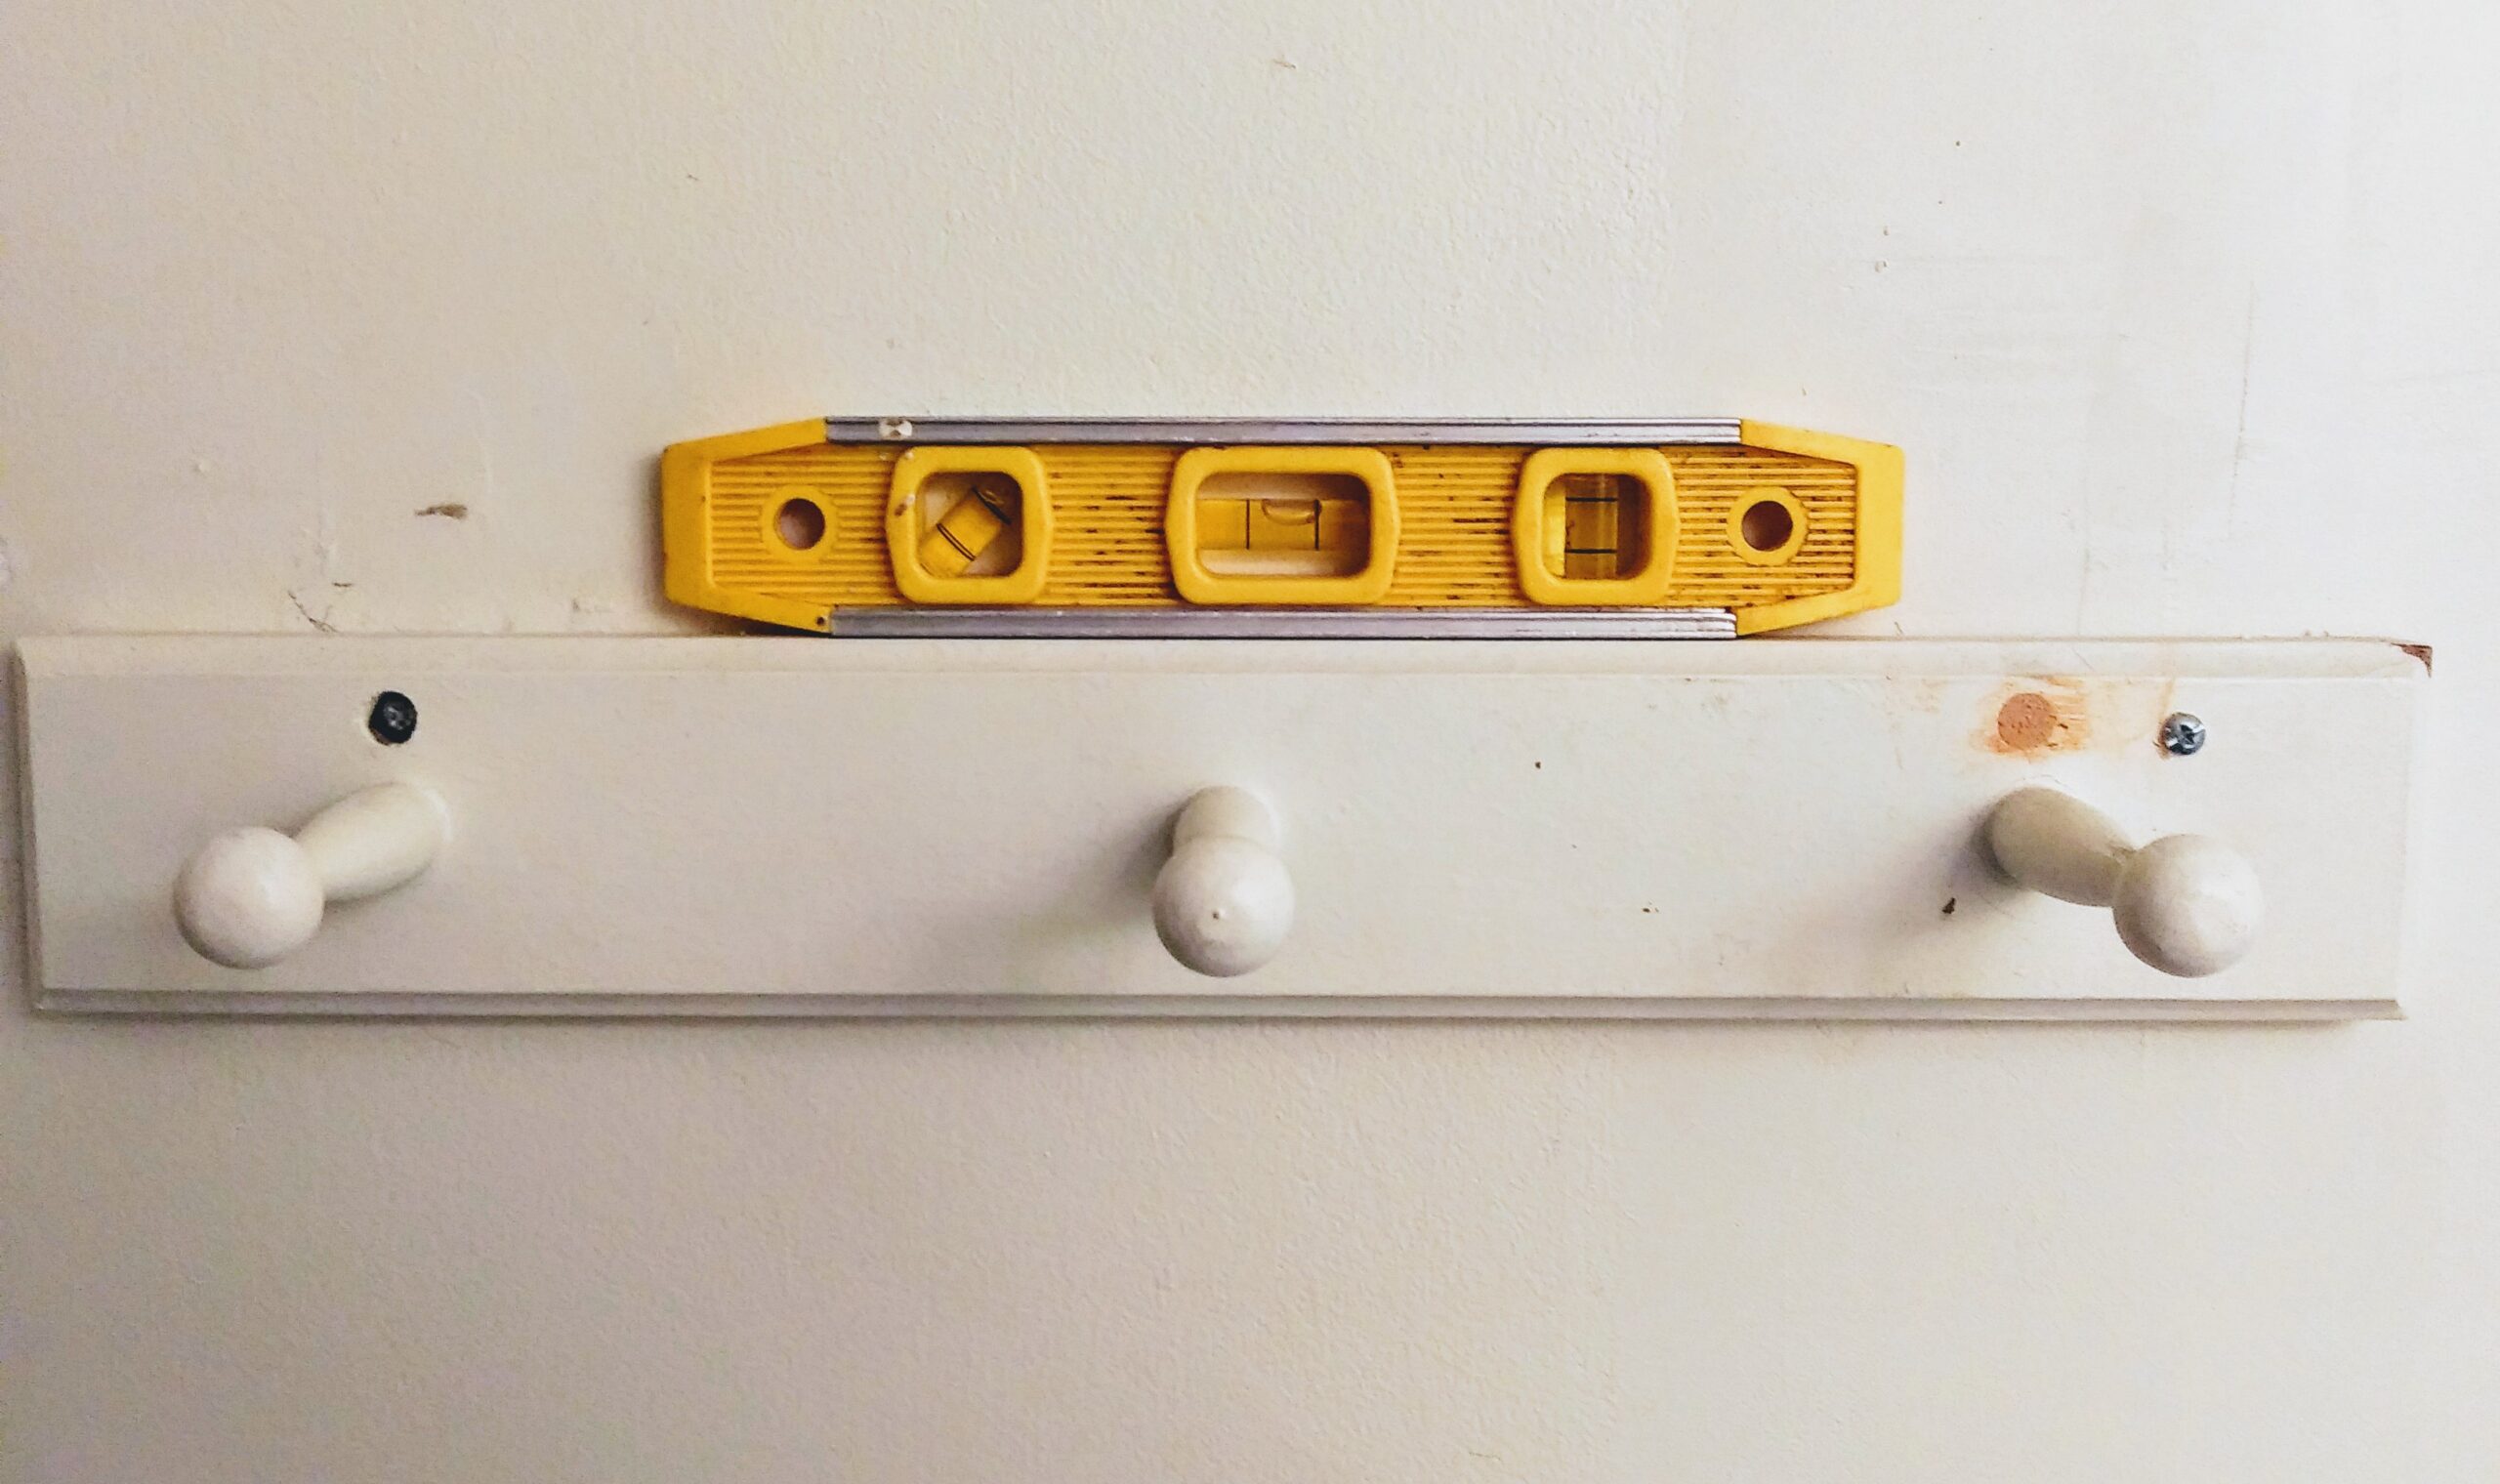 Using a Level
This photograph shows the rehung coat rack.
As you can see, there are holes in the drywall from the old rack placement which need to be spackled and painted.
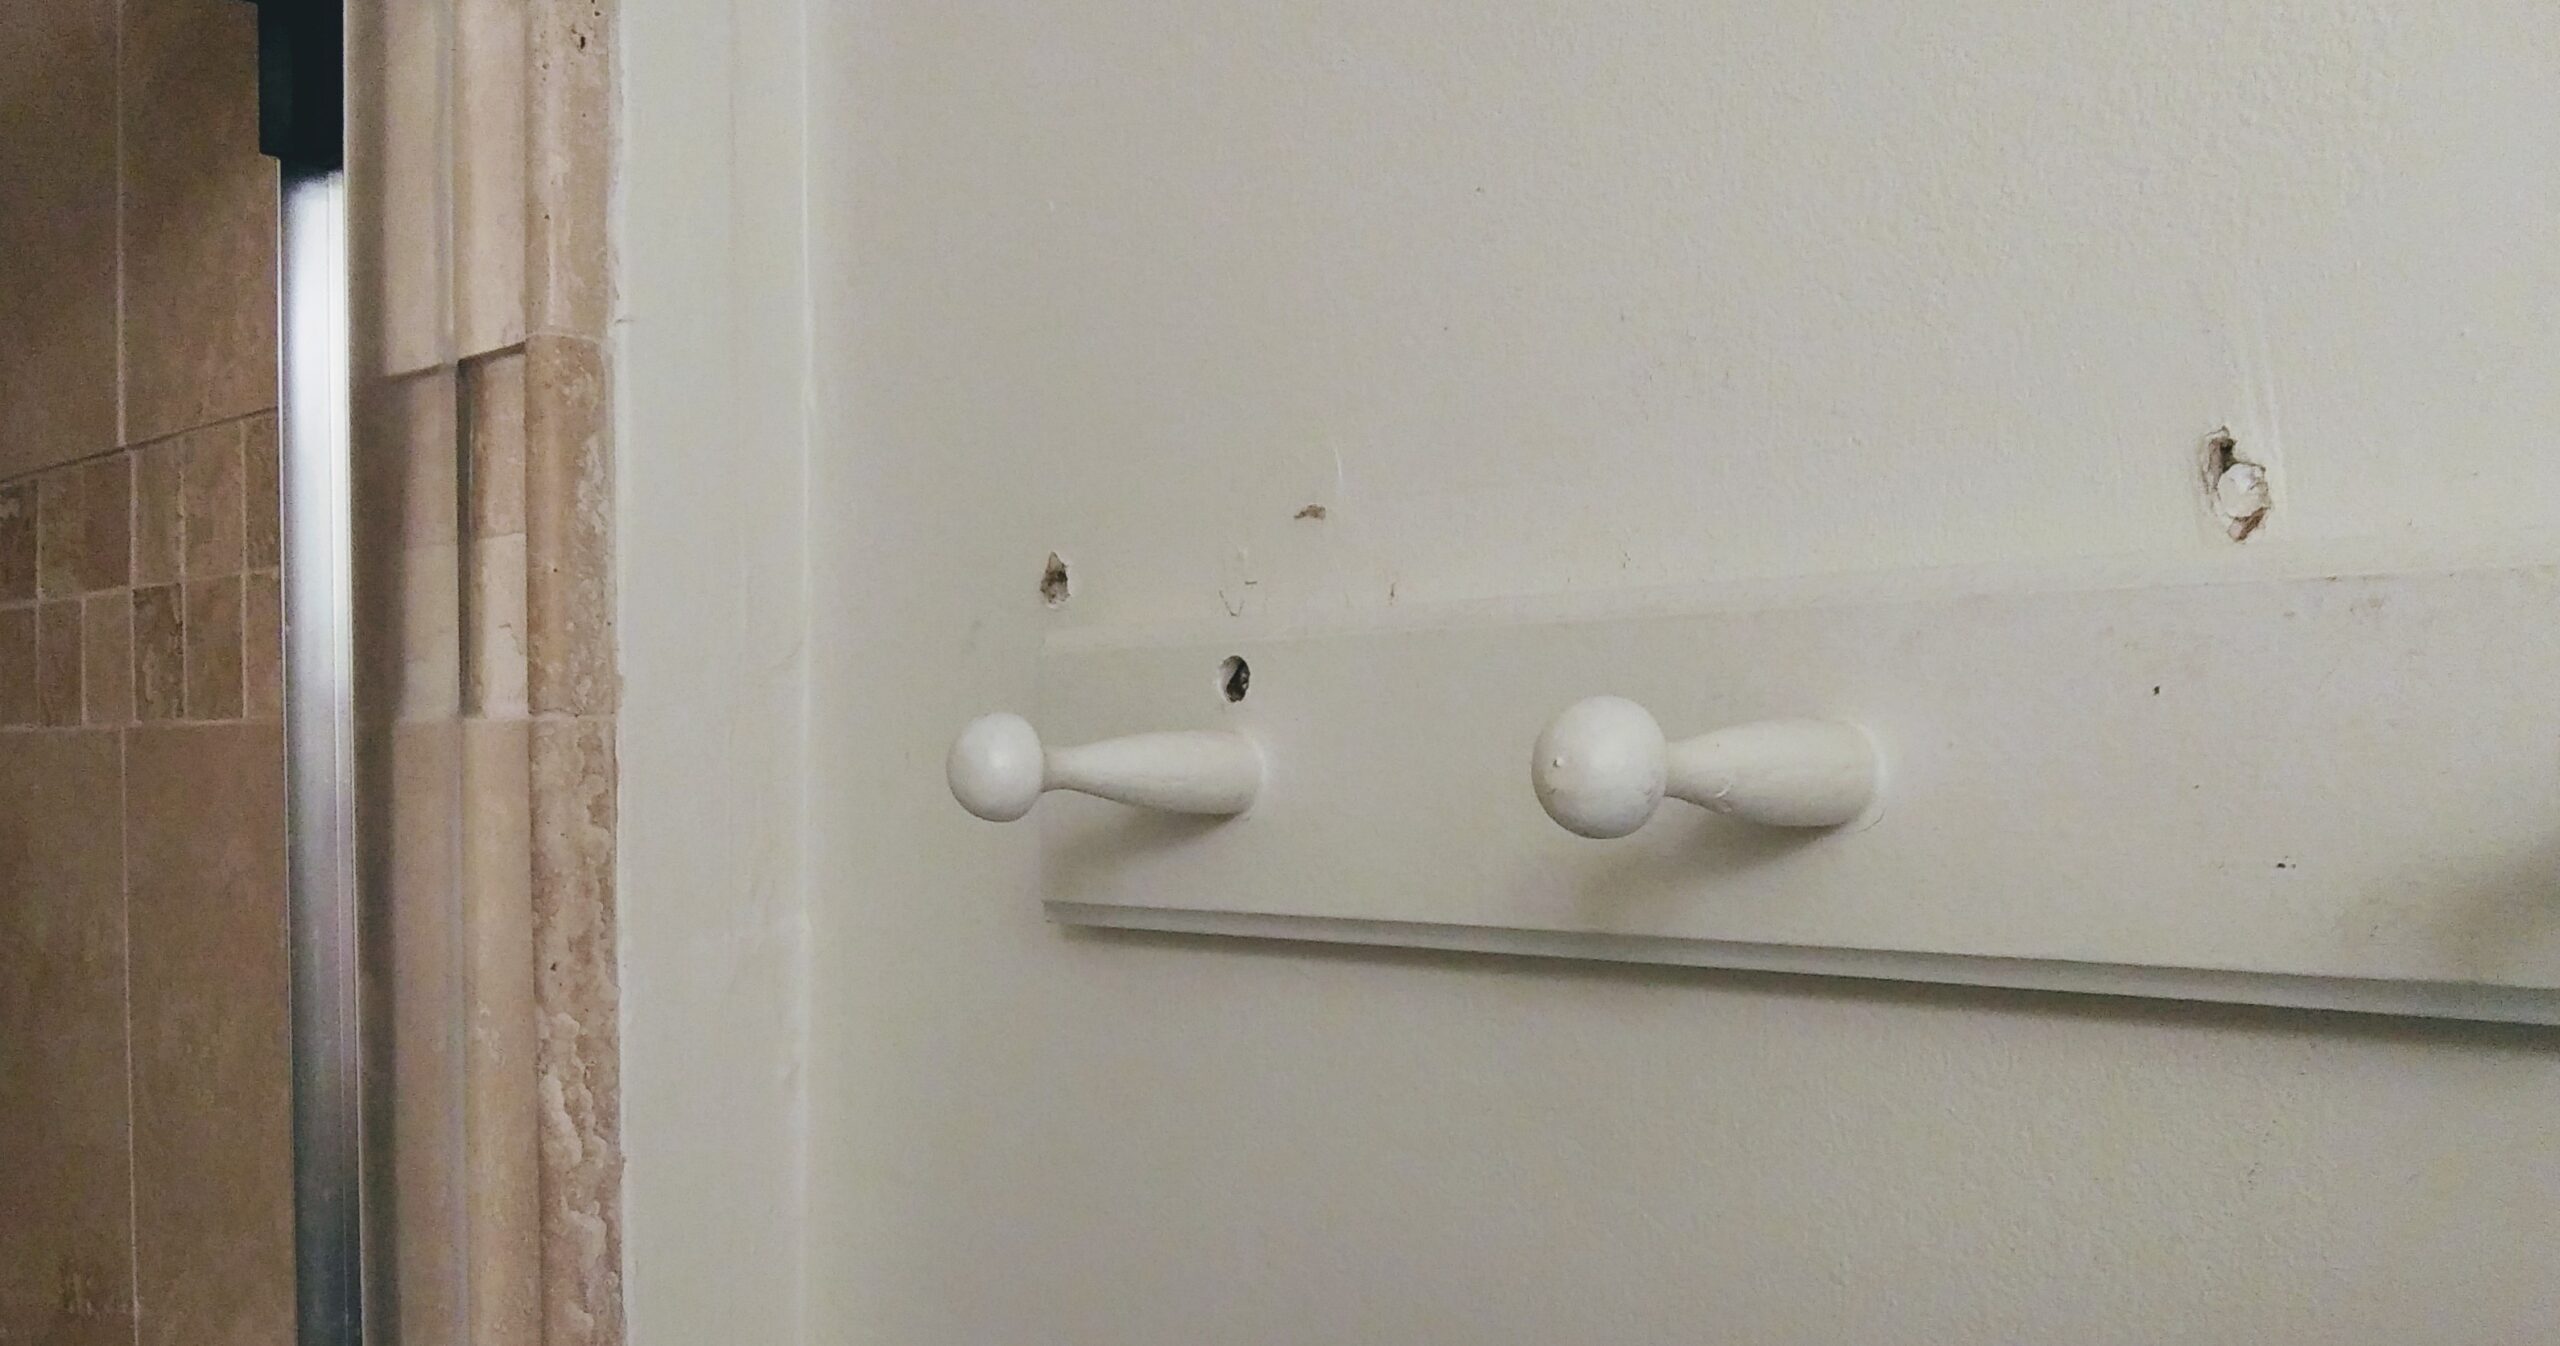 Filling in Holes with Spackling
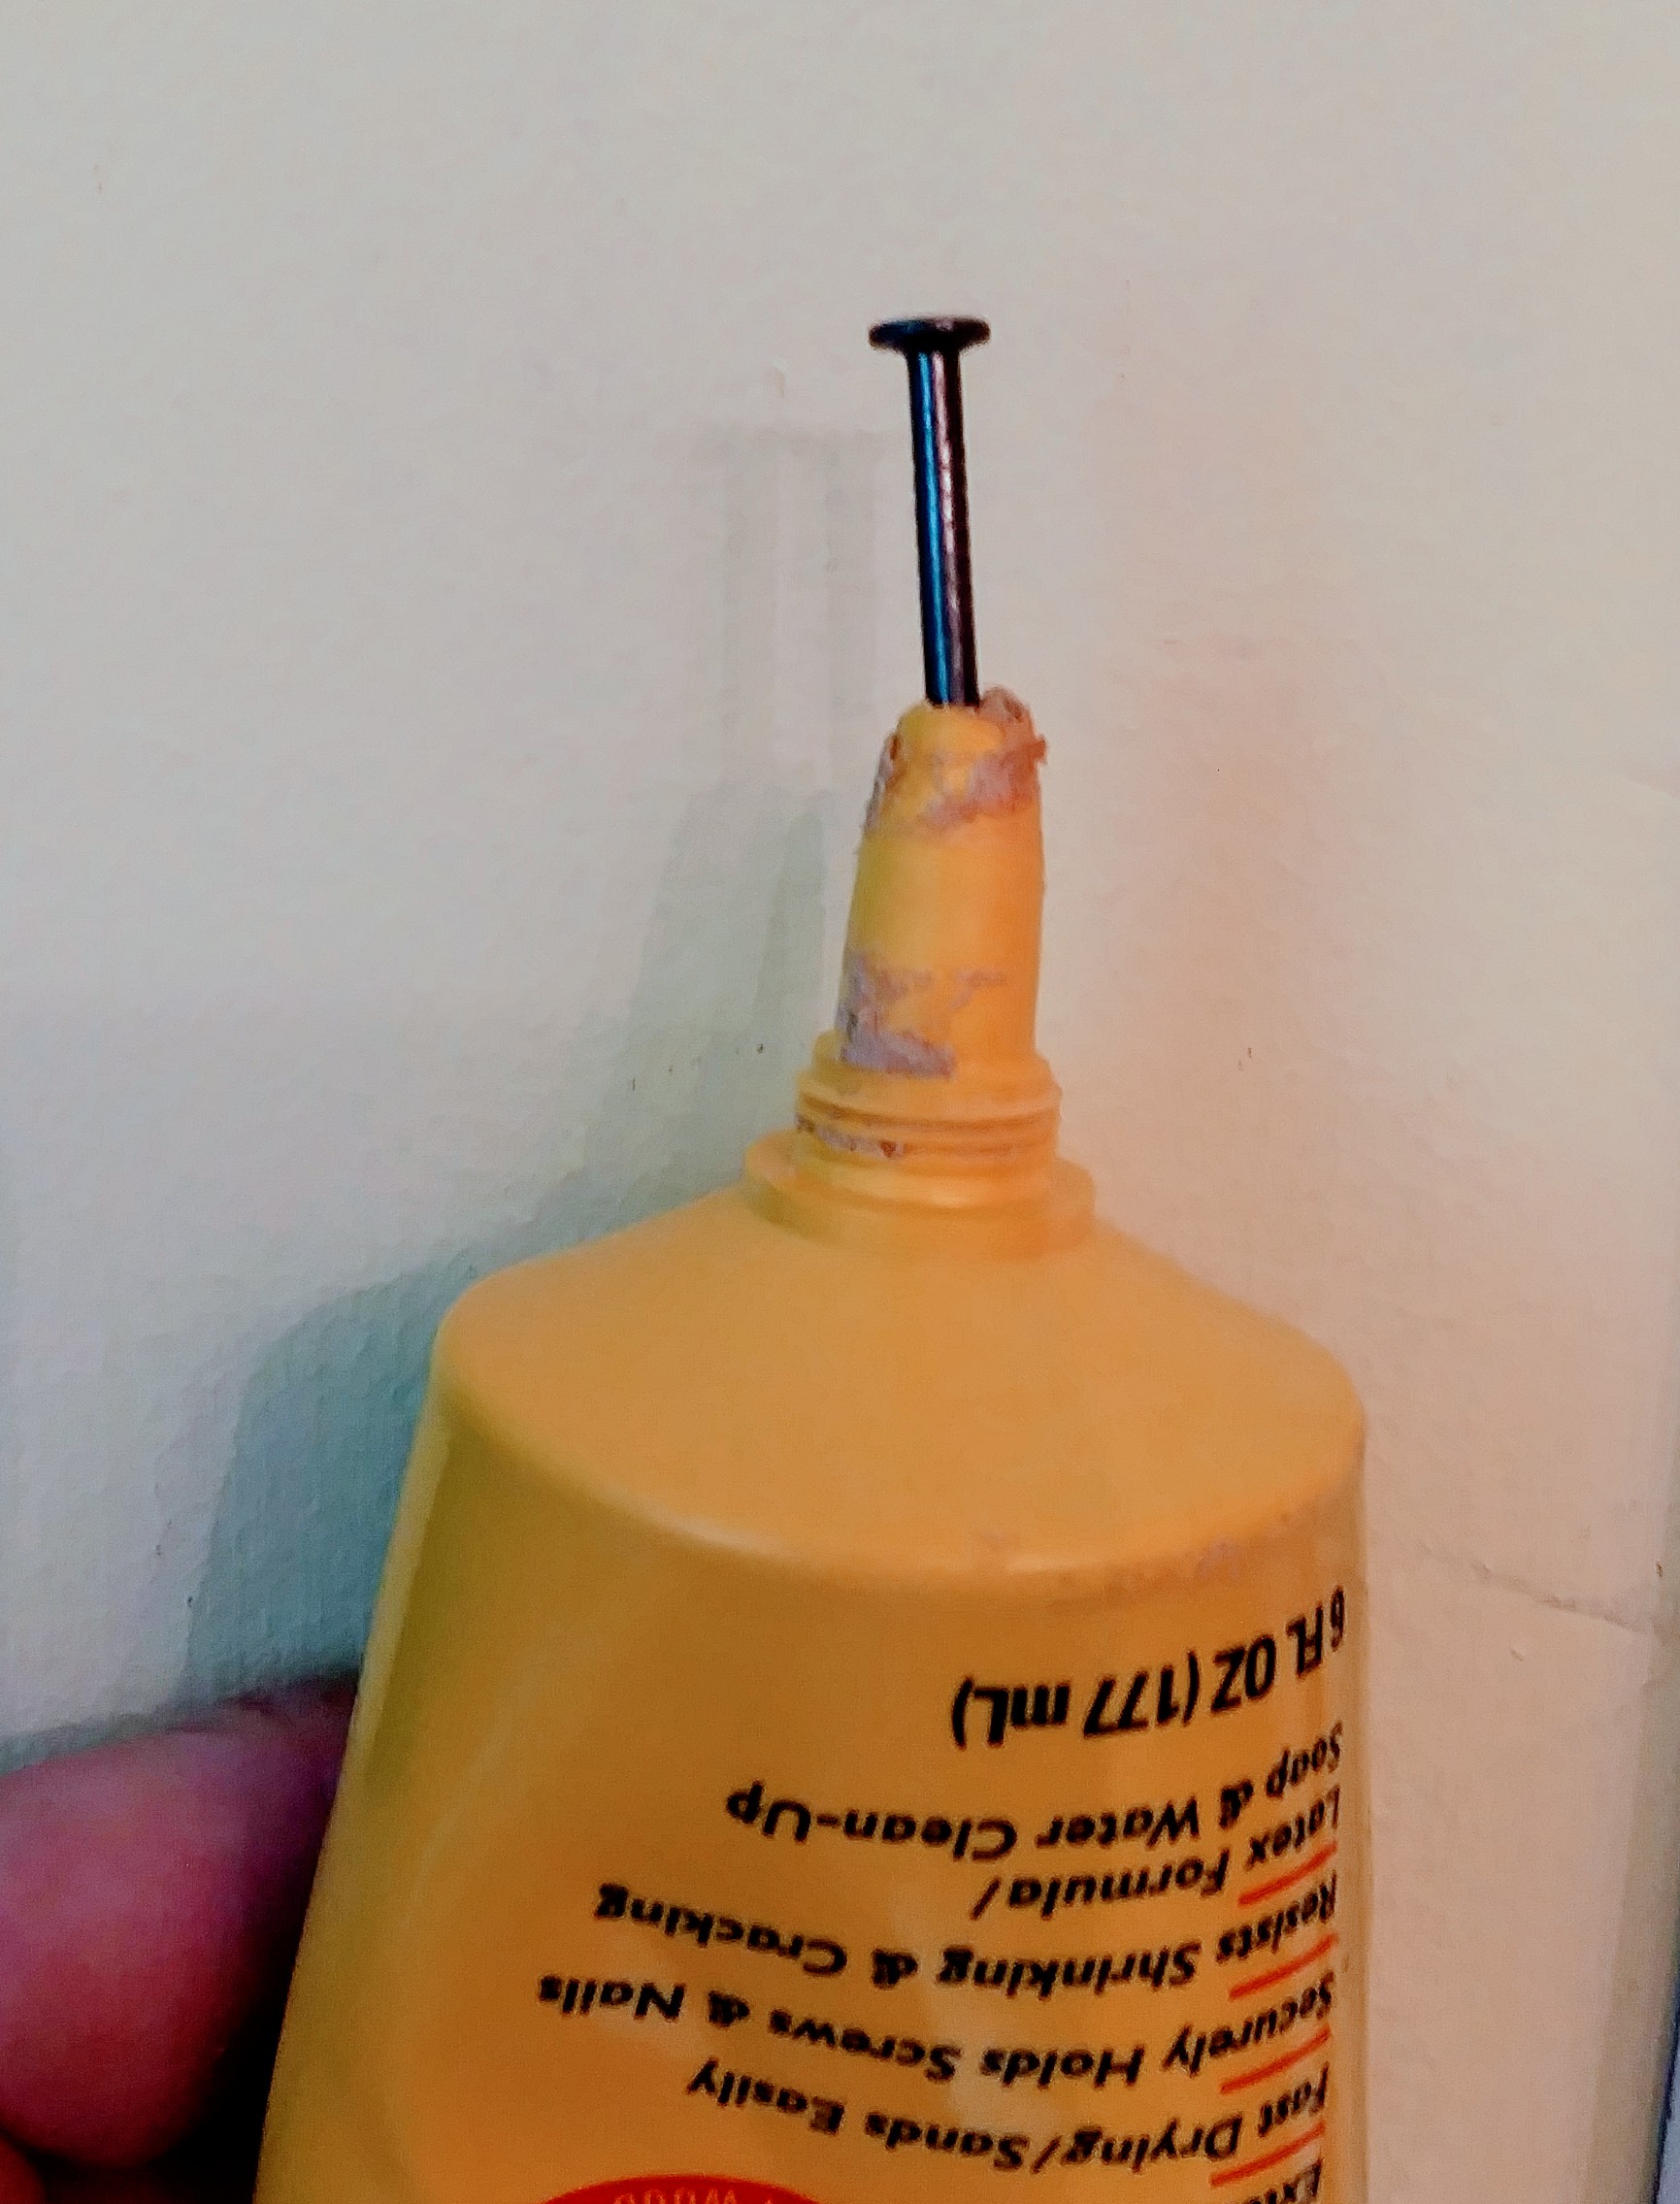 Wood Filler
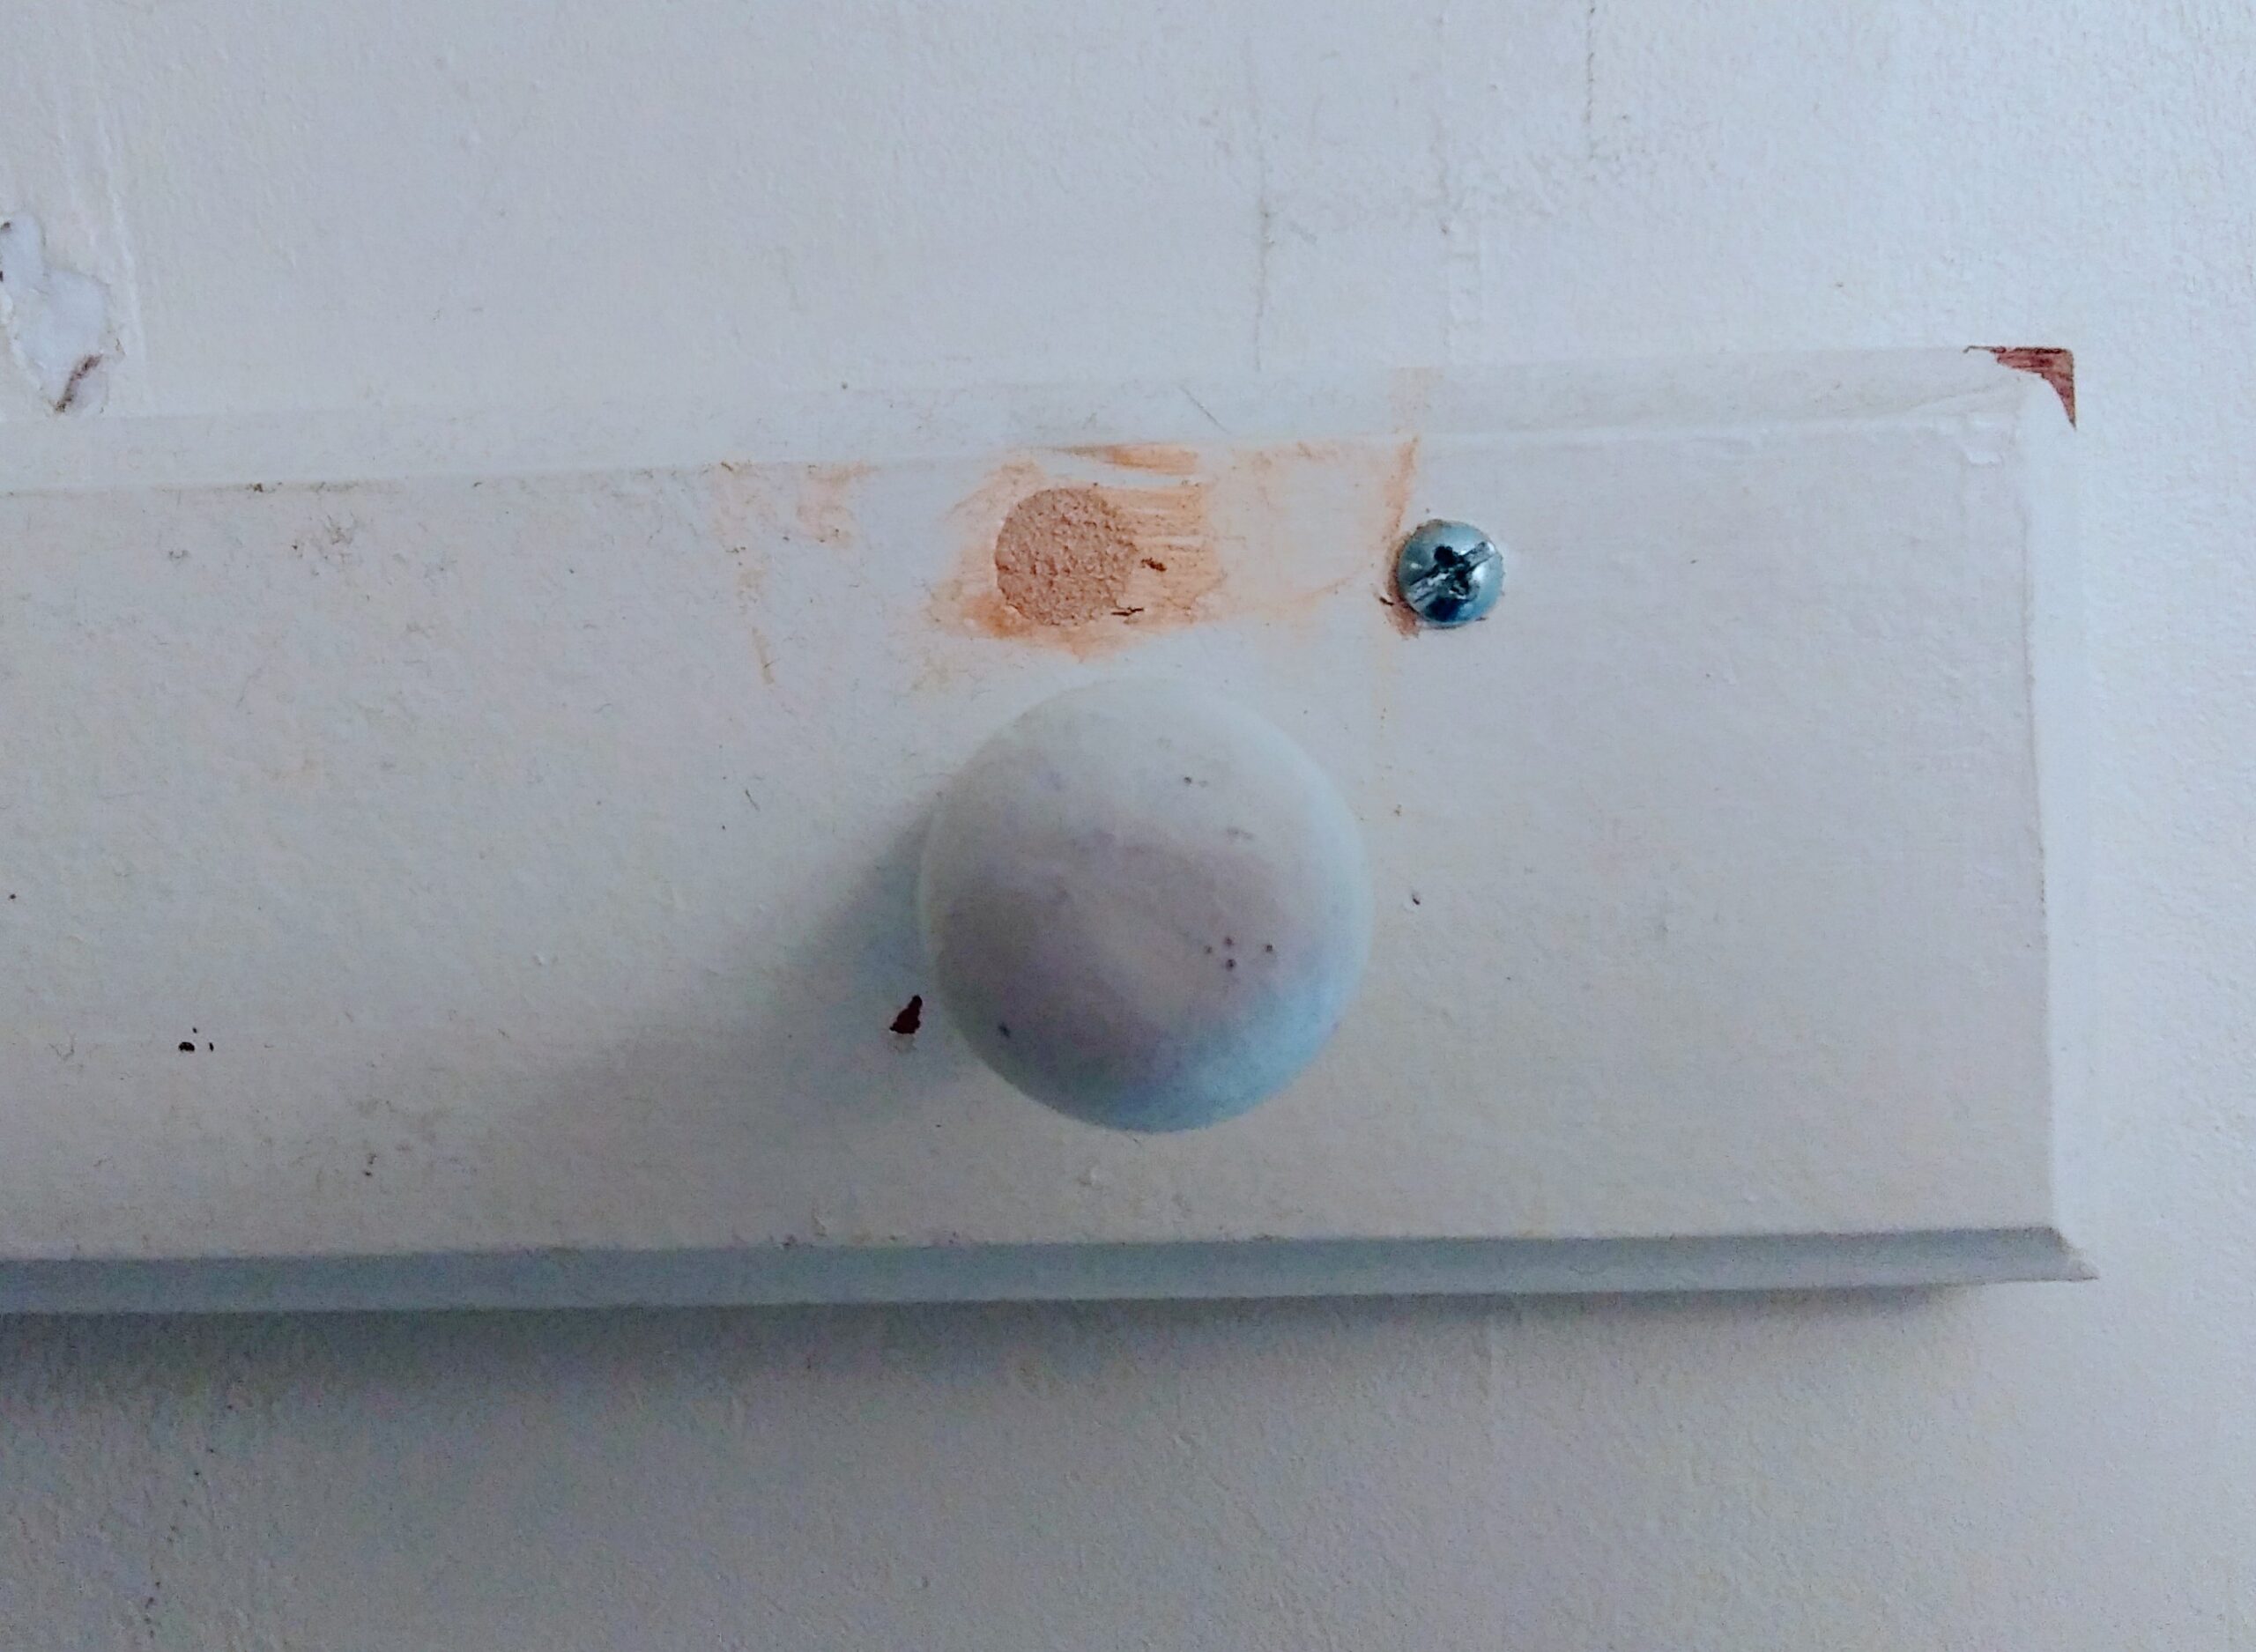 Hole in Coat Rack Filled in with Wood Putty
I also filled in the old coat rack hole with wood putty and smoothed it over.
To open the clogged tube of wood filler, I first inserted a long nail and then a wooden skewer into the opening.
As you can see from the above photograph, the hole in the coat rack has been filled in.
When dry, I lightly sanded the spackling and then applied a second coat of spacking. The last step is to paint the area.
Unfortunately, so far I have not been able to find any left over bathroom paint to finish this job.
With COVID-19 lock down still going on, not sure when I’ll be able to get out and buy some additional paint. For now, I’ll have to finish this project at another time.
Installing a Brass Door Stop
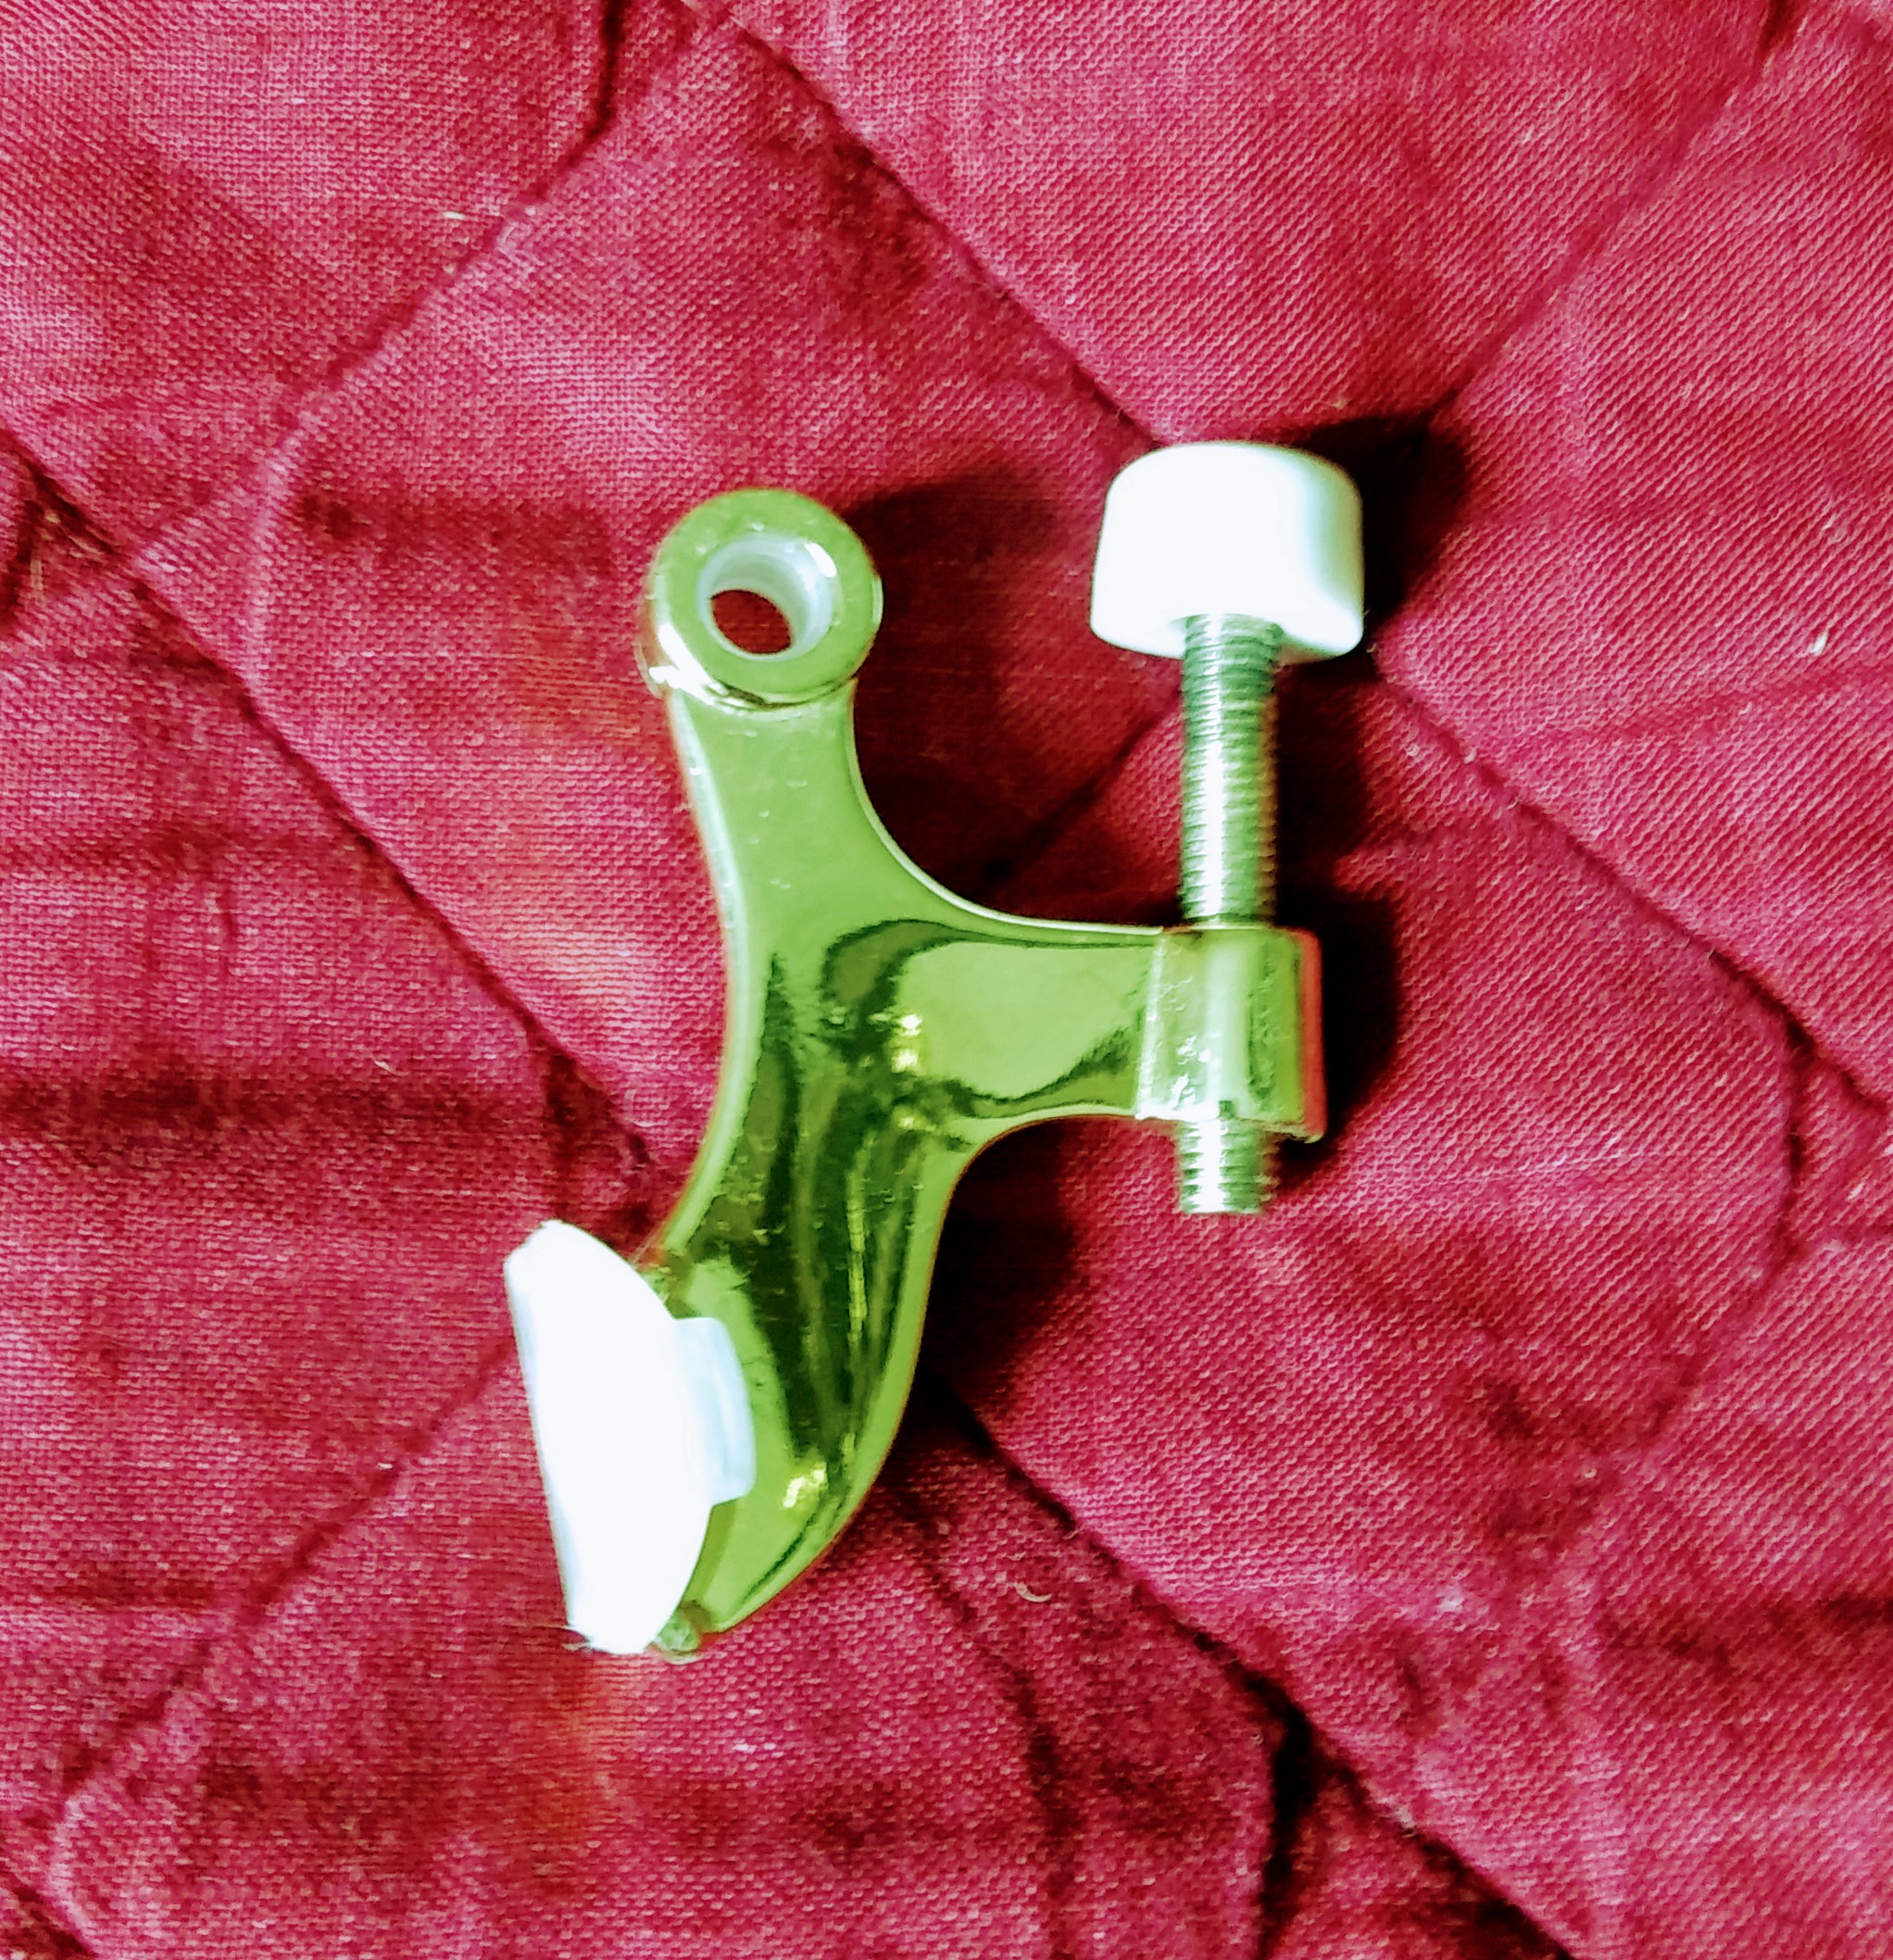 Brass Door Stop
In that same bathroom, I have a door knob that leaves an impression on the bathroom wall.
I wanted to install a door stop to alleviate that issue.
This was a easy to do project. I removed the center pin from the bottom hinge.
I added the door stop to the pin and then reinserted the pin into the hinge.
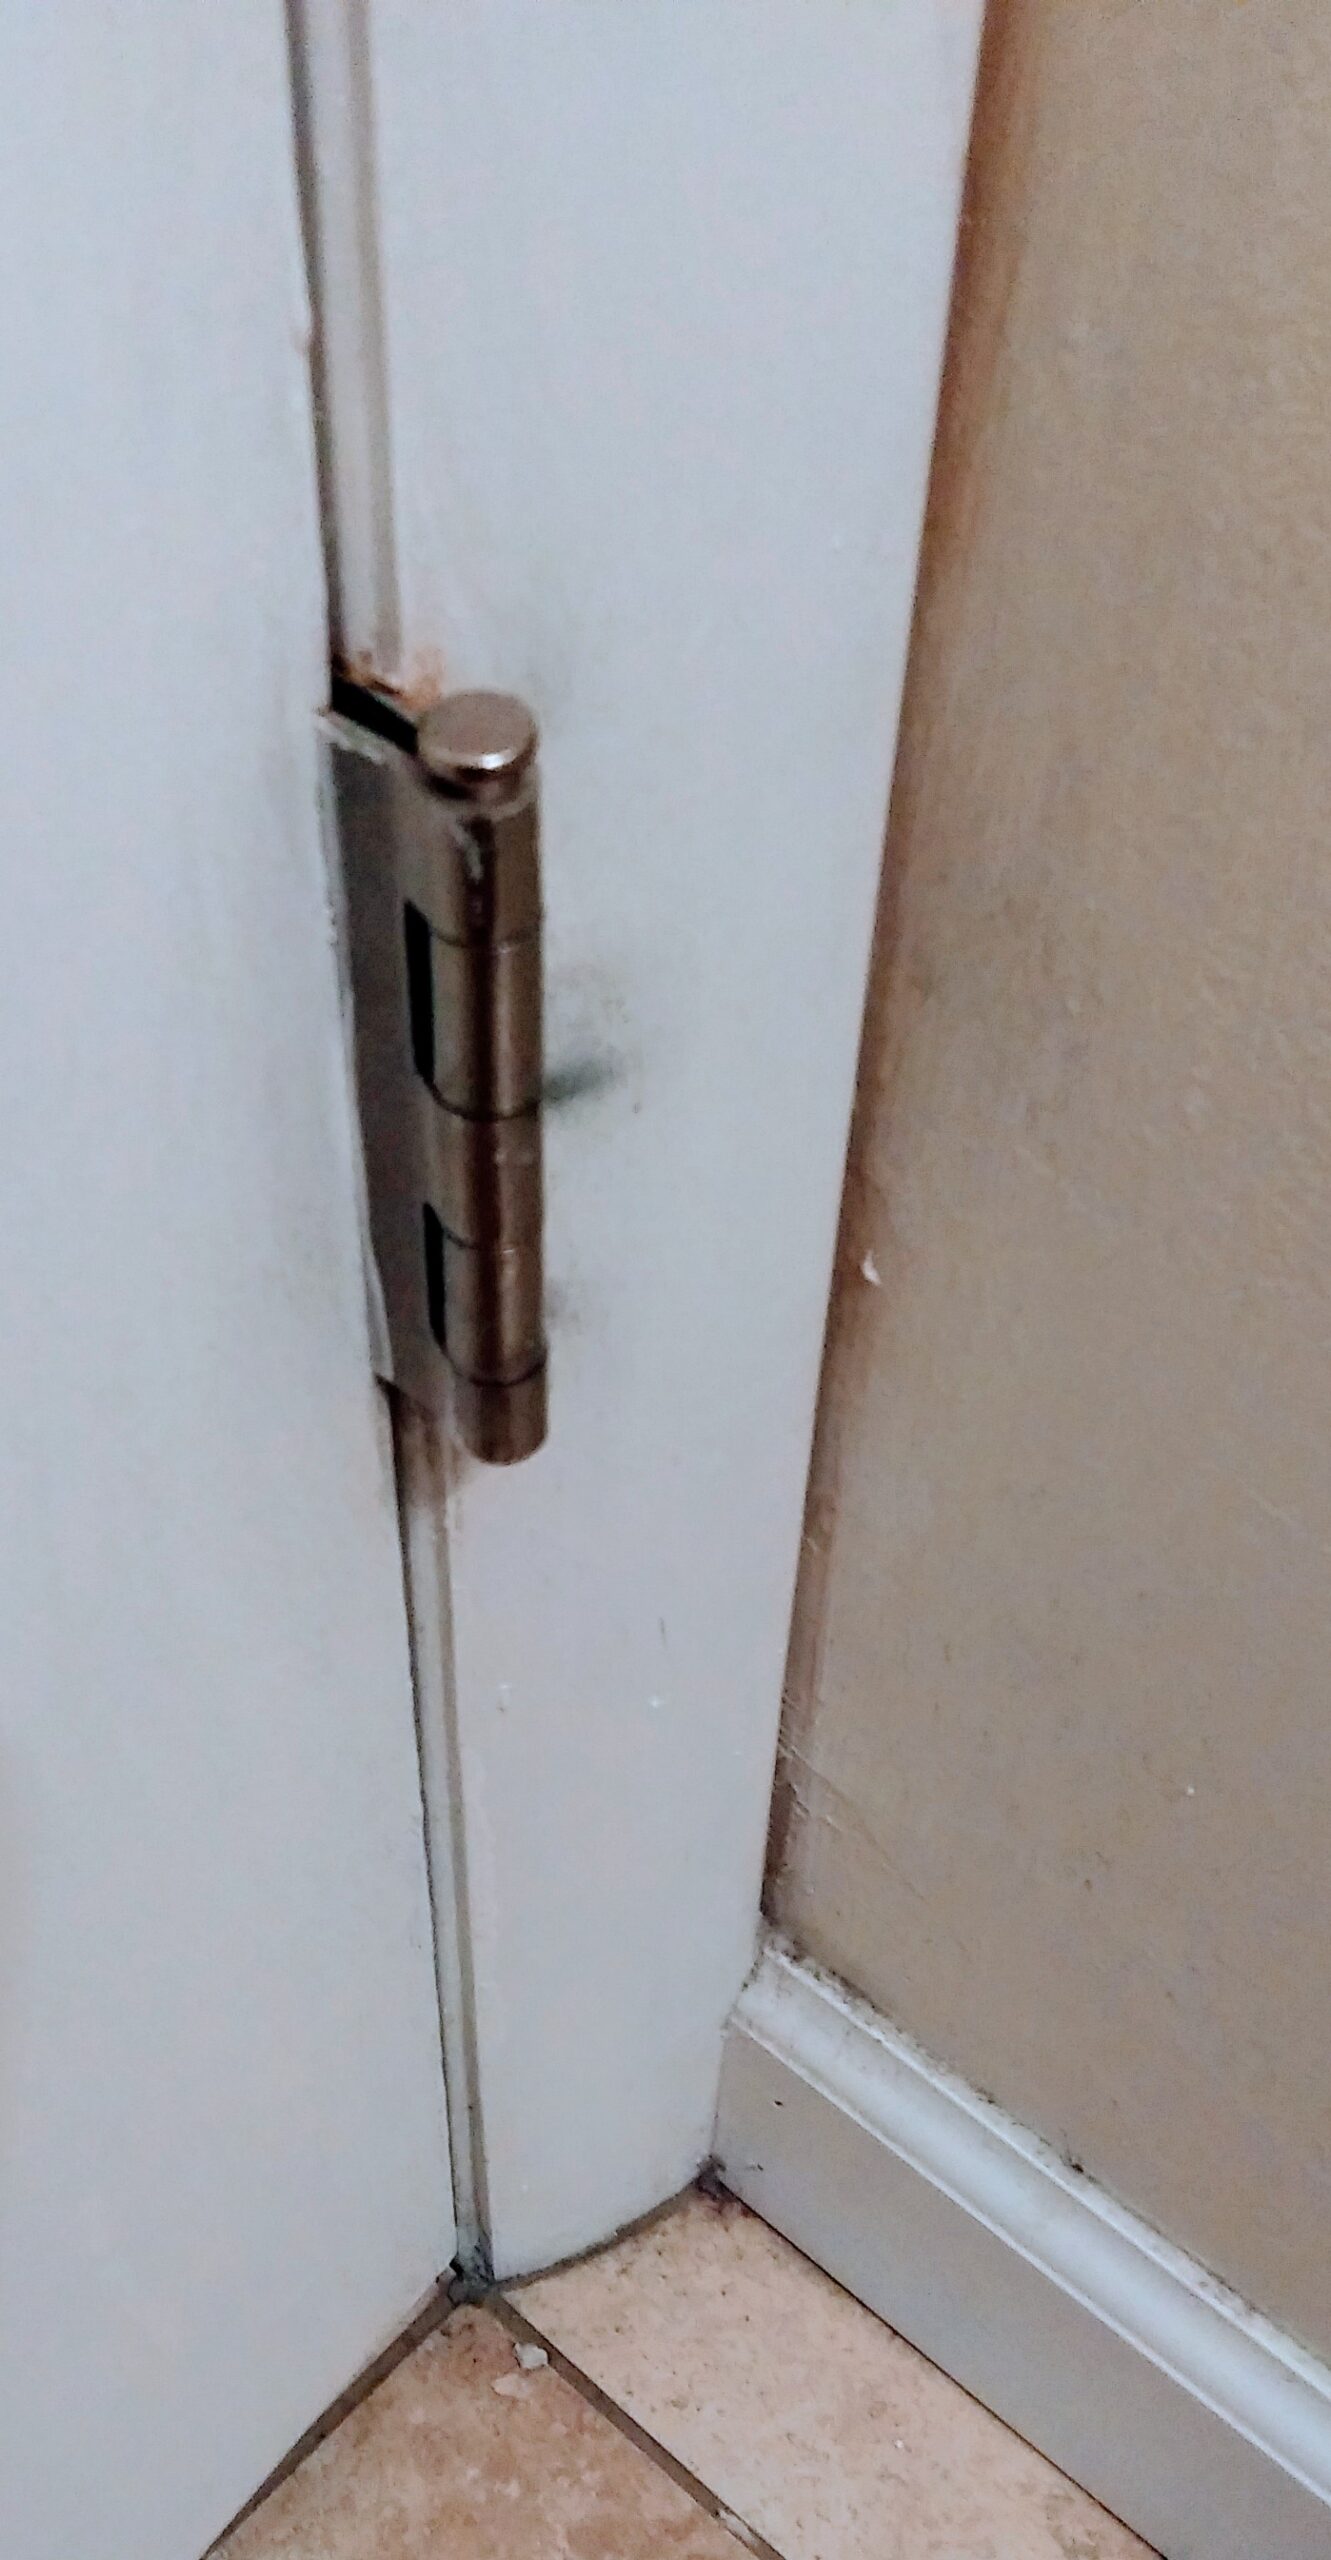 Before Photograph of Bathroom Door Hinge
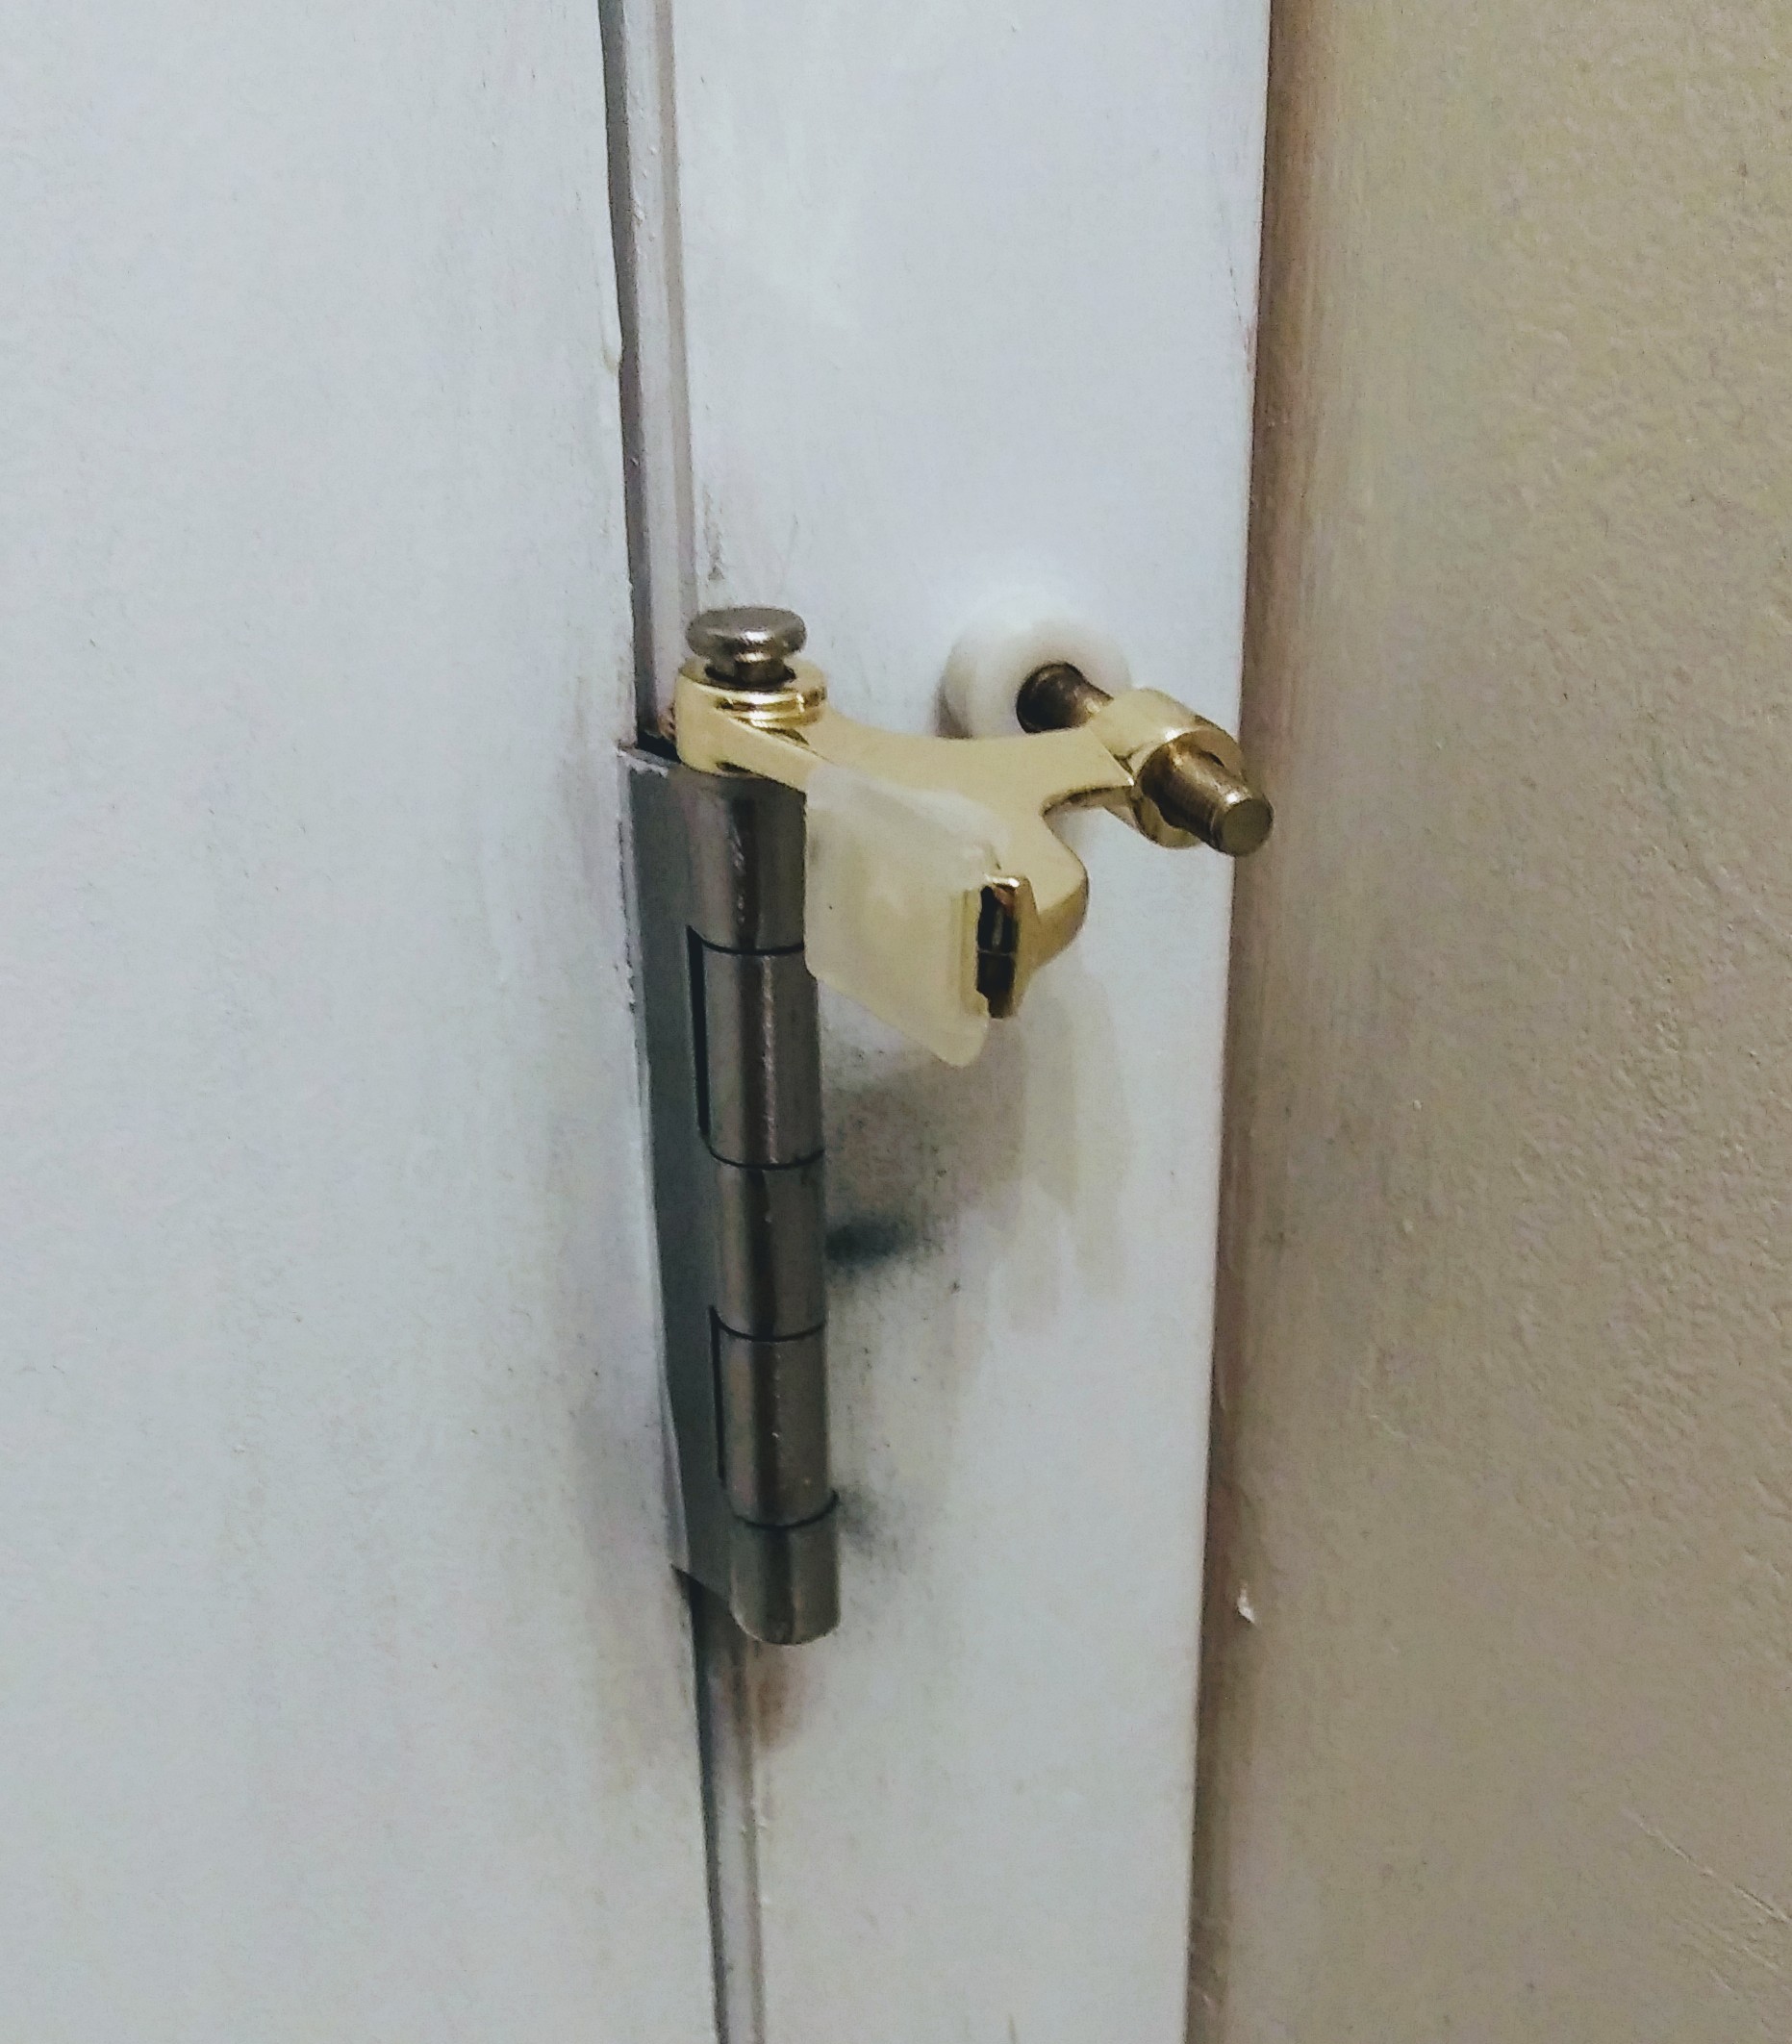 Installed Door Stop
The last step is to adjust the white tipped end so the wall is no longer touched by the door knob.
Bonus Project – Fixing Separating Bark from Wooden Display Plate
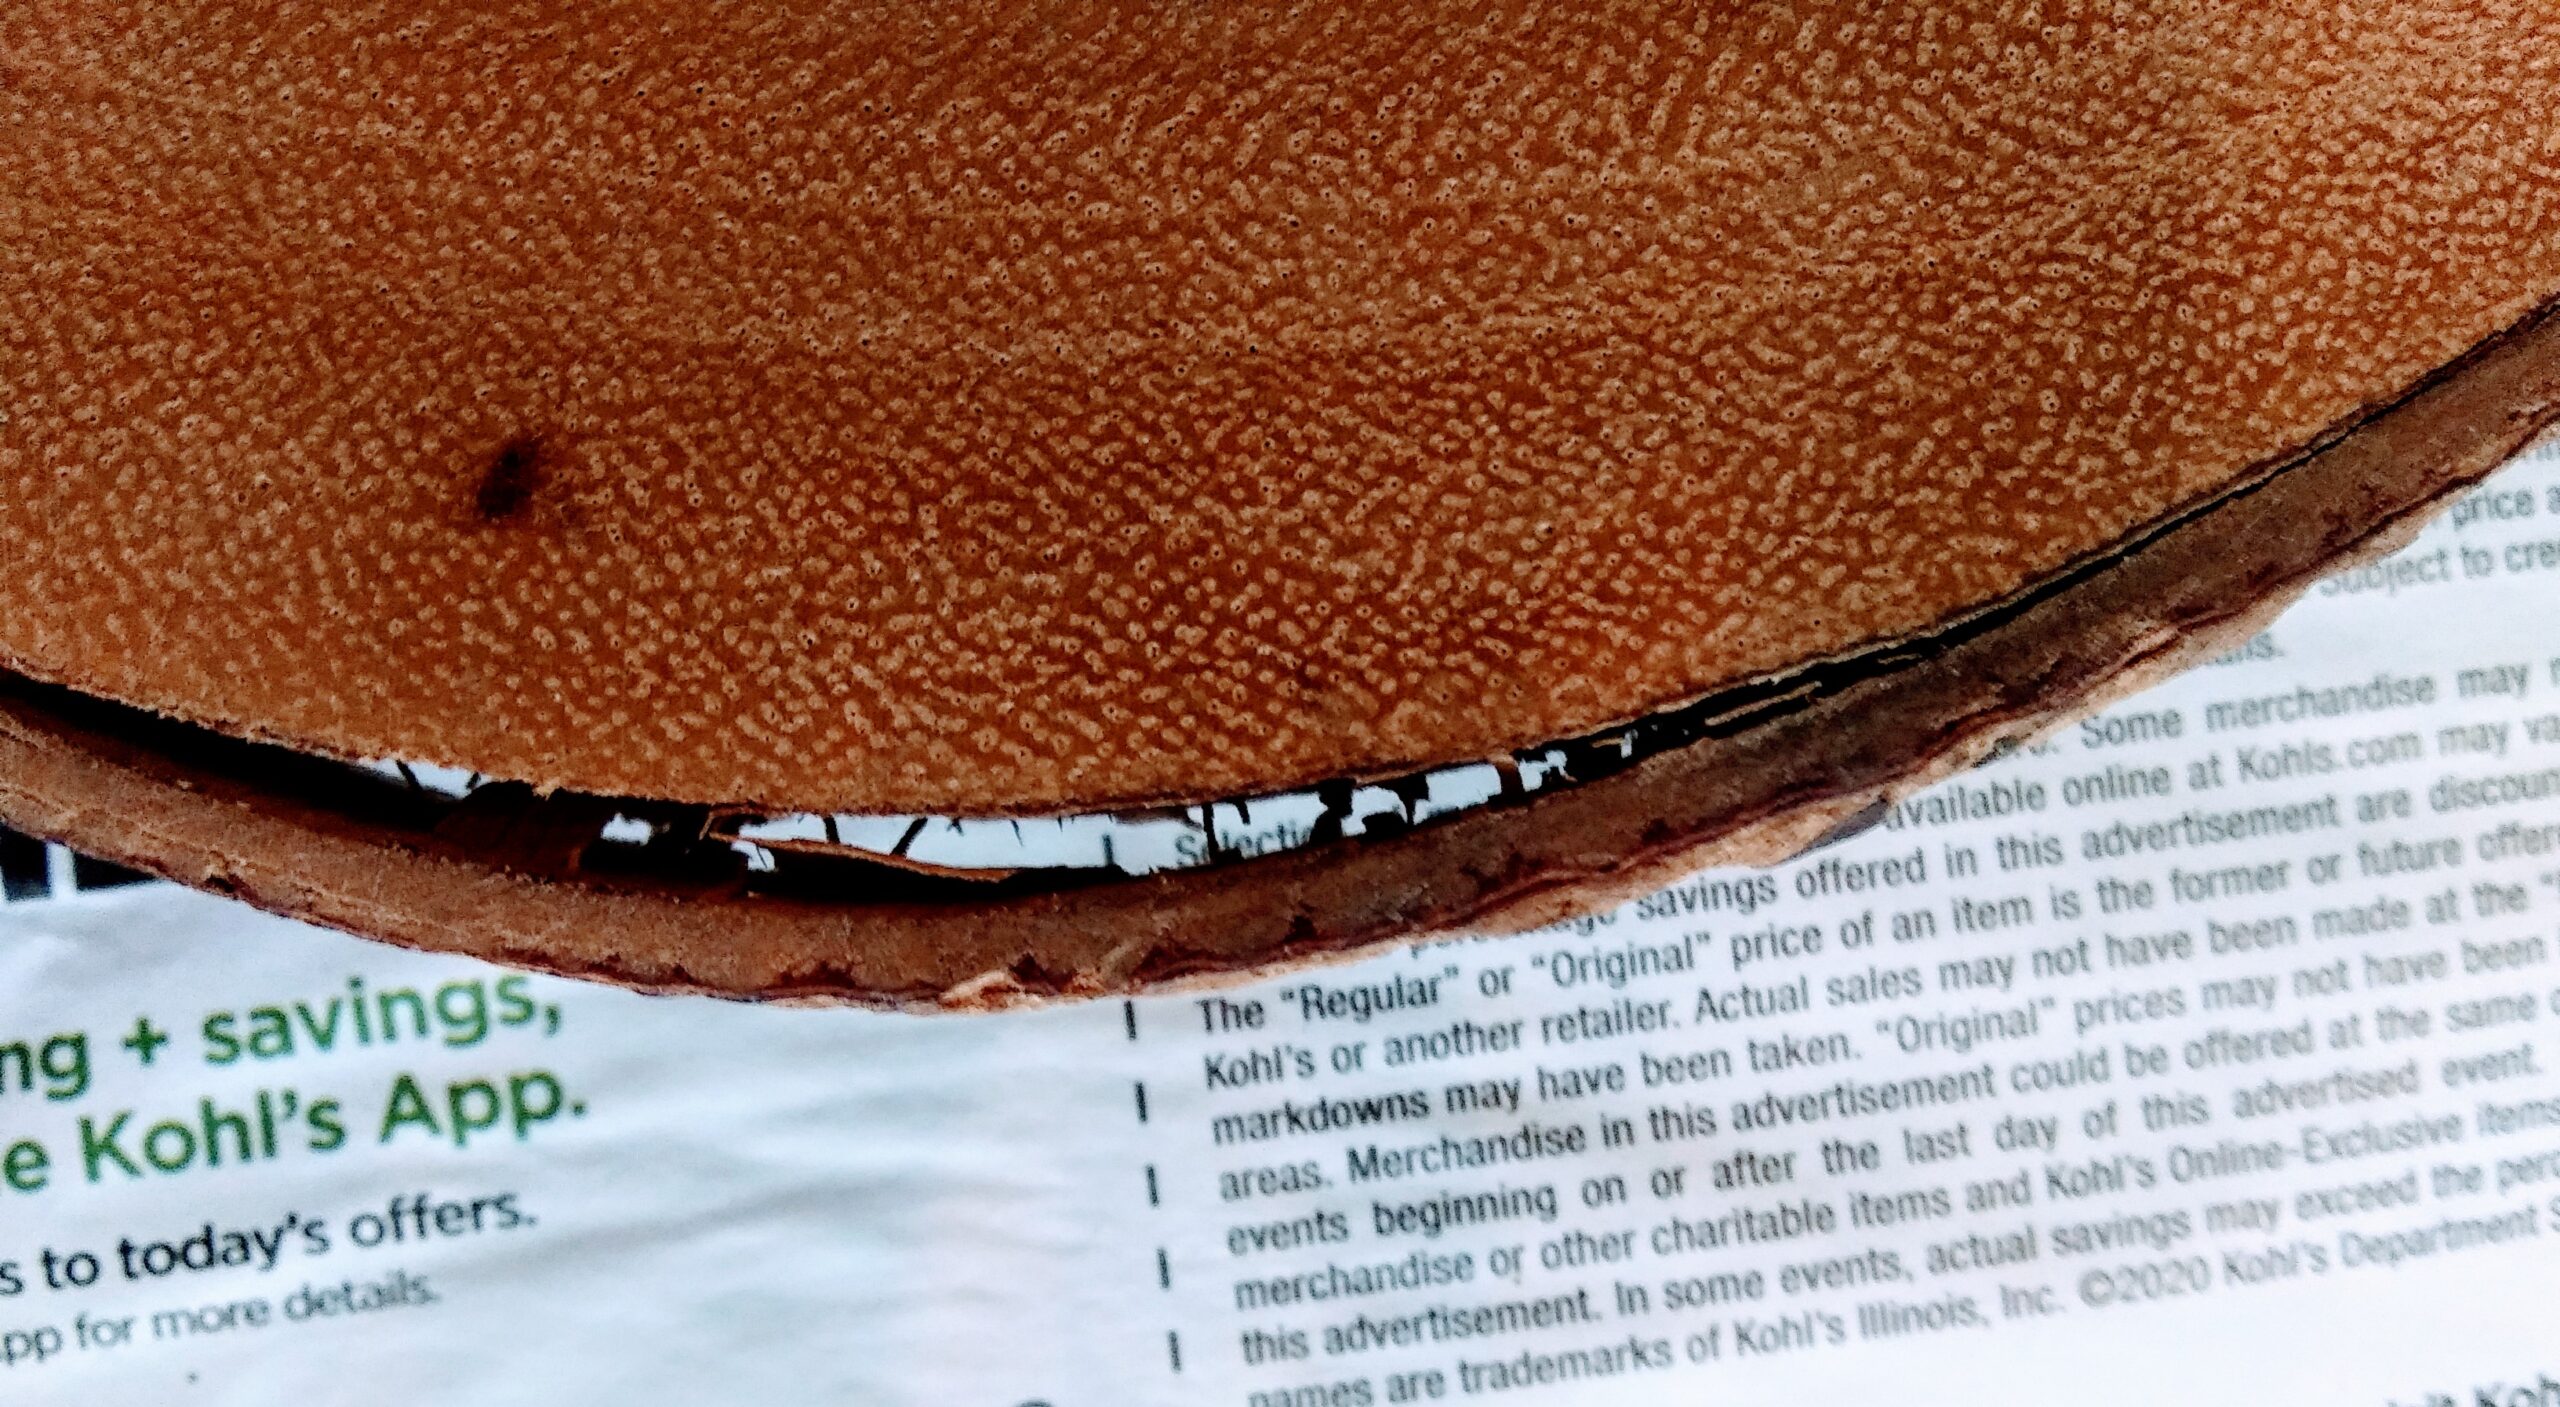 Before Photograph Showing Area Needing Repaired
As long as I had the wood filler out, I decided to do a quick repair on a wooden slice display dish. The bark is separating from the rest of the dish, (see photograph).
Using a small amount of wood filler, I pushed it in to the open area. I allowed to dry thoroughly.
I might try to match up the color and paint the area.
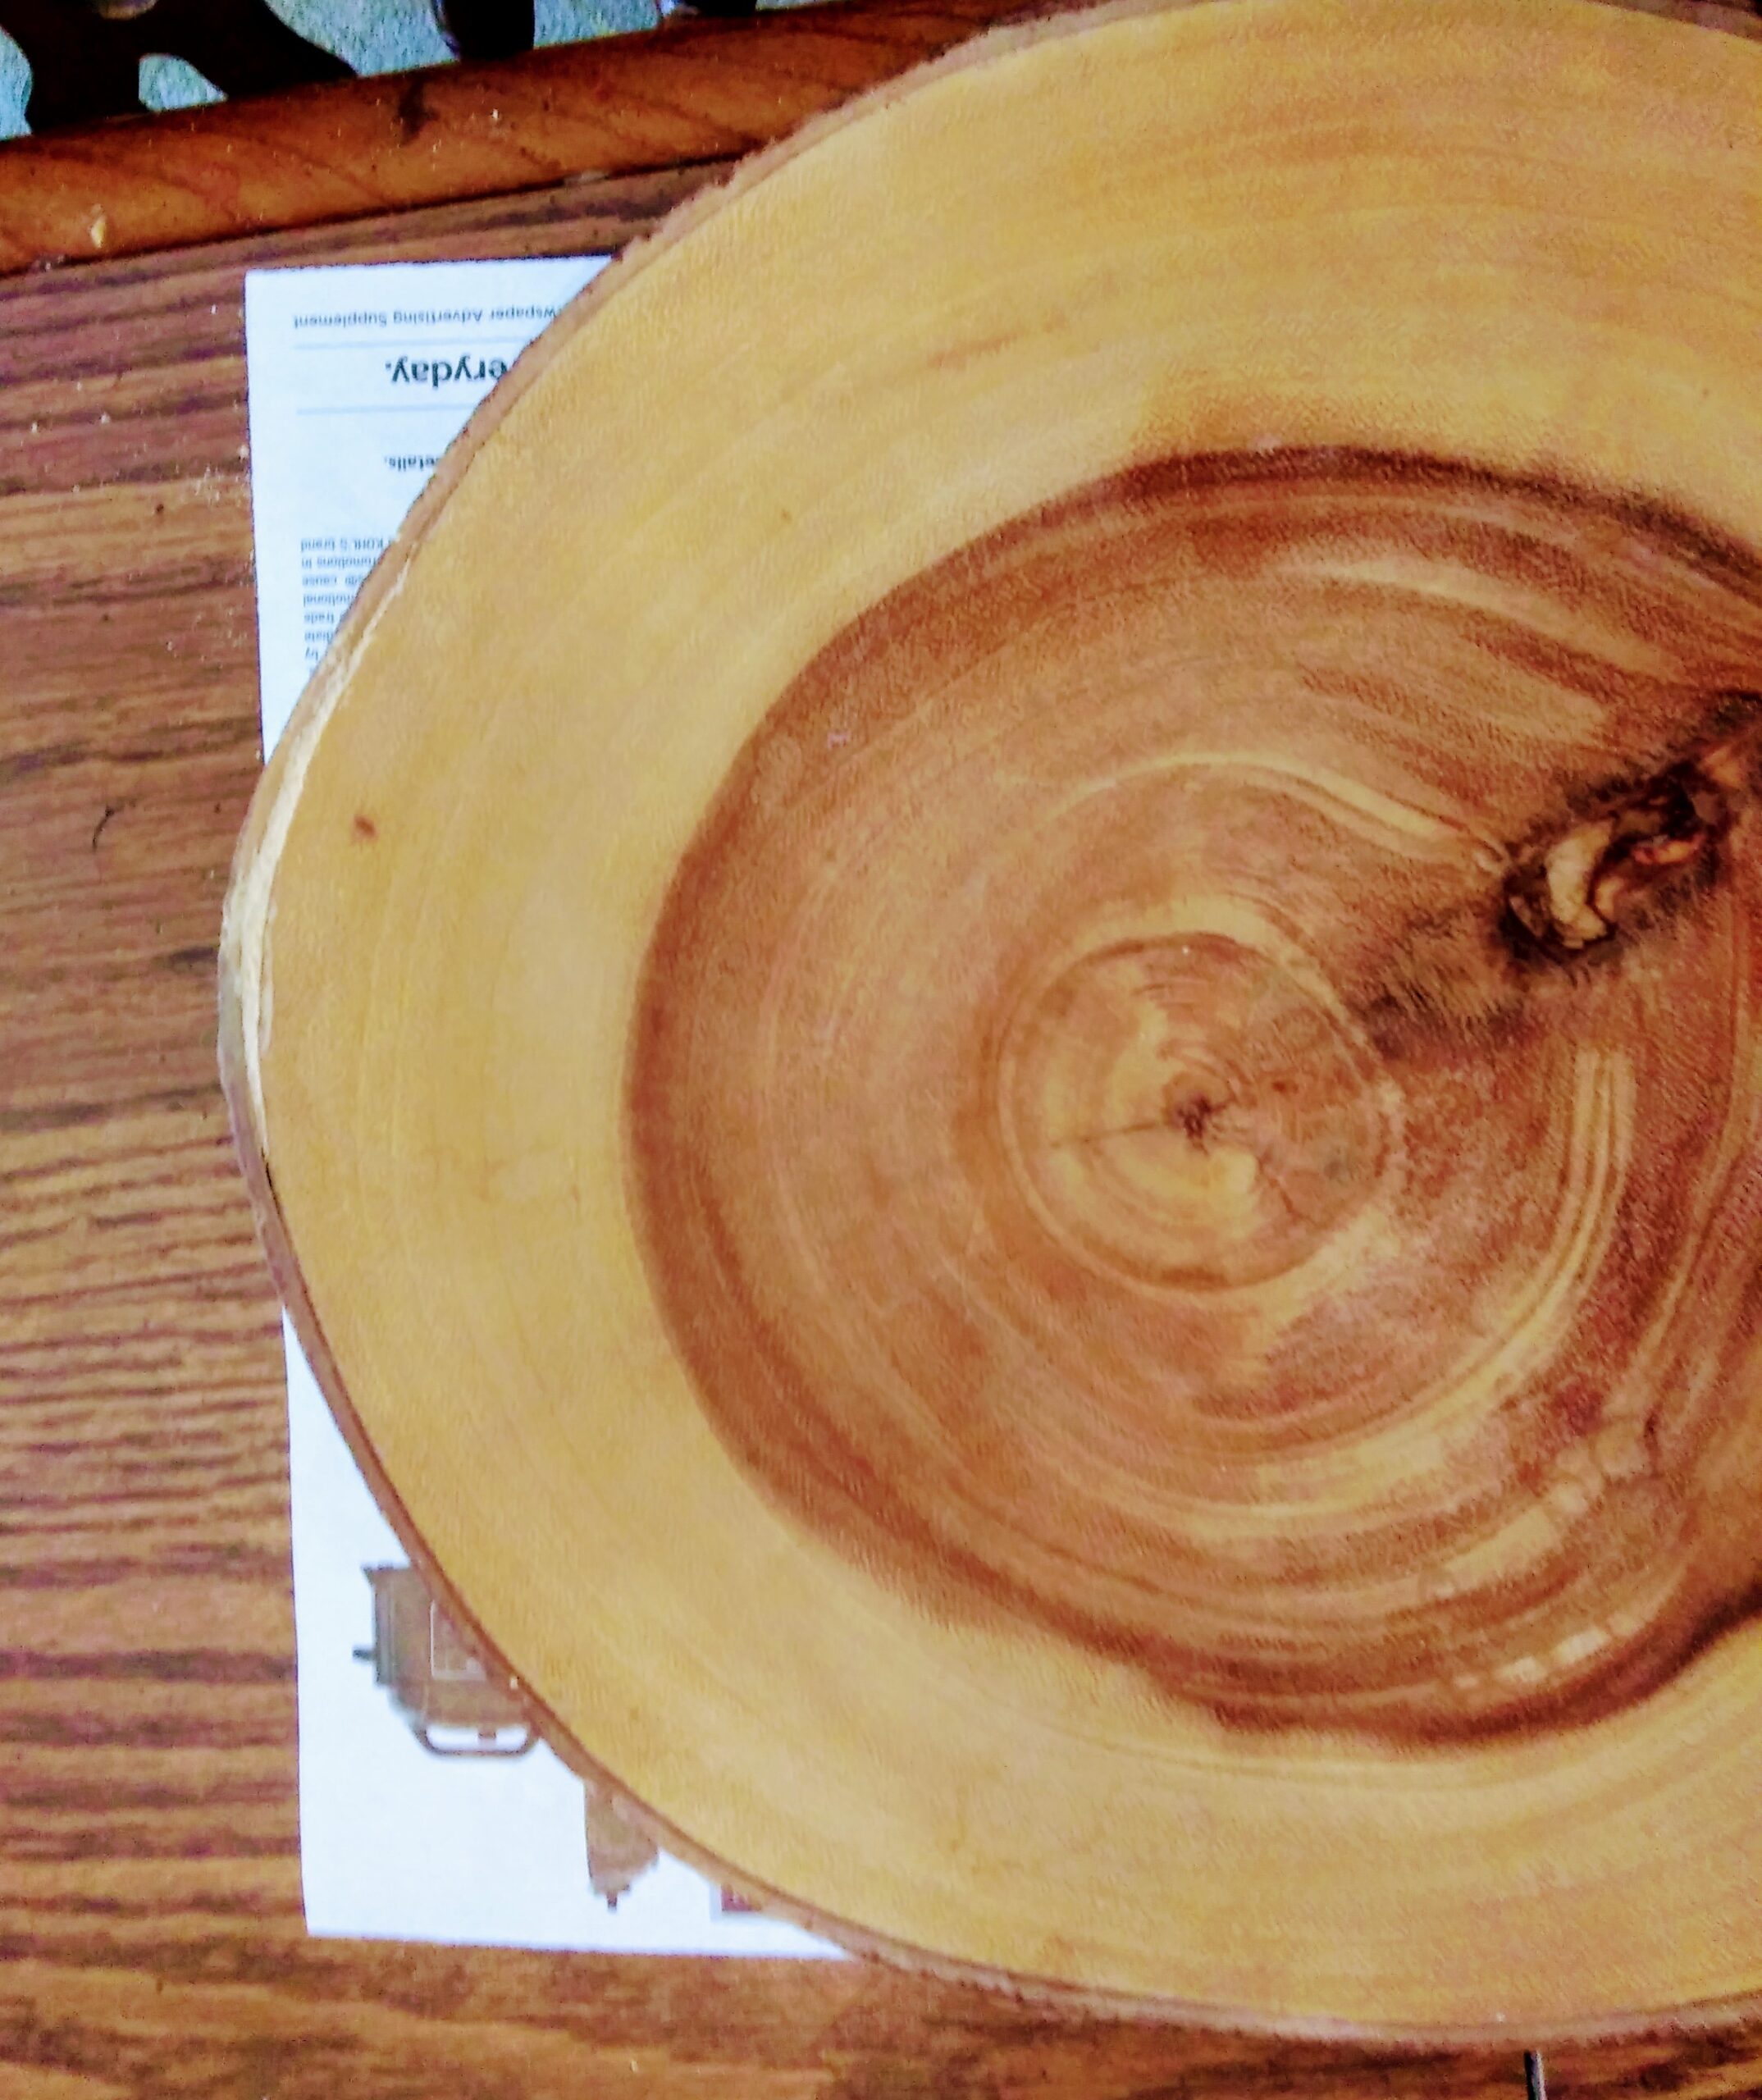 Repaired Wooden Display Dish

Jeanette,
Thanks for your comment on using a stud finder. I’m thinking of buying a new bathroom towel rack so I’ll be looking for stud placement once again. Take care and enjoy the day.
FARMHOUSE MAGIC BLOG.COM
Agustin,
Being a new blogger myself, I’m still learning. You will need to set some time apart to create your blog entries. It always takes more time than you think. Also, you’ll receive a lot of spam and robot comments, so be careful with that. Good luck with your first-time blogging efforts!
FARMHOUSE MAGIC BLOG.COM
Broderick,
Thanks for your comment. I use a WordPress theme for my blog and have never hired a web designer. I take all my photographs to avoid any legal issues but they are edited to get the best look. Good luck with your new web site!
FARMHOUSE MAGIC BLOG.COM