Making Faux White Cakes – Part 2
Today we will continue with the how to directions on crafting large and small faux cakes for display settings.
At this point the circular cake boxes are glued together. The next step is to form a ledge around cake bottoms. I traced the bottom of the cake boxes on stiff recycled cardboard.
When cutting out the two cardboard pieces, be sure to cut at least one fourth inch over from the pencil line as the below photograph indicates.
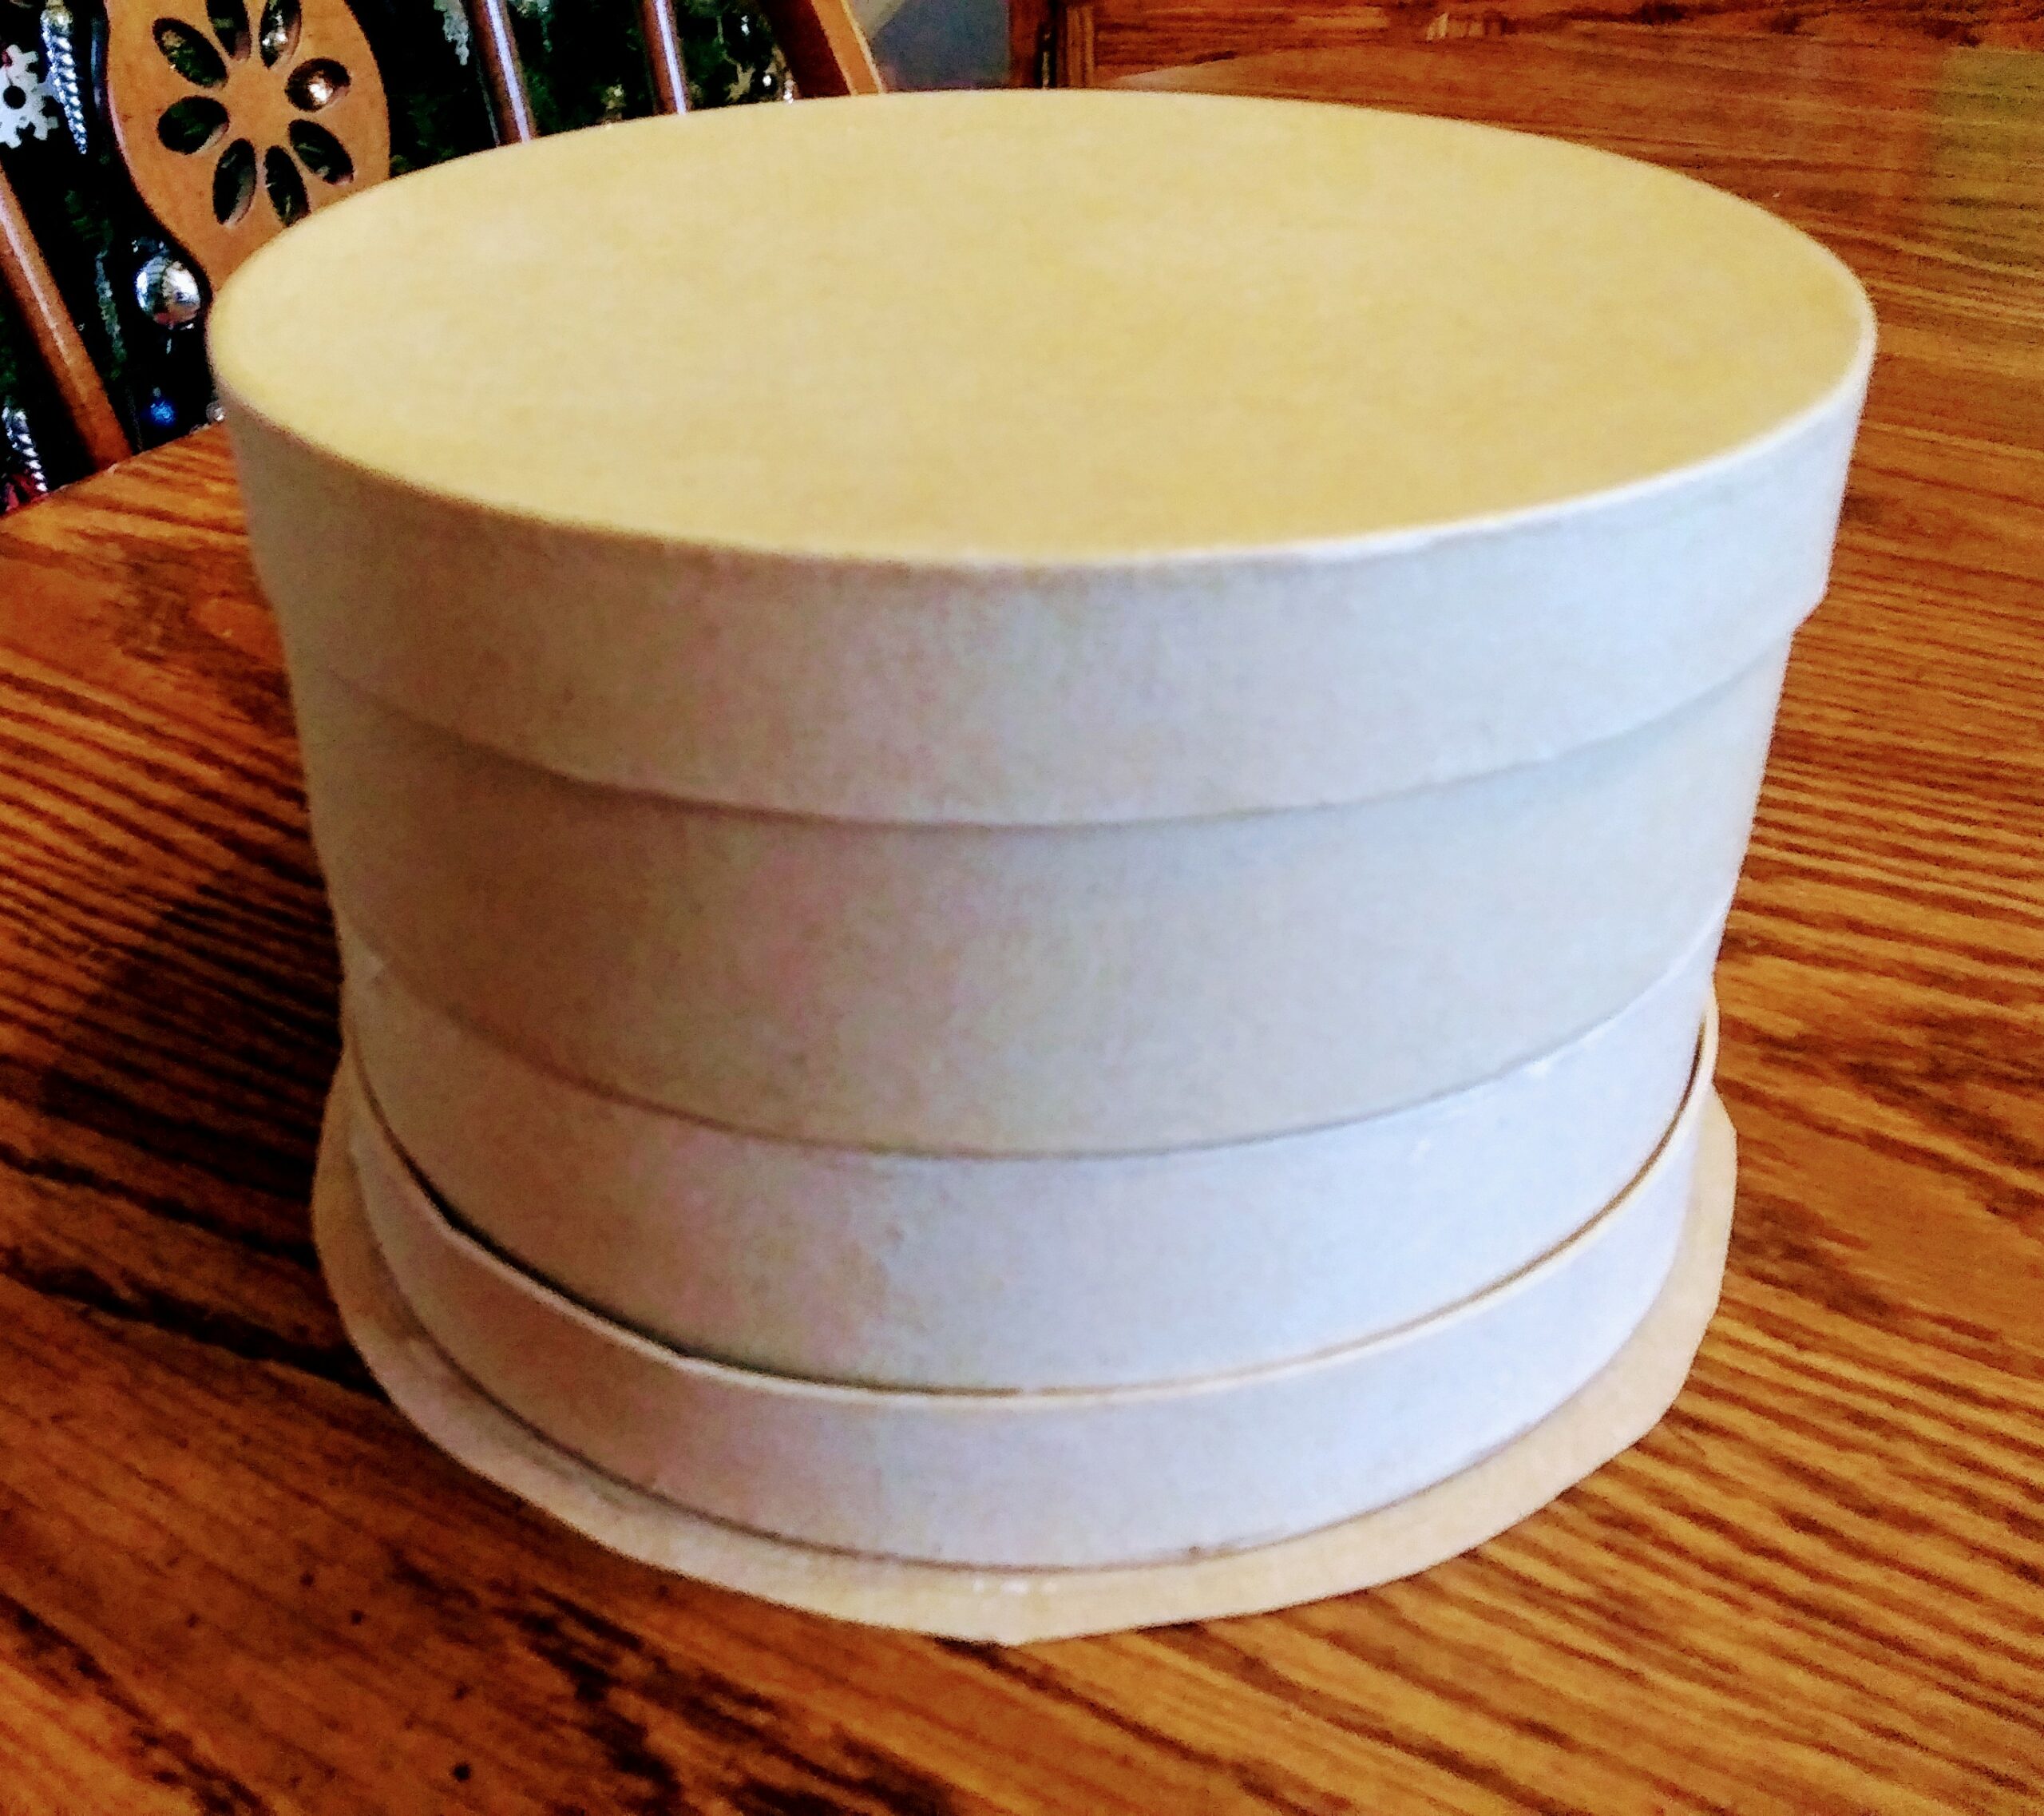 Faux Cake with Bottom Rim
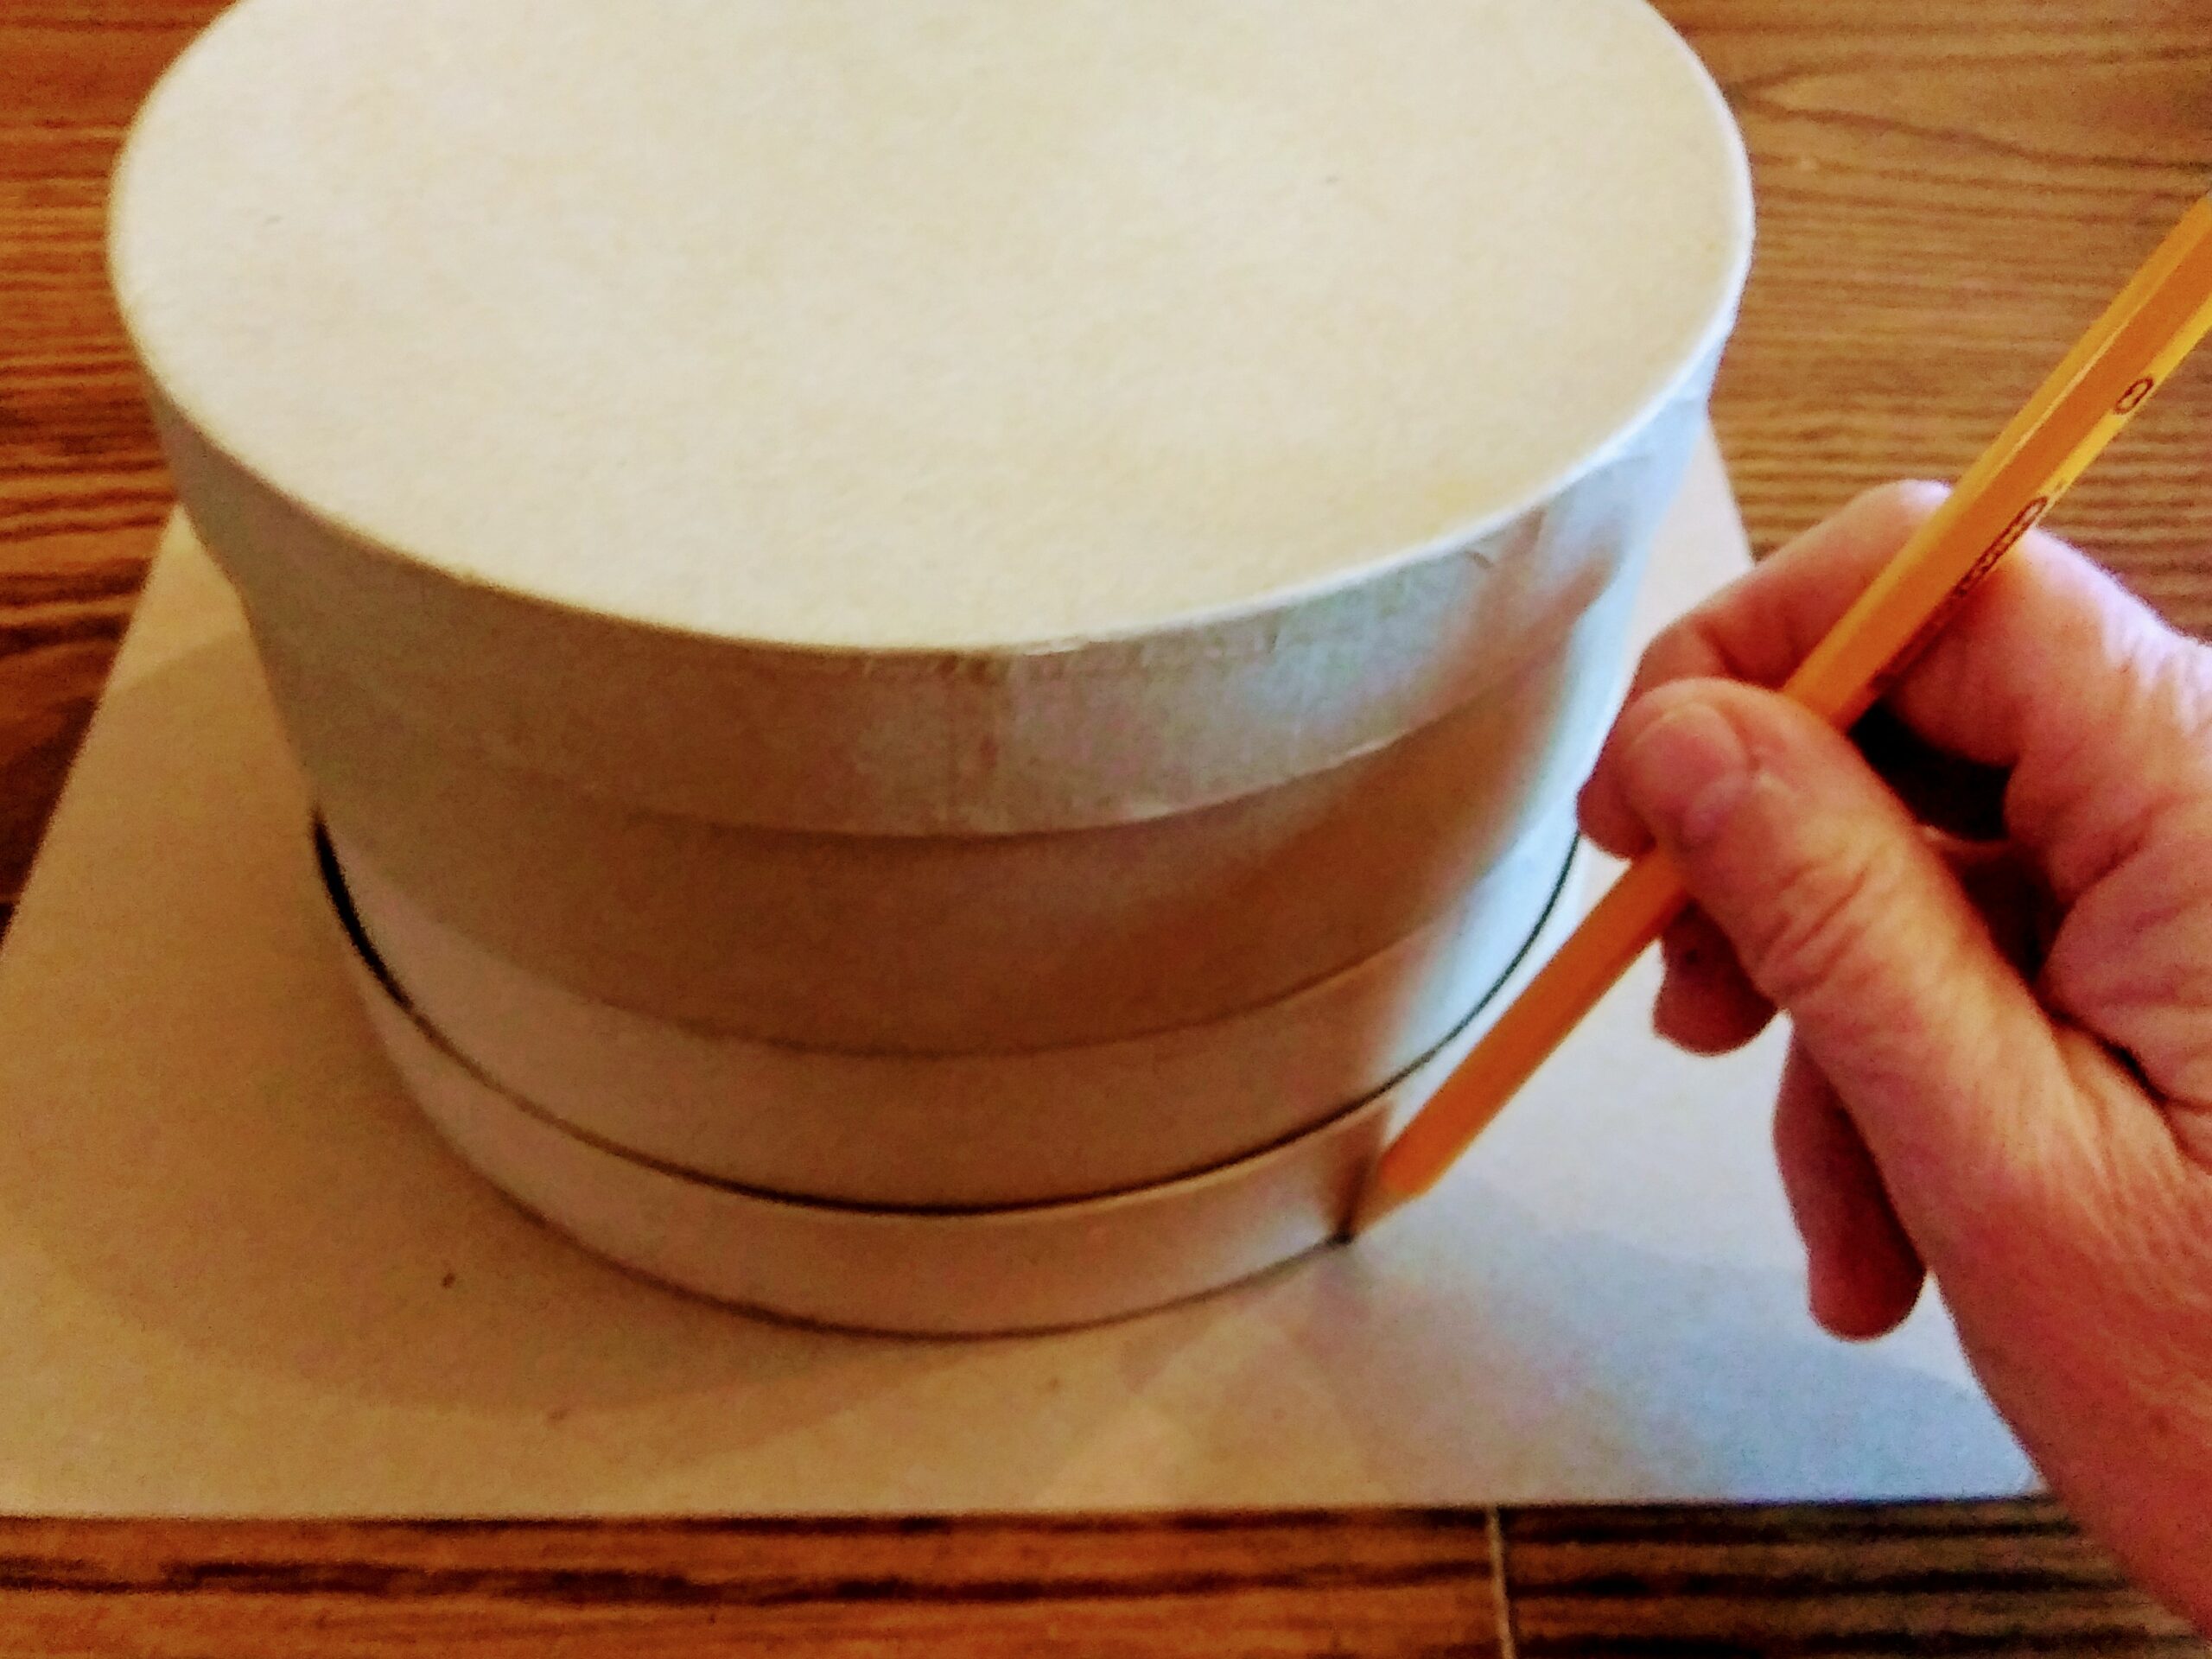 Tracing the Bottom Cardboard
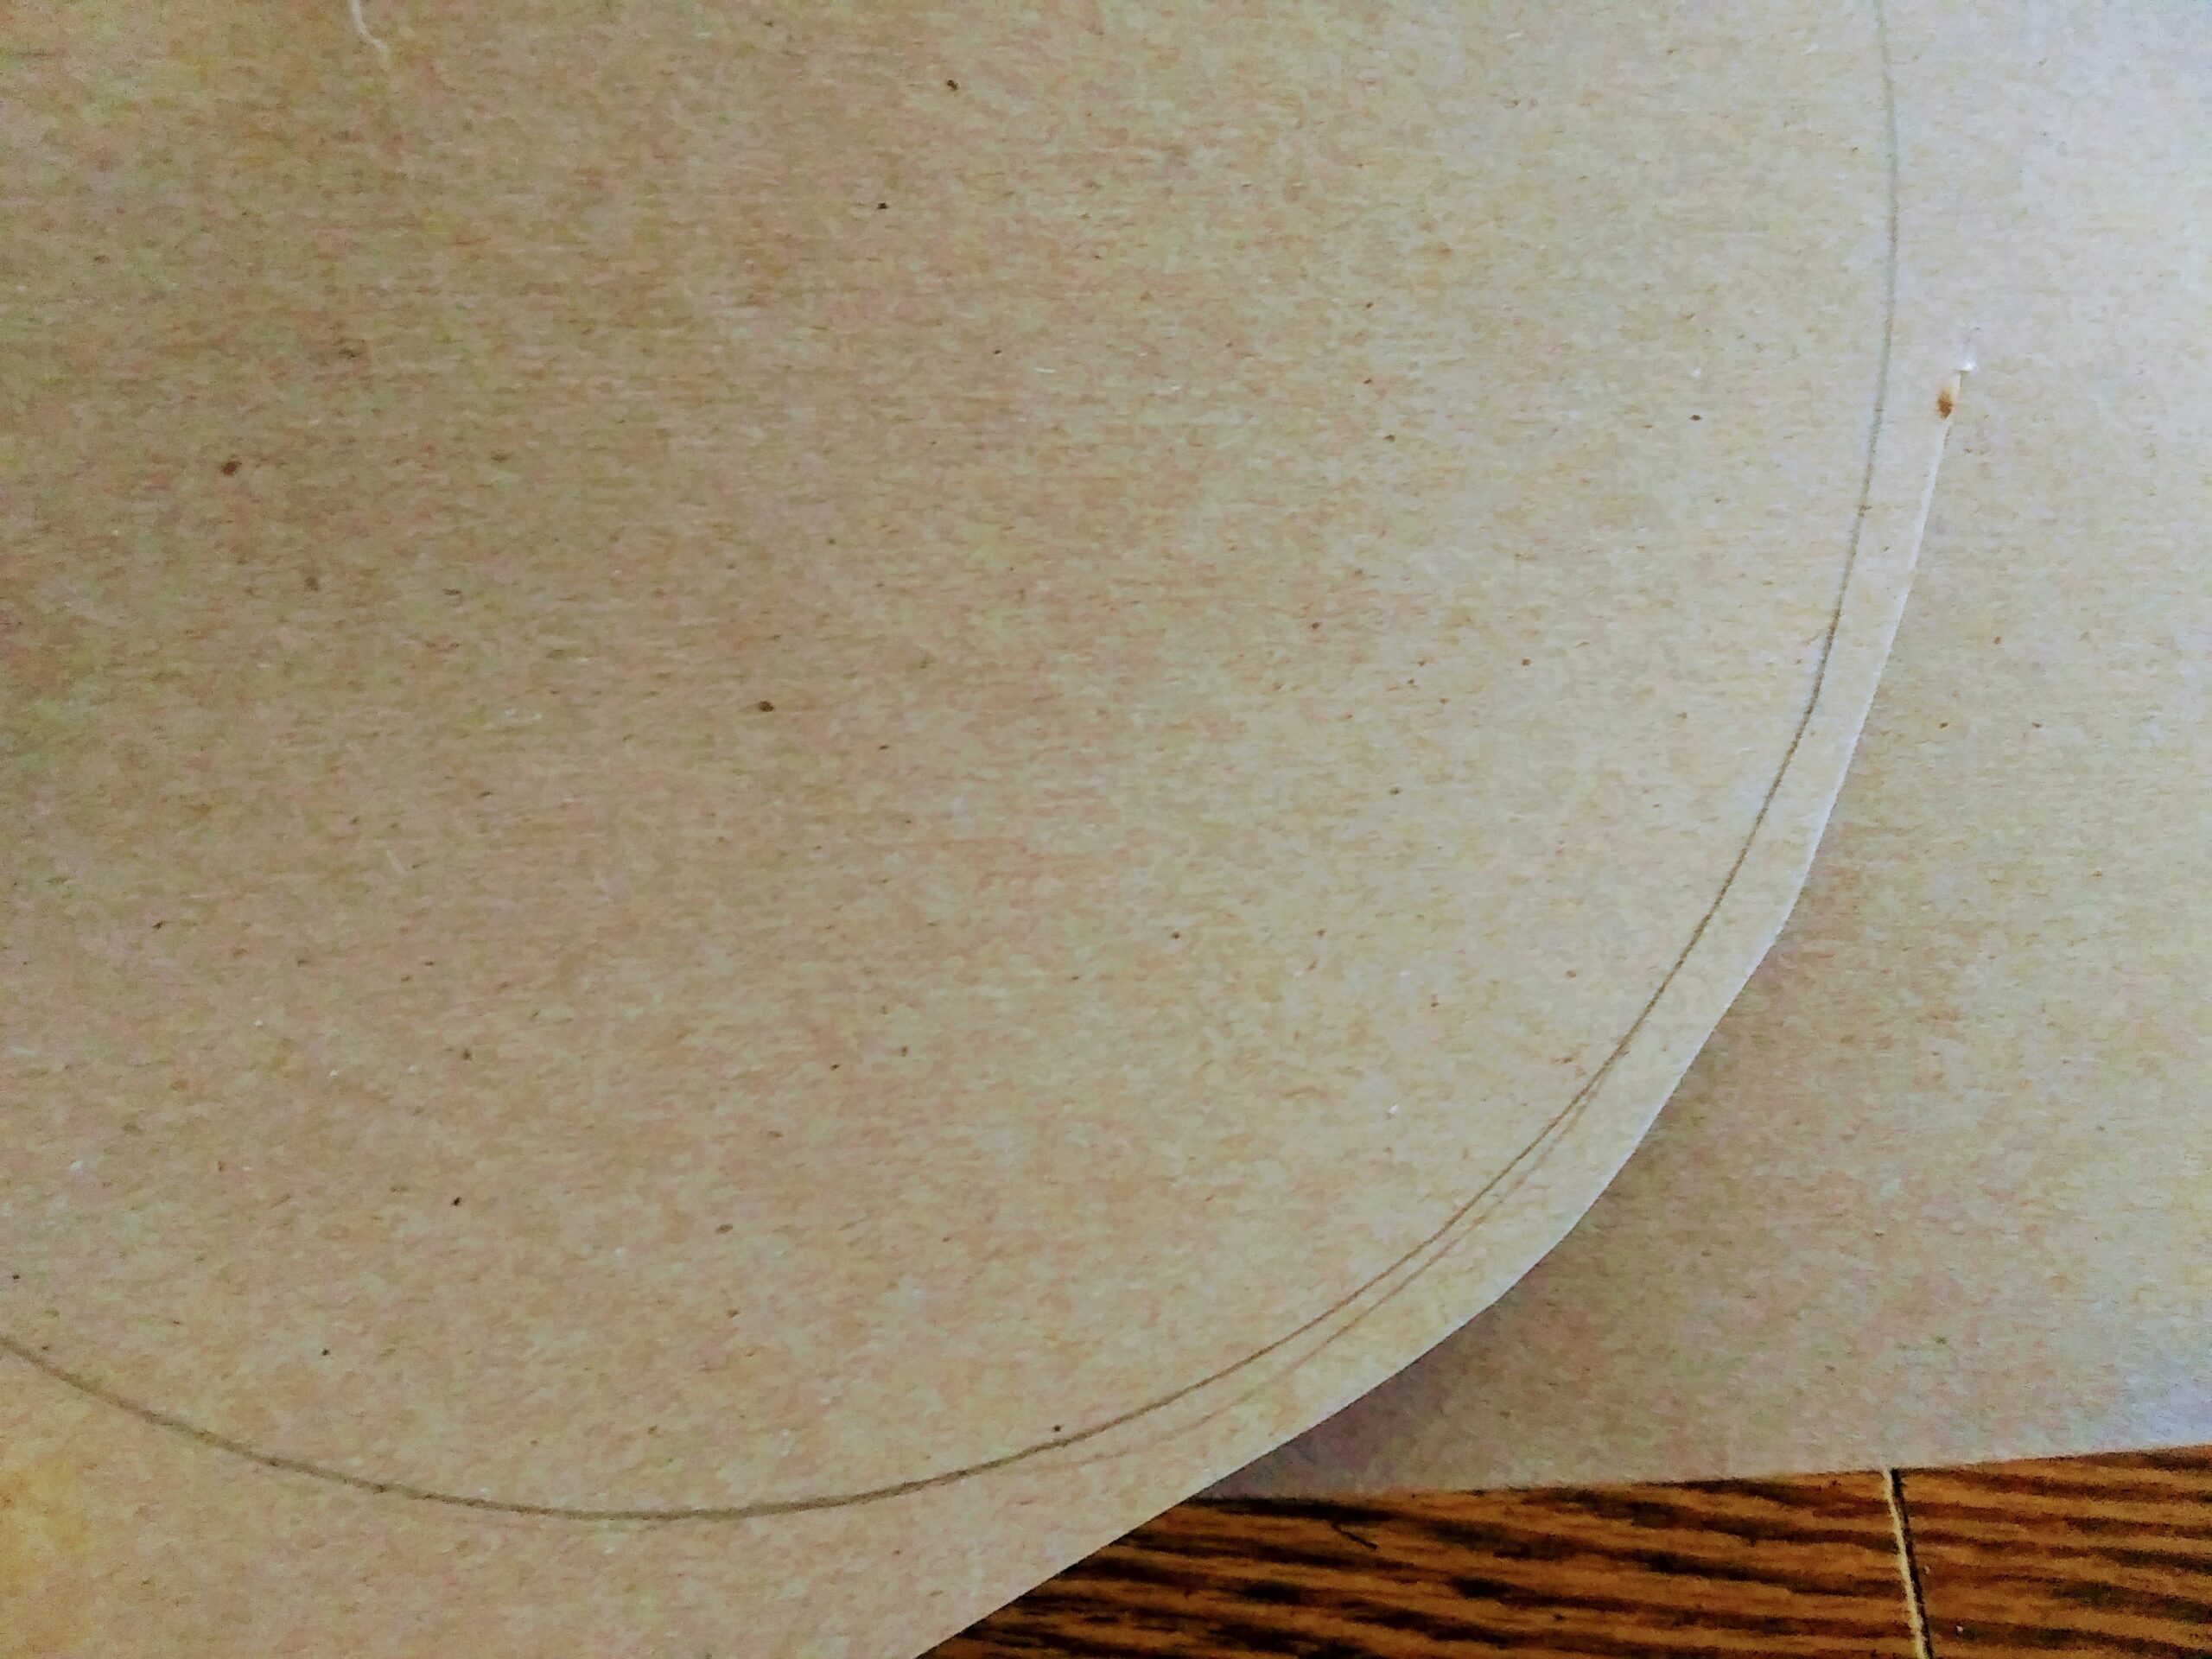 Cut Cardboard one fourth inch from Pencil Marking
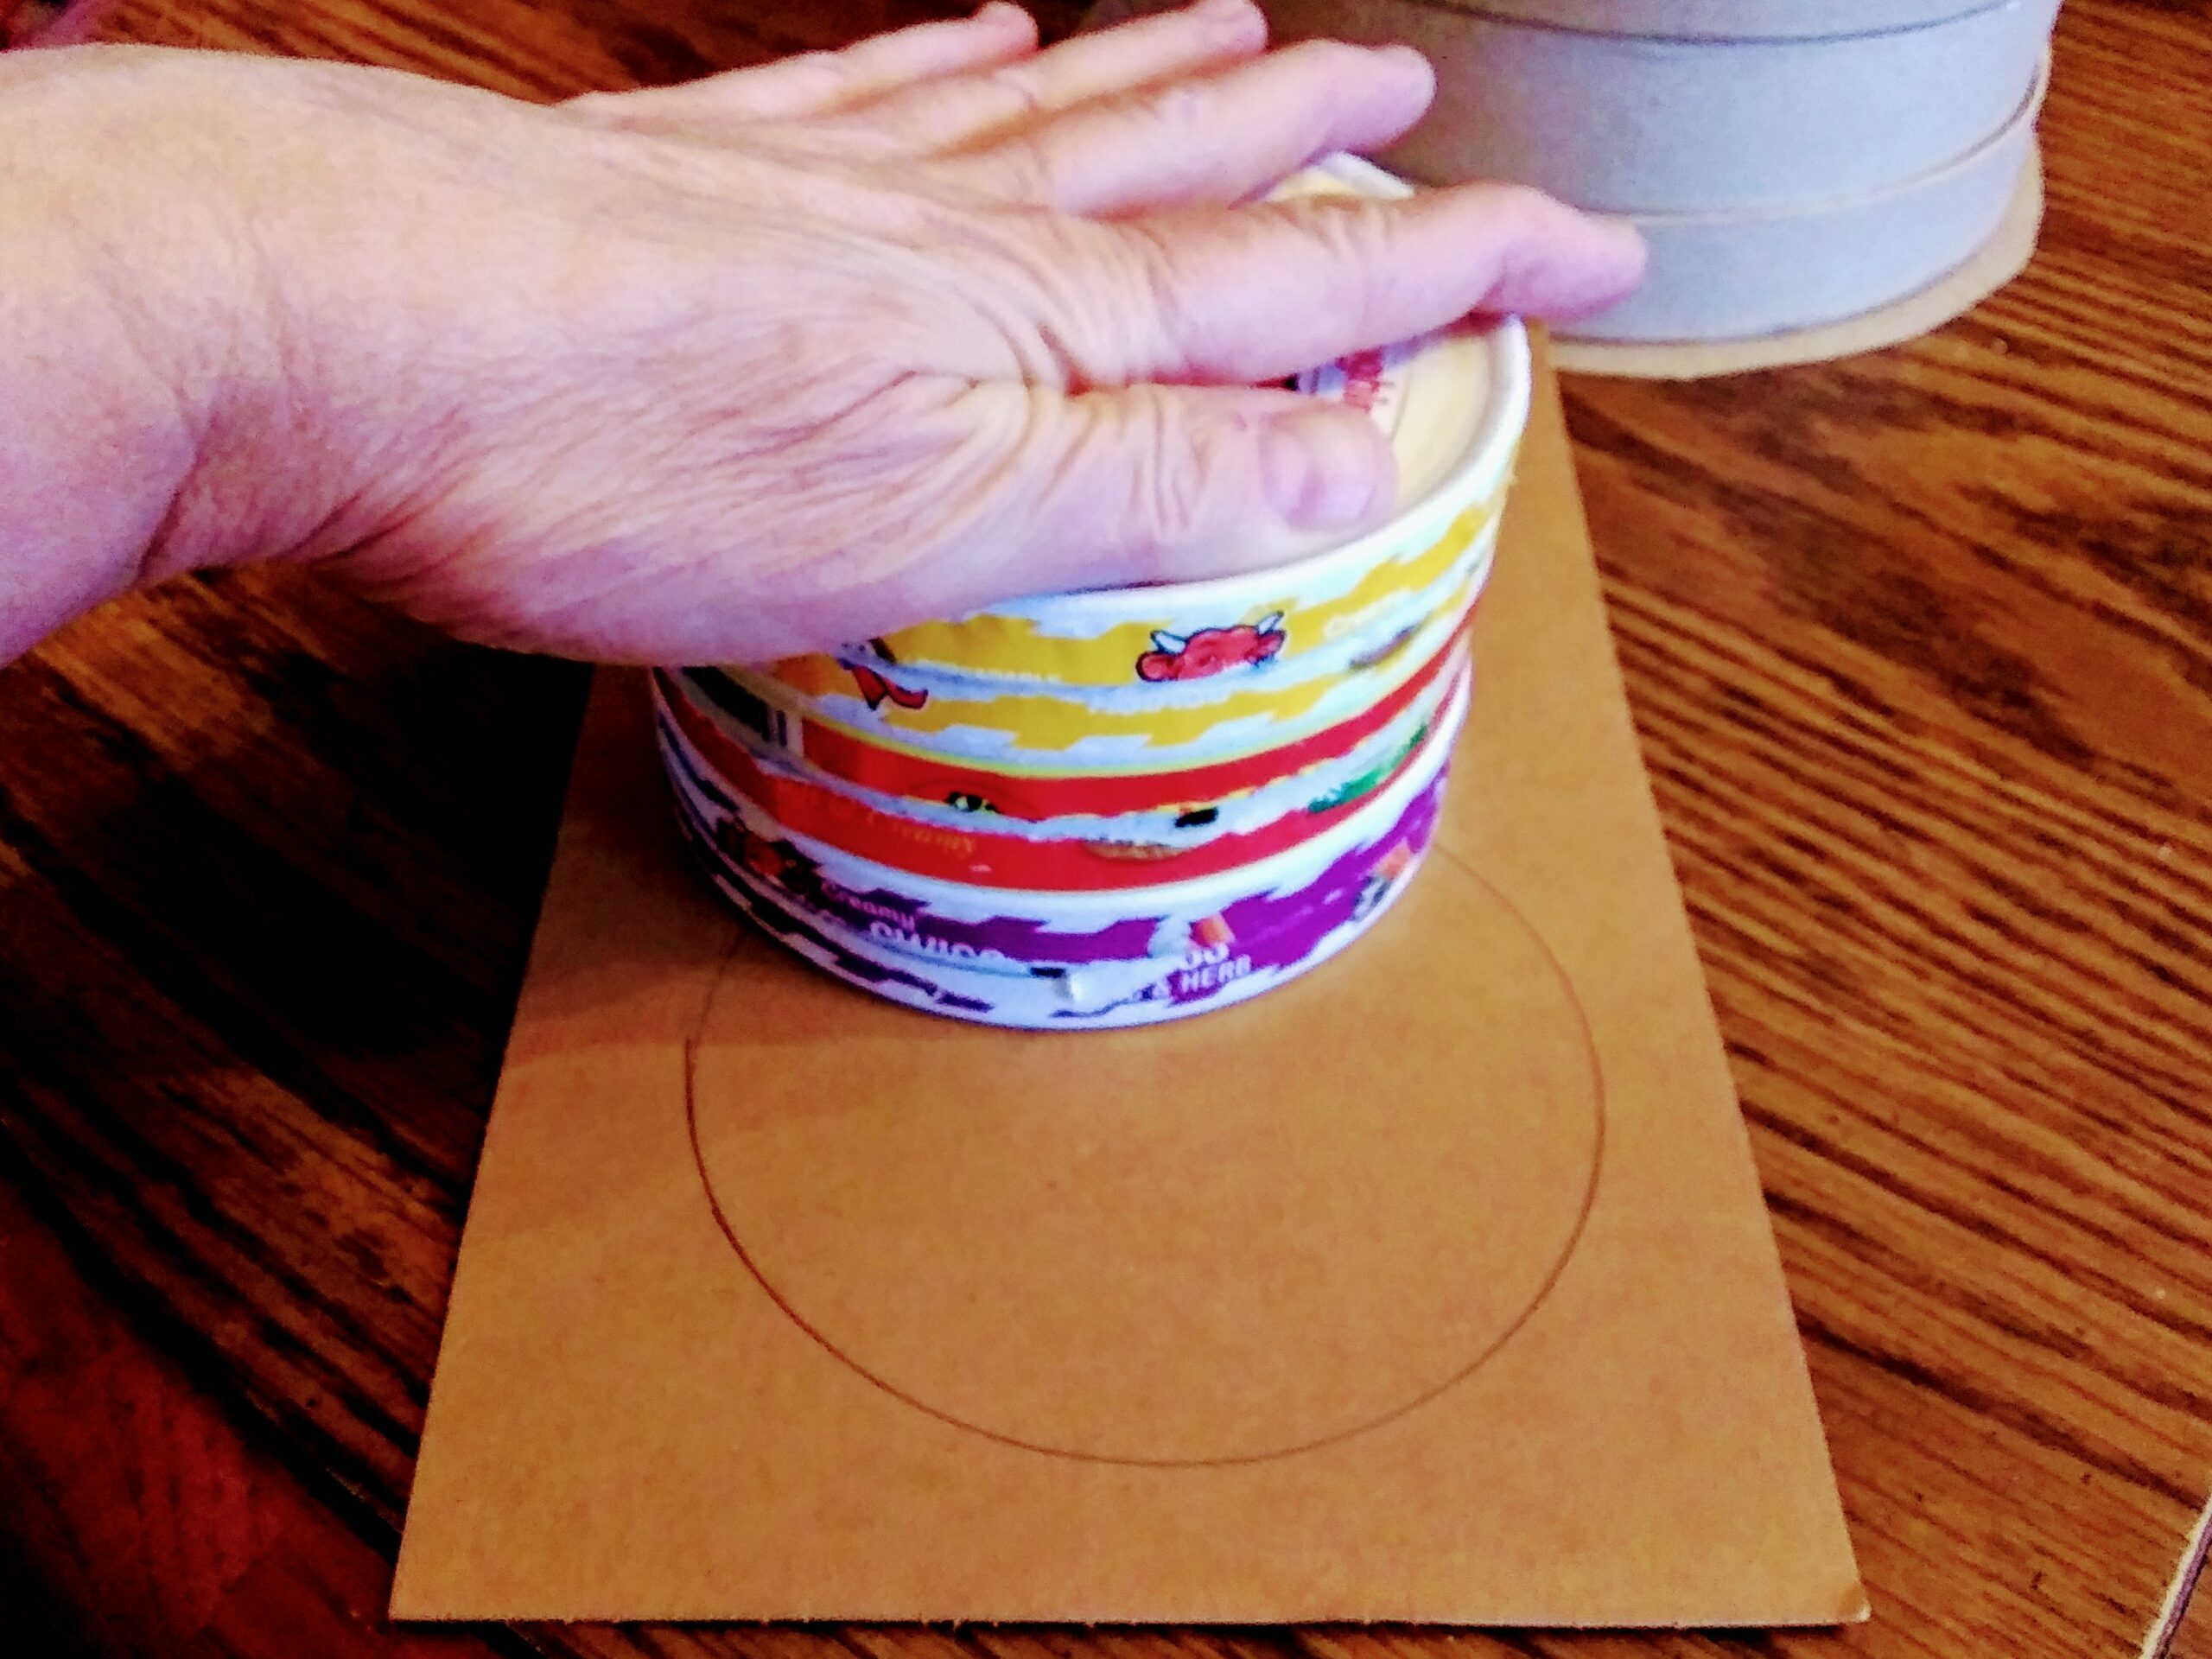 Measuring the Smaller Faux Cake
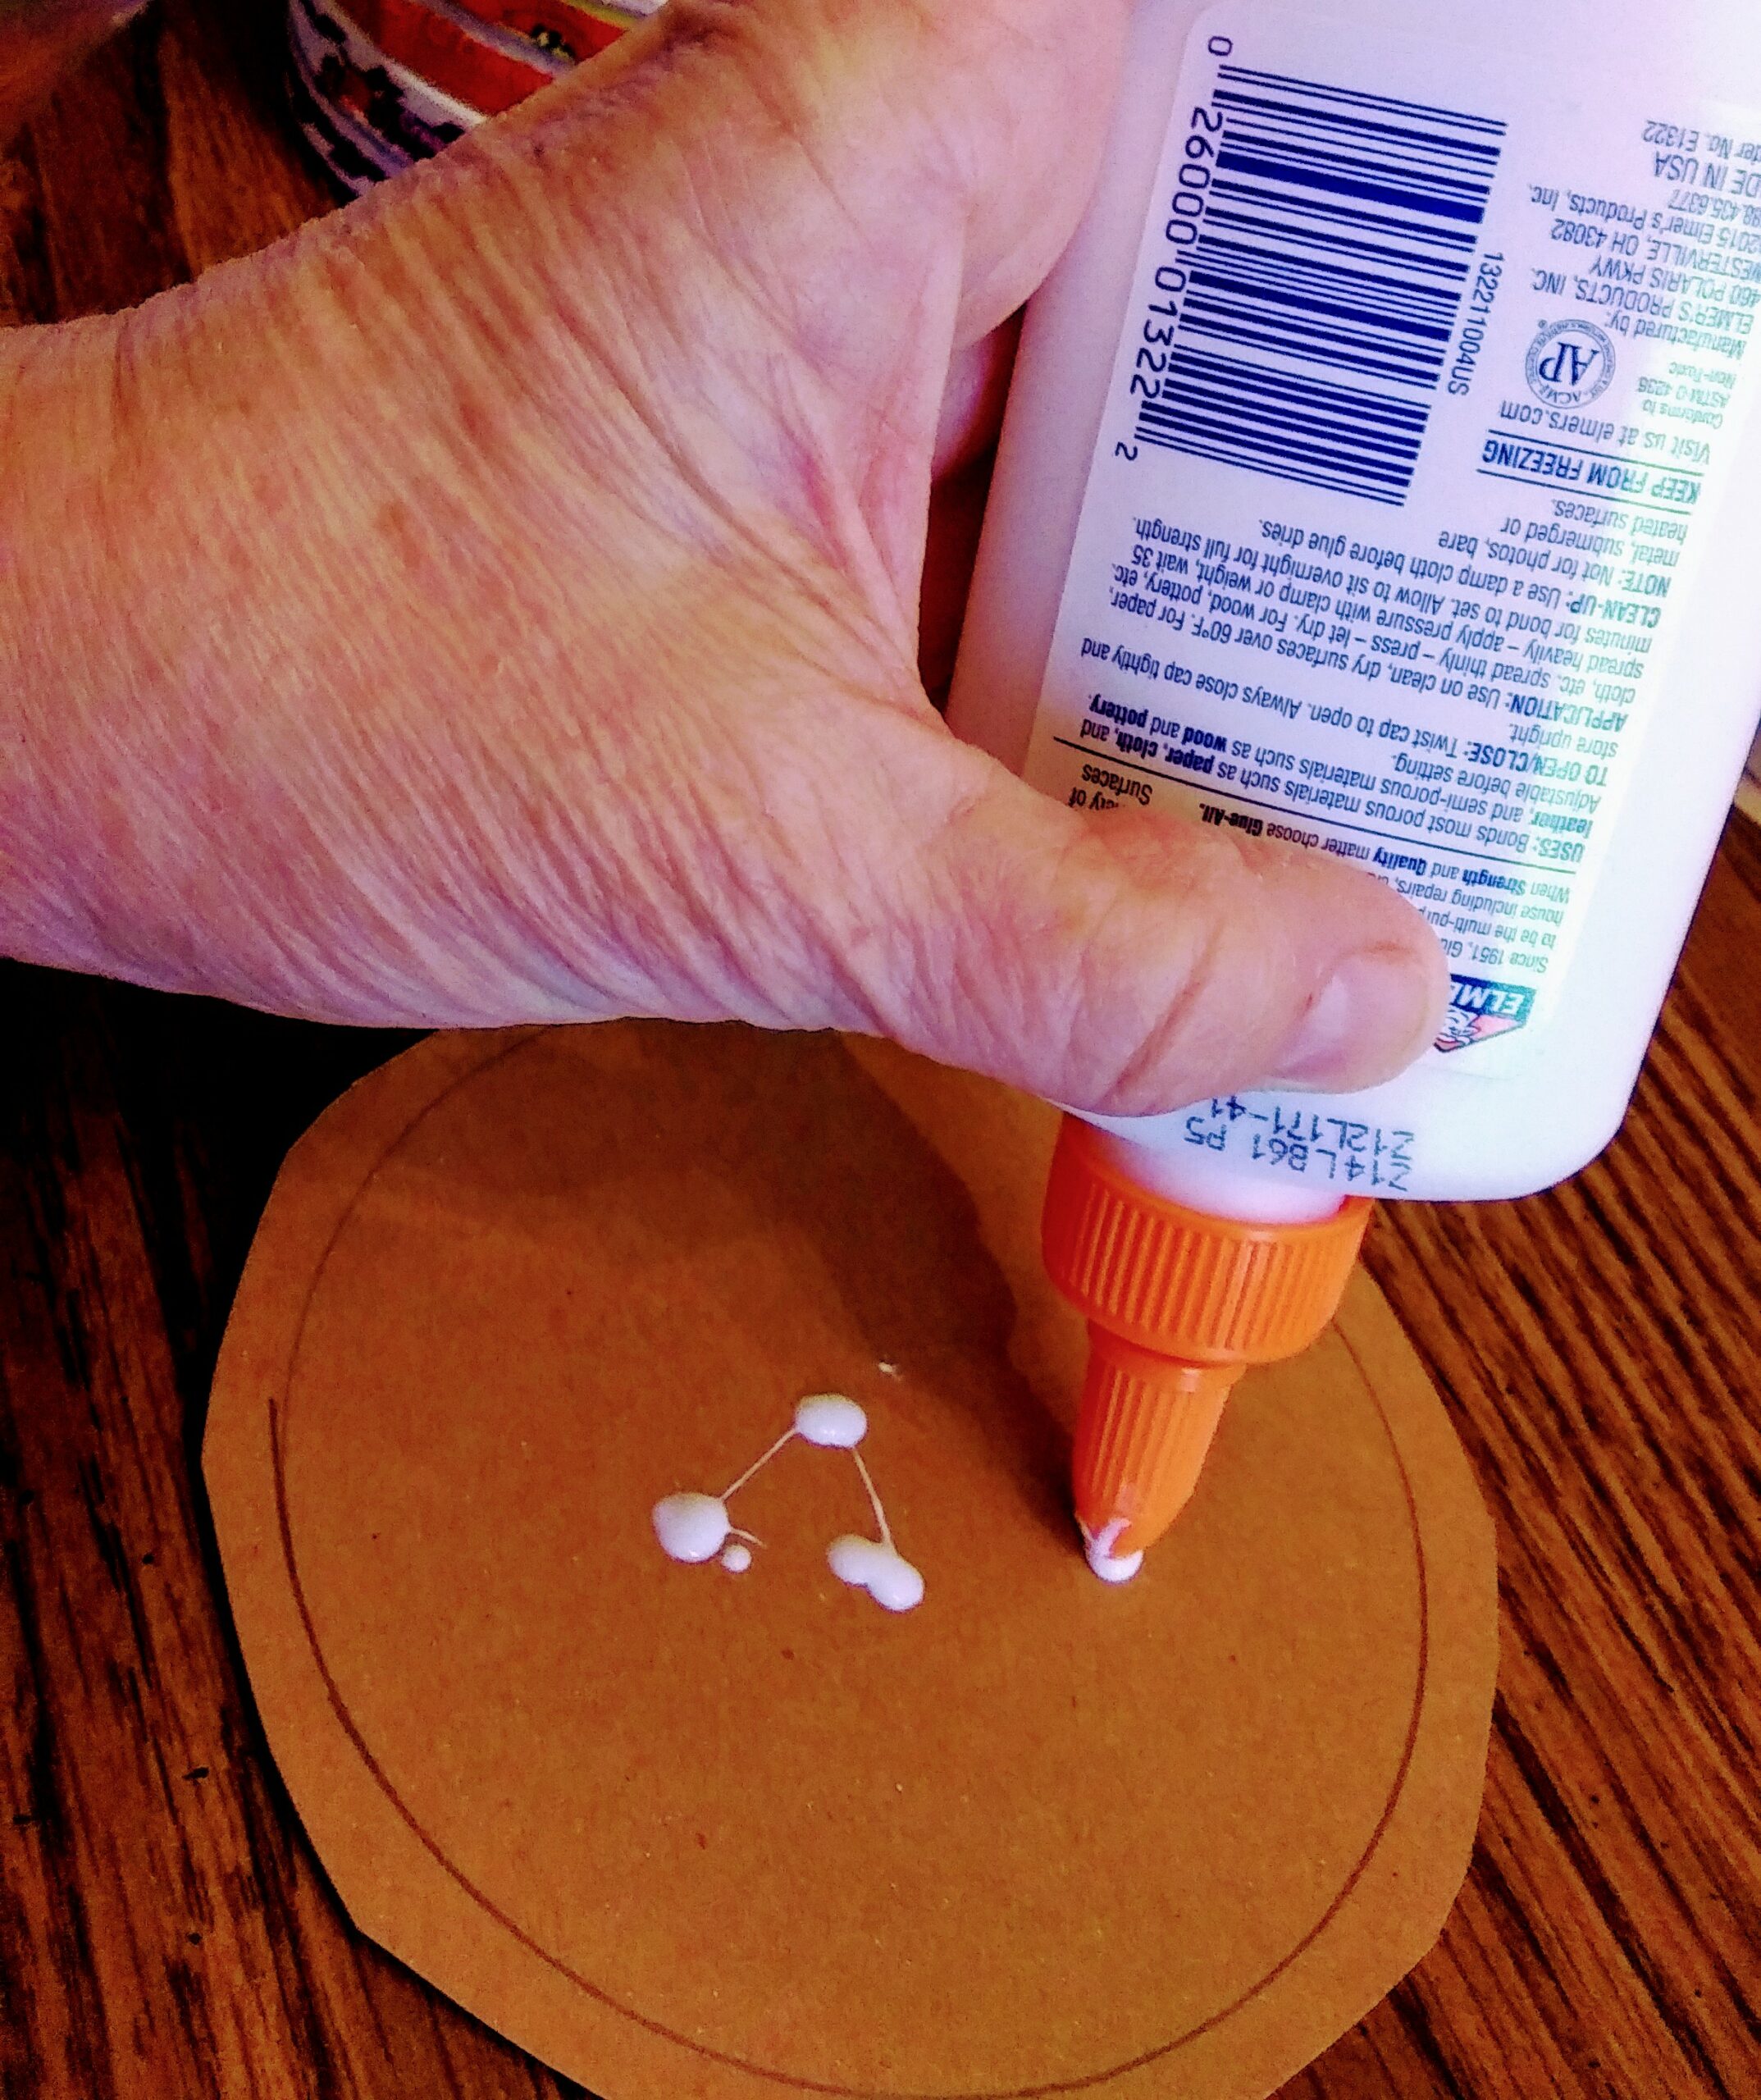 Gluing on the Bottom Rim of the Smaller Cake Box
This cardboard paper ledge will help keep the bottom “icing” of the faux cake from chipping off when it is moved about in the display or stored.
When the faux cake is complete, this ledge might have to be trimmed slightly.
Please note the smaller faux cake was made by using recycled circular cheese containers. I might be adding one more recycled cheese container as the smaller faux cake does not seem tall enough.
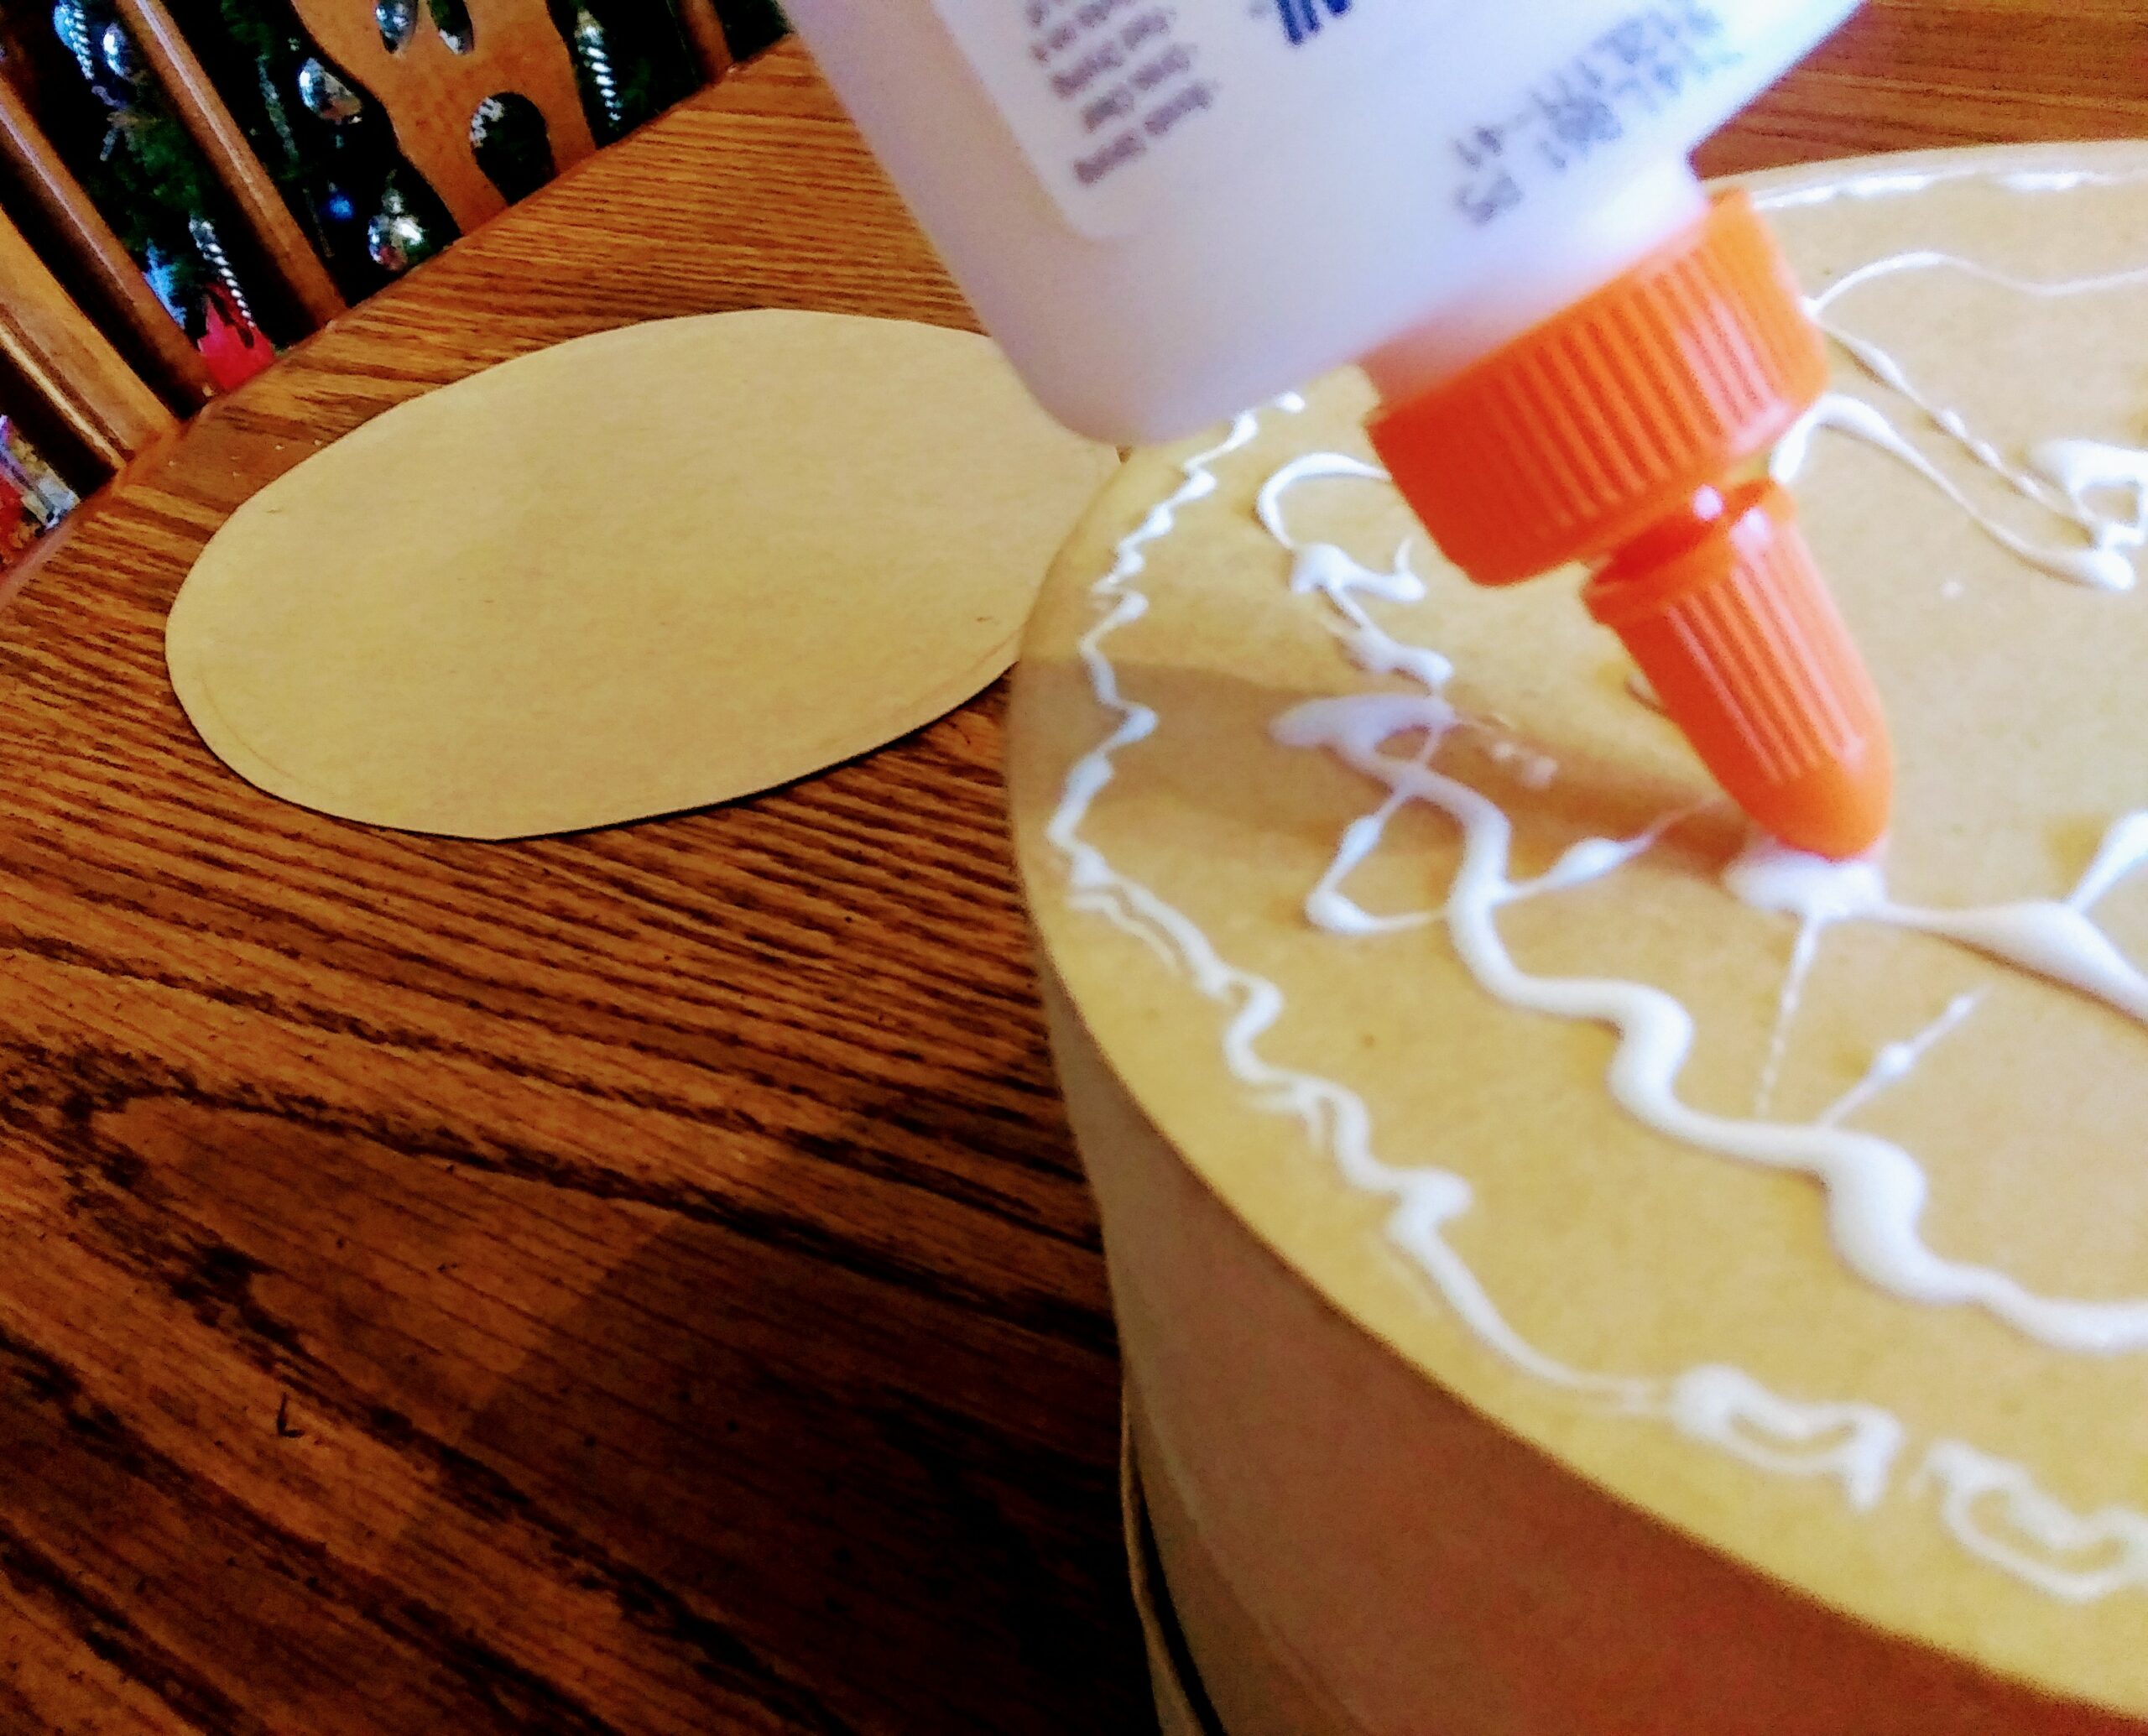 Gluing the Cardboard Bottom on the Large Faux Cake
I used regular all purpose white glue for my project. Be sure to use enough glue to hold things securely.
Allow boxes to thoroughly dry.
The finishing steps would be to apply the faux “icing” on the cakes and and then paint.
This wraps up step two, please check back to Farmhouse Magic Blog for the final step three.
