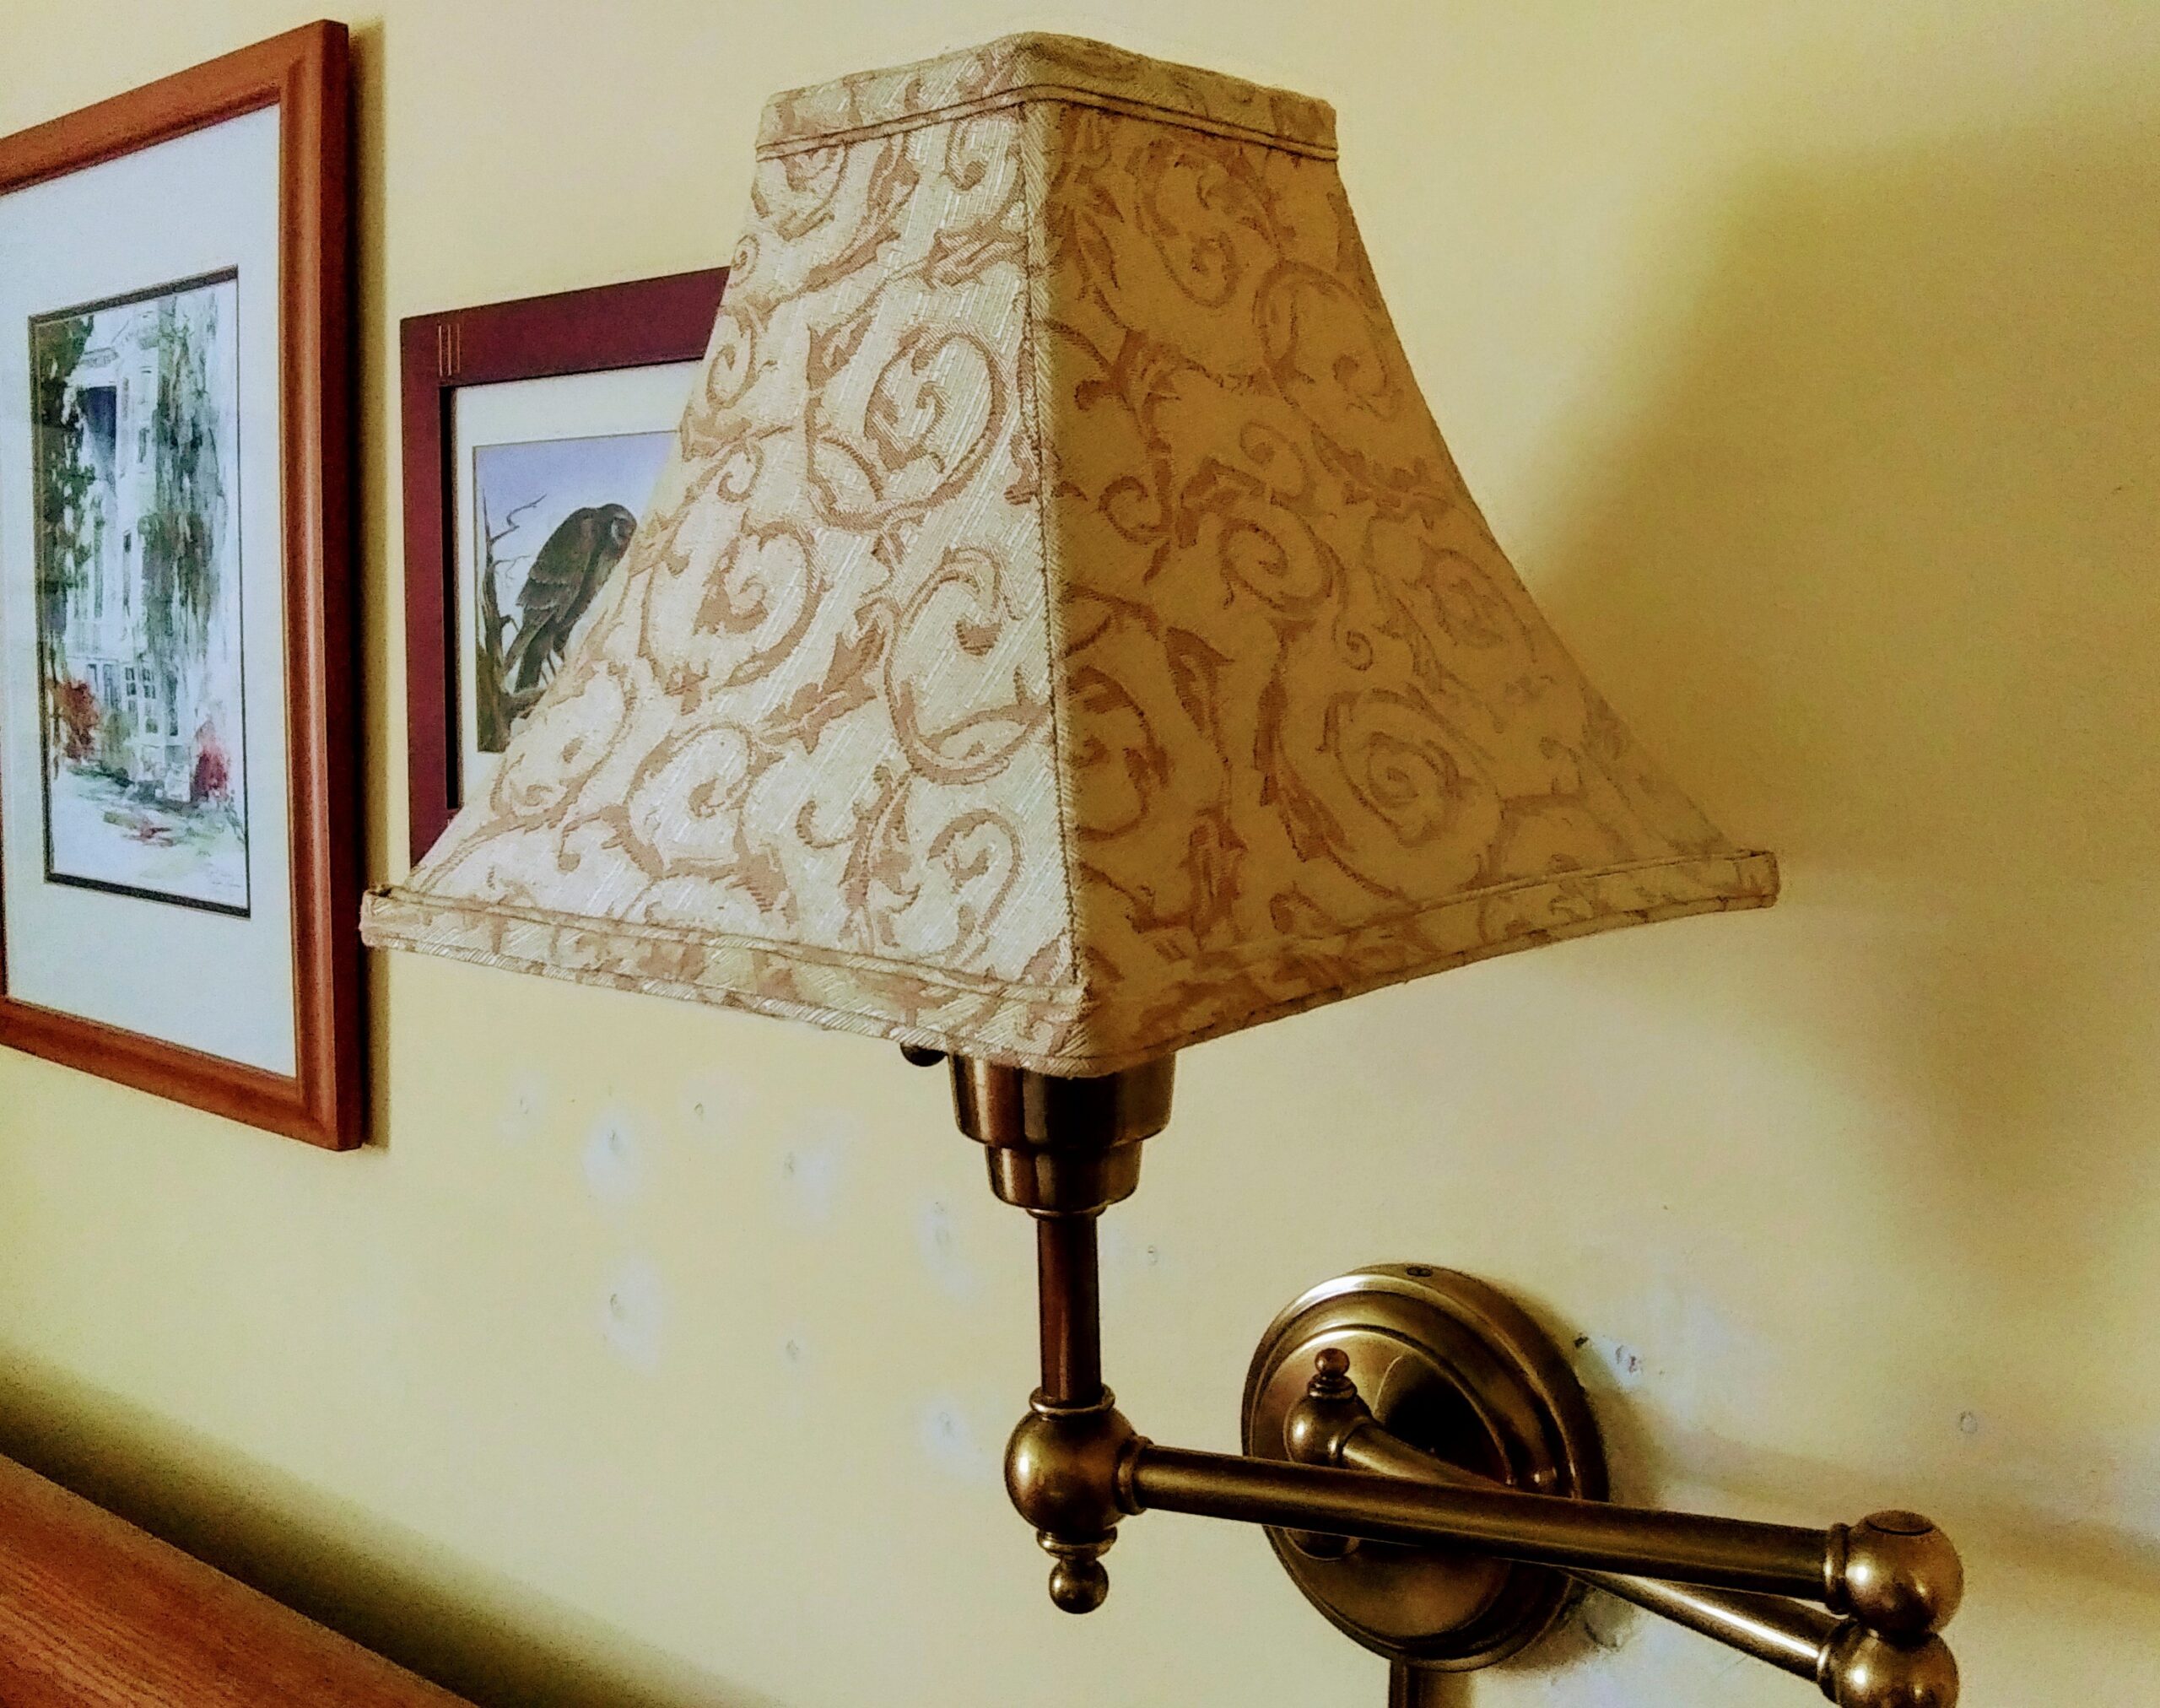
 Wall Lamp – Finished Project – Wall Not Repainted
Today Farmhouse Magic Blog is doing a home repair blog on how to rehang a Pottery Barn wall lamp in the bedroom and repairing the drywall holes.
This photograph shows the rehung wall lamp, but the drywall has not been painted yet.
This is a great project to undertake while I am home during the COVID-19 shut down since it was time consuming.
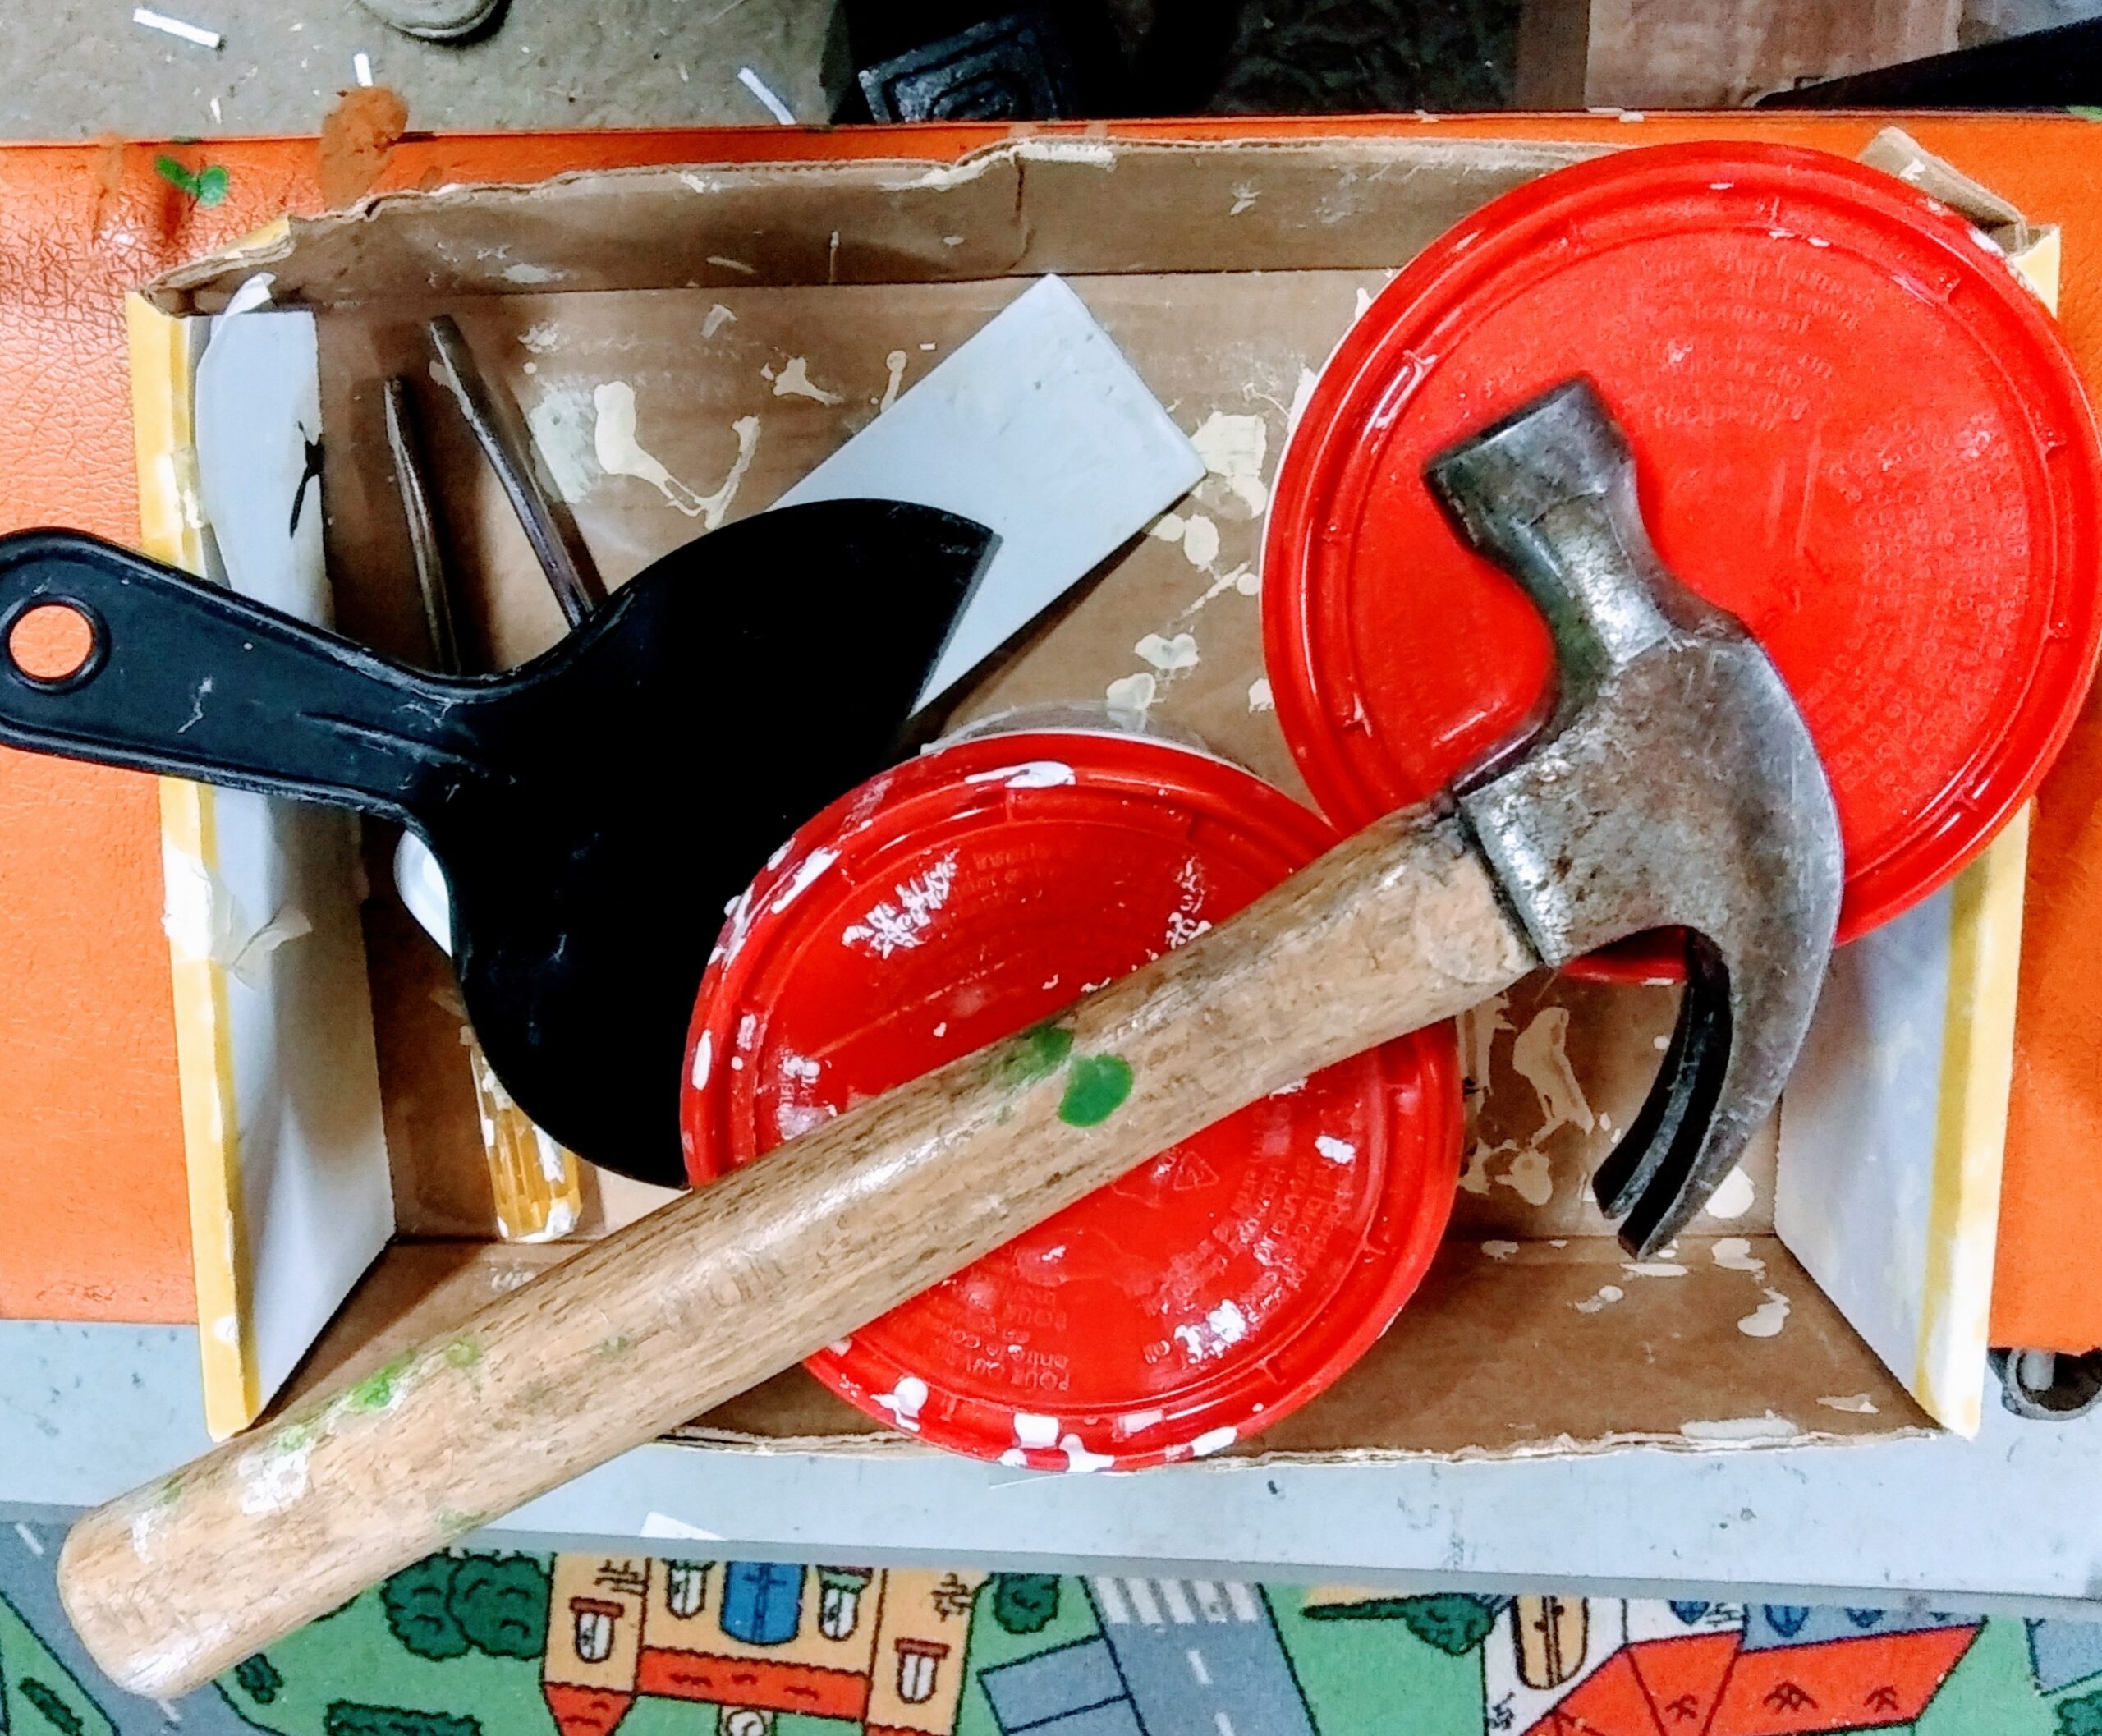 Collection of Needed Tools
Helpful Hint: Before I start any project, I think about what I am going to need and take a whole box of needed tools and supplies with me so that I can avoid going up and down the steps.
How to Re-Hang a Wall Lamp
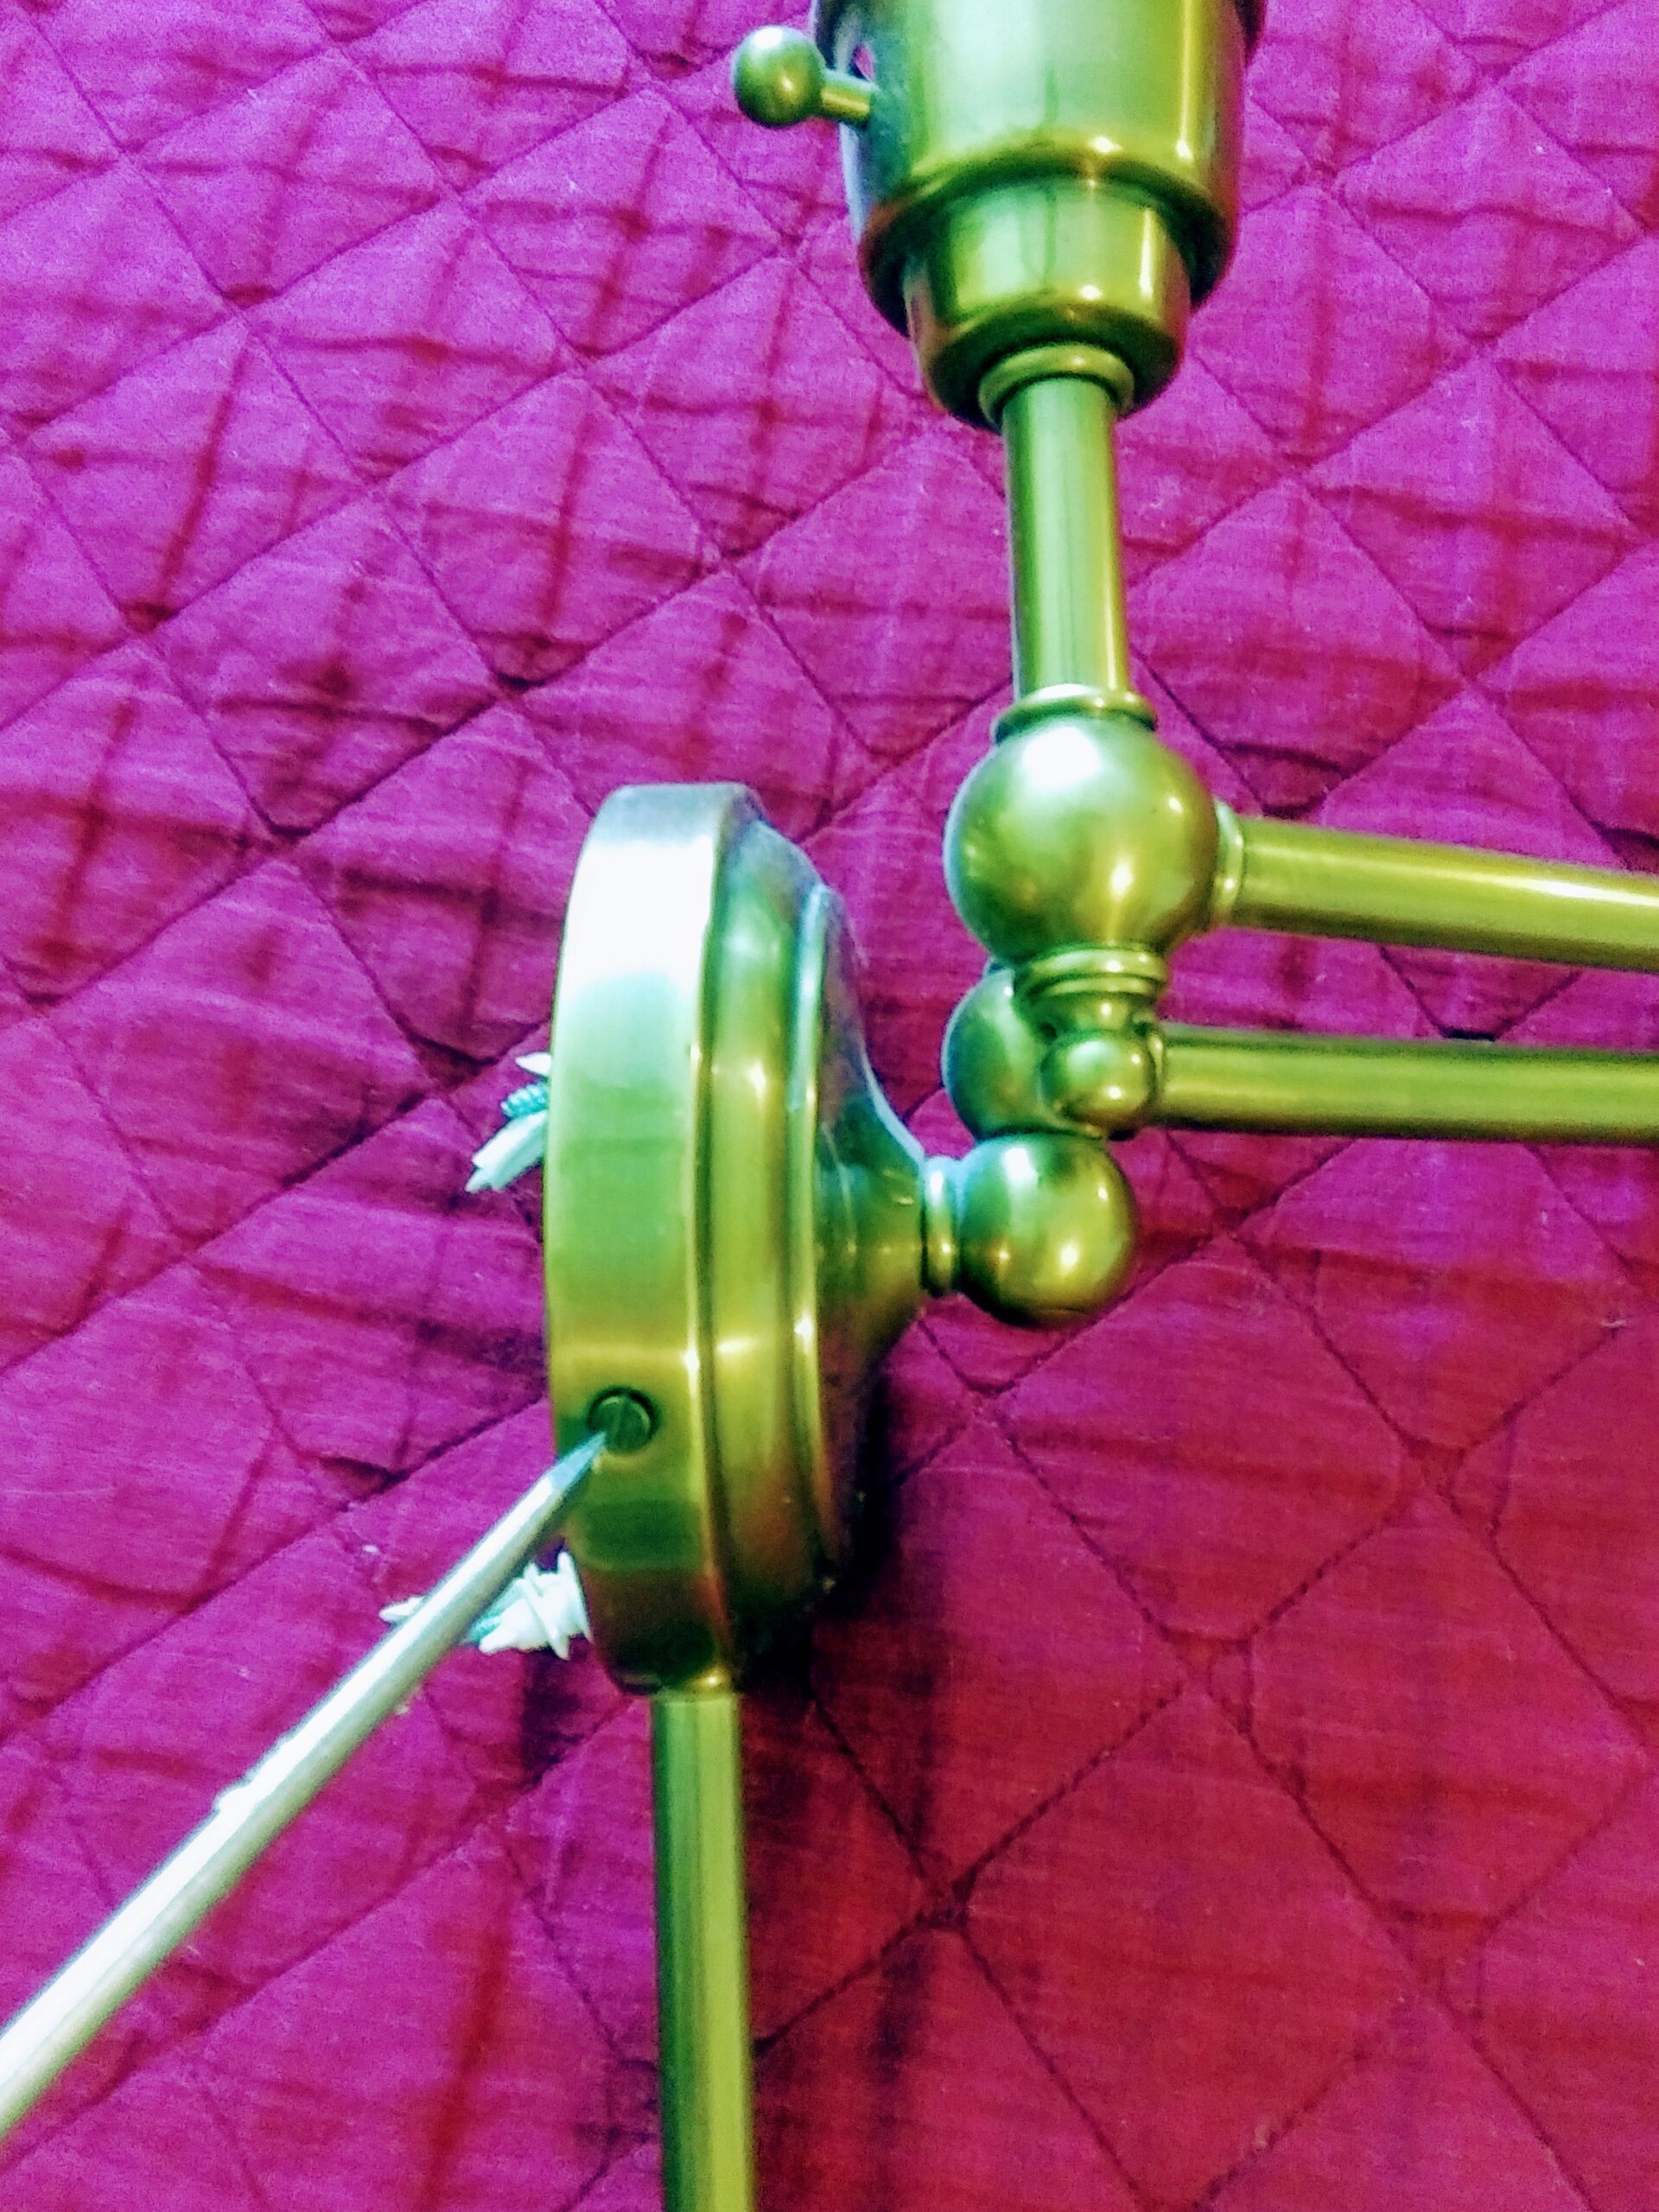 Wall Lamp Which had Fallen Off the Wall
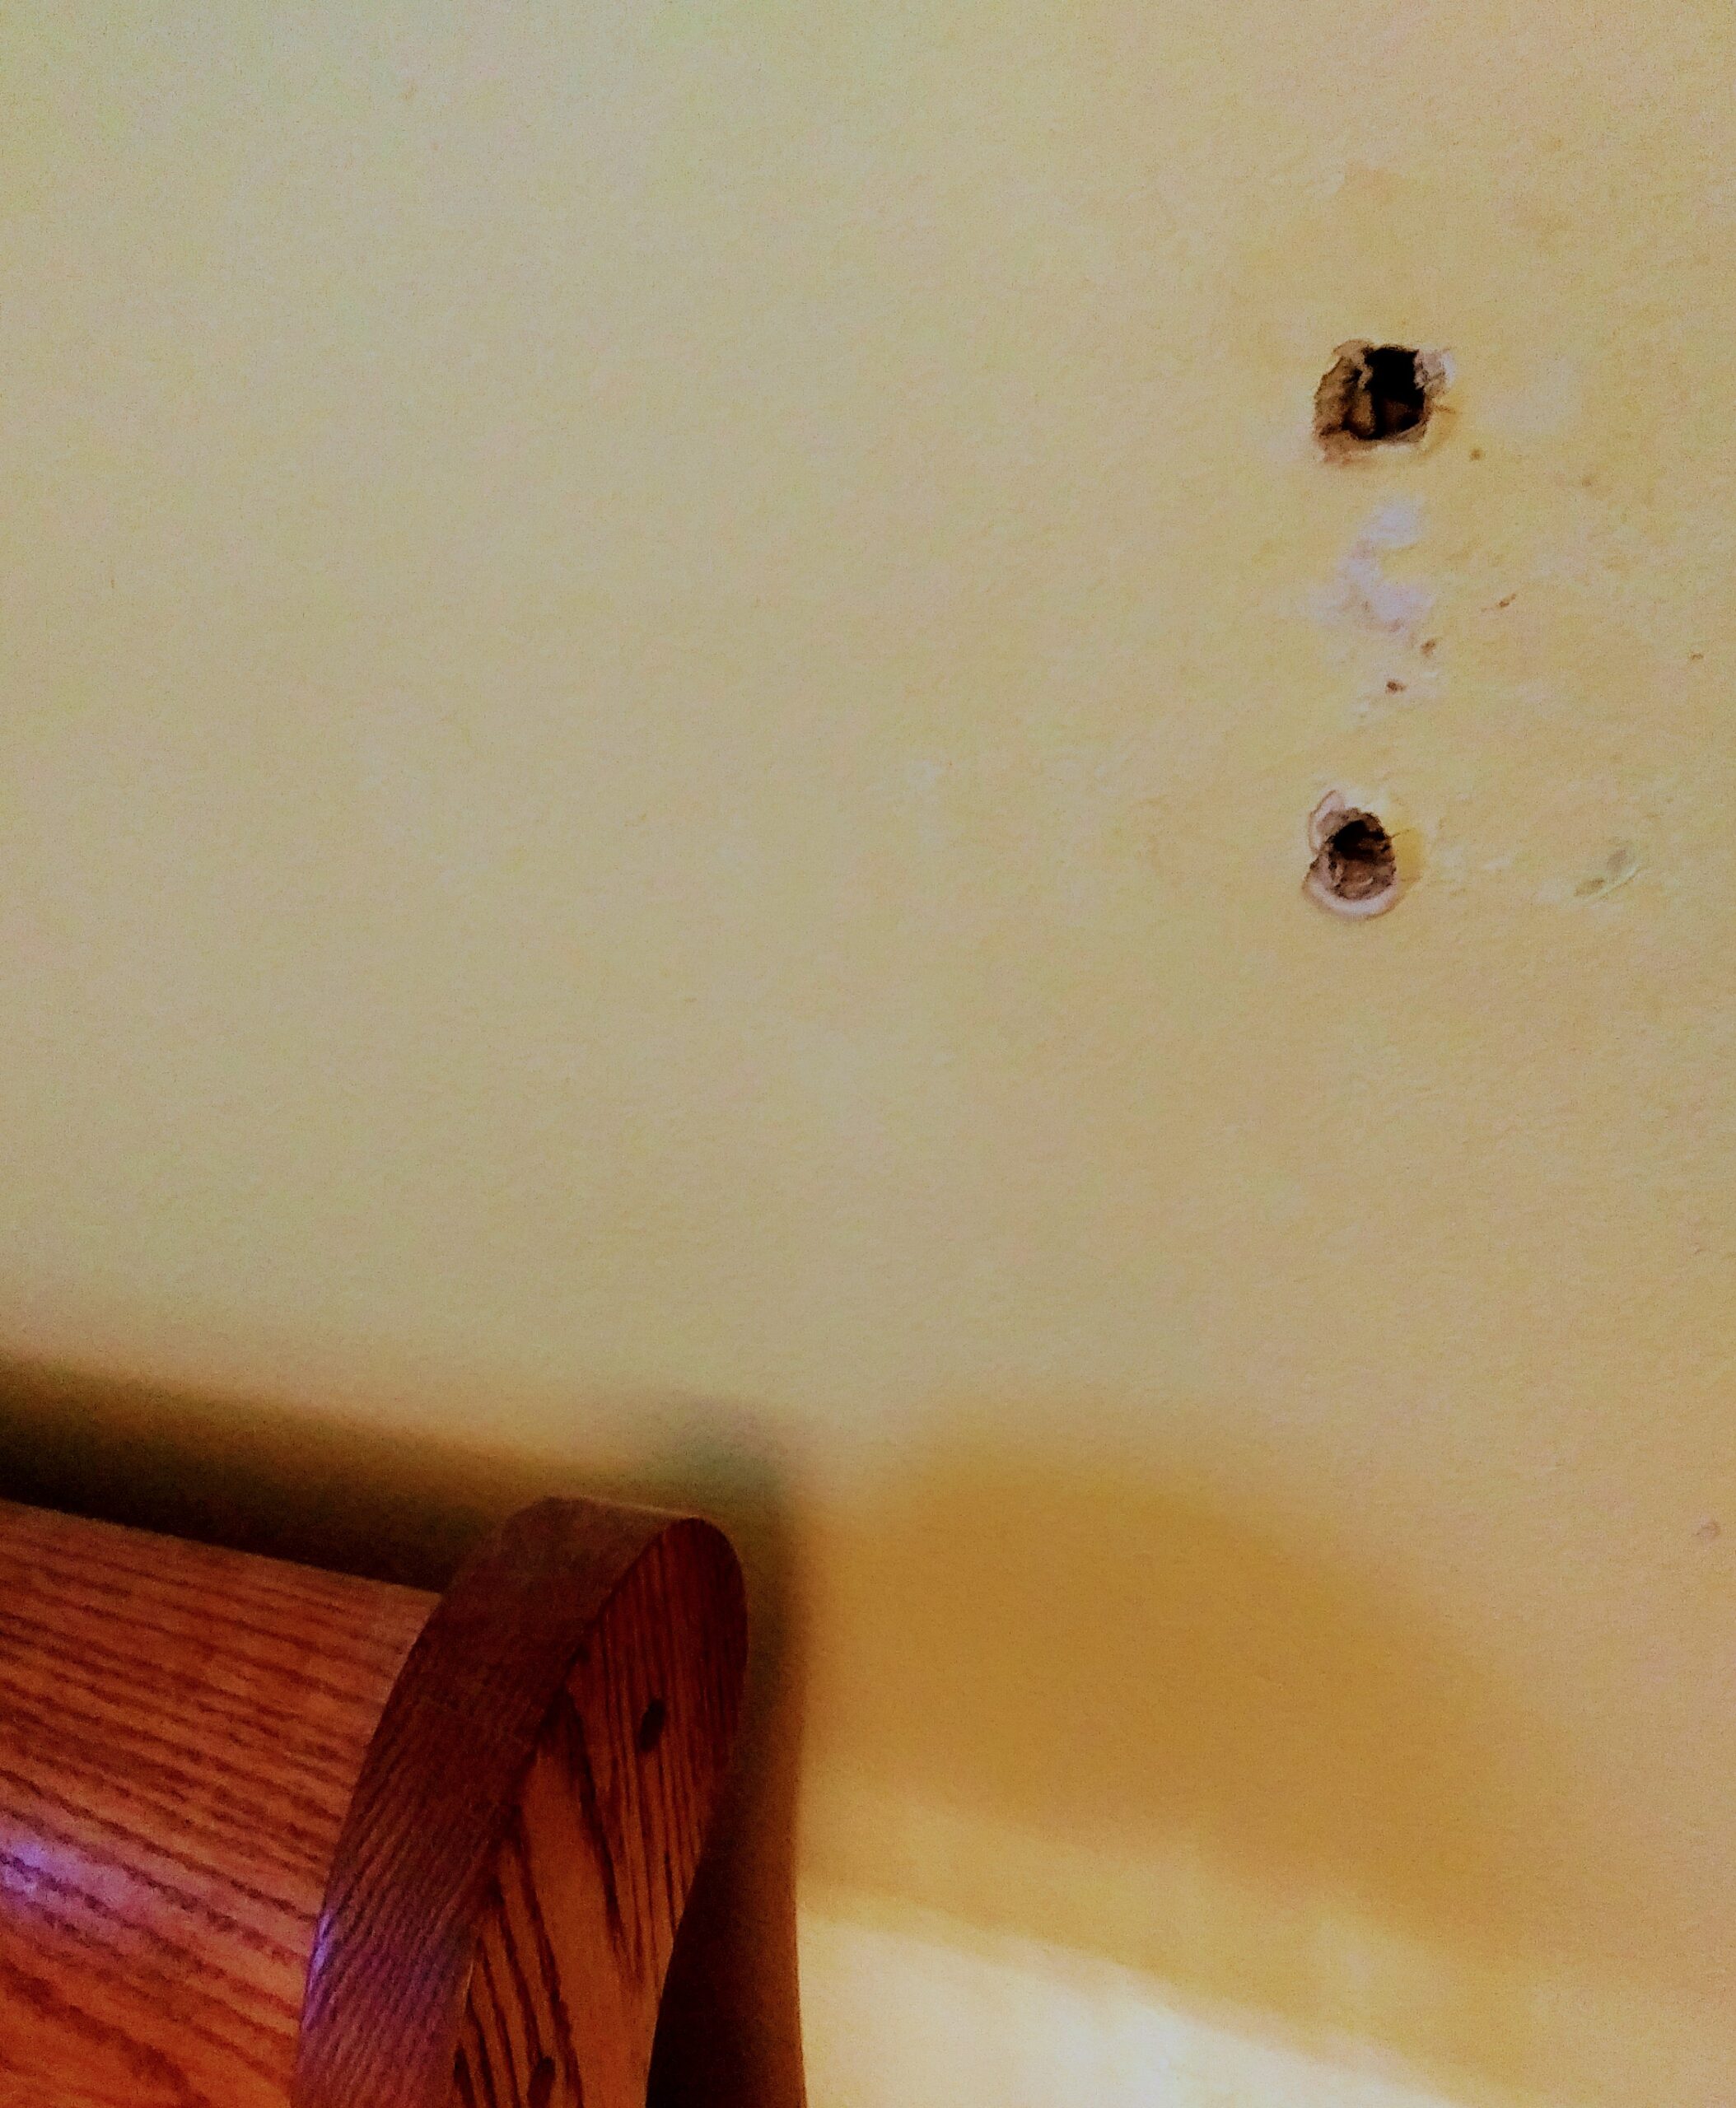 Drywall Holes Needing Repair
The above two photographs shows the wall lamp which had fallen off the wall in my bedroom.
It was anchored with drywall screws and these left two large holes in the wall when the lamp loosen and fell off.
This time, I am going to find a wooden stud to install it over so the lamp will stay secure.
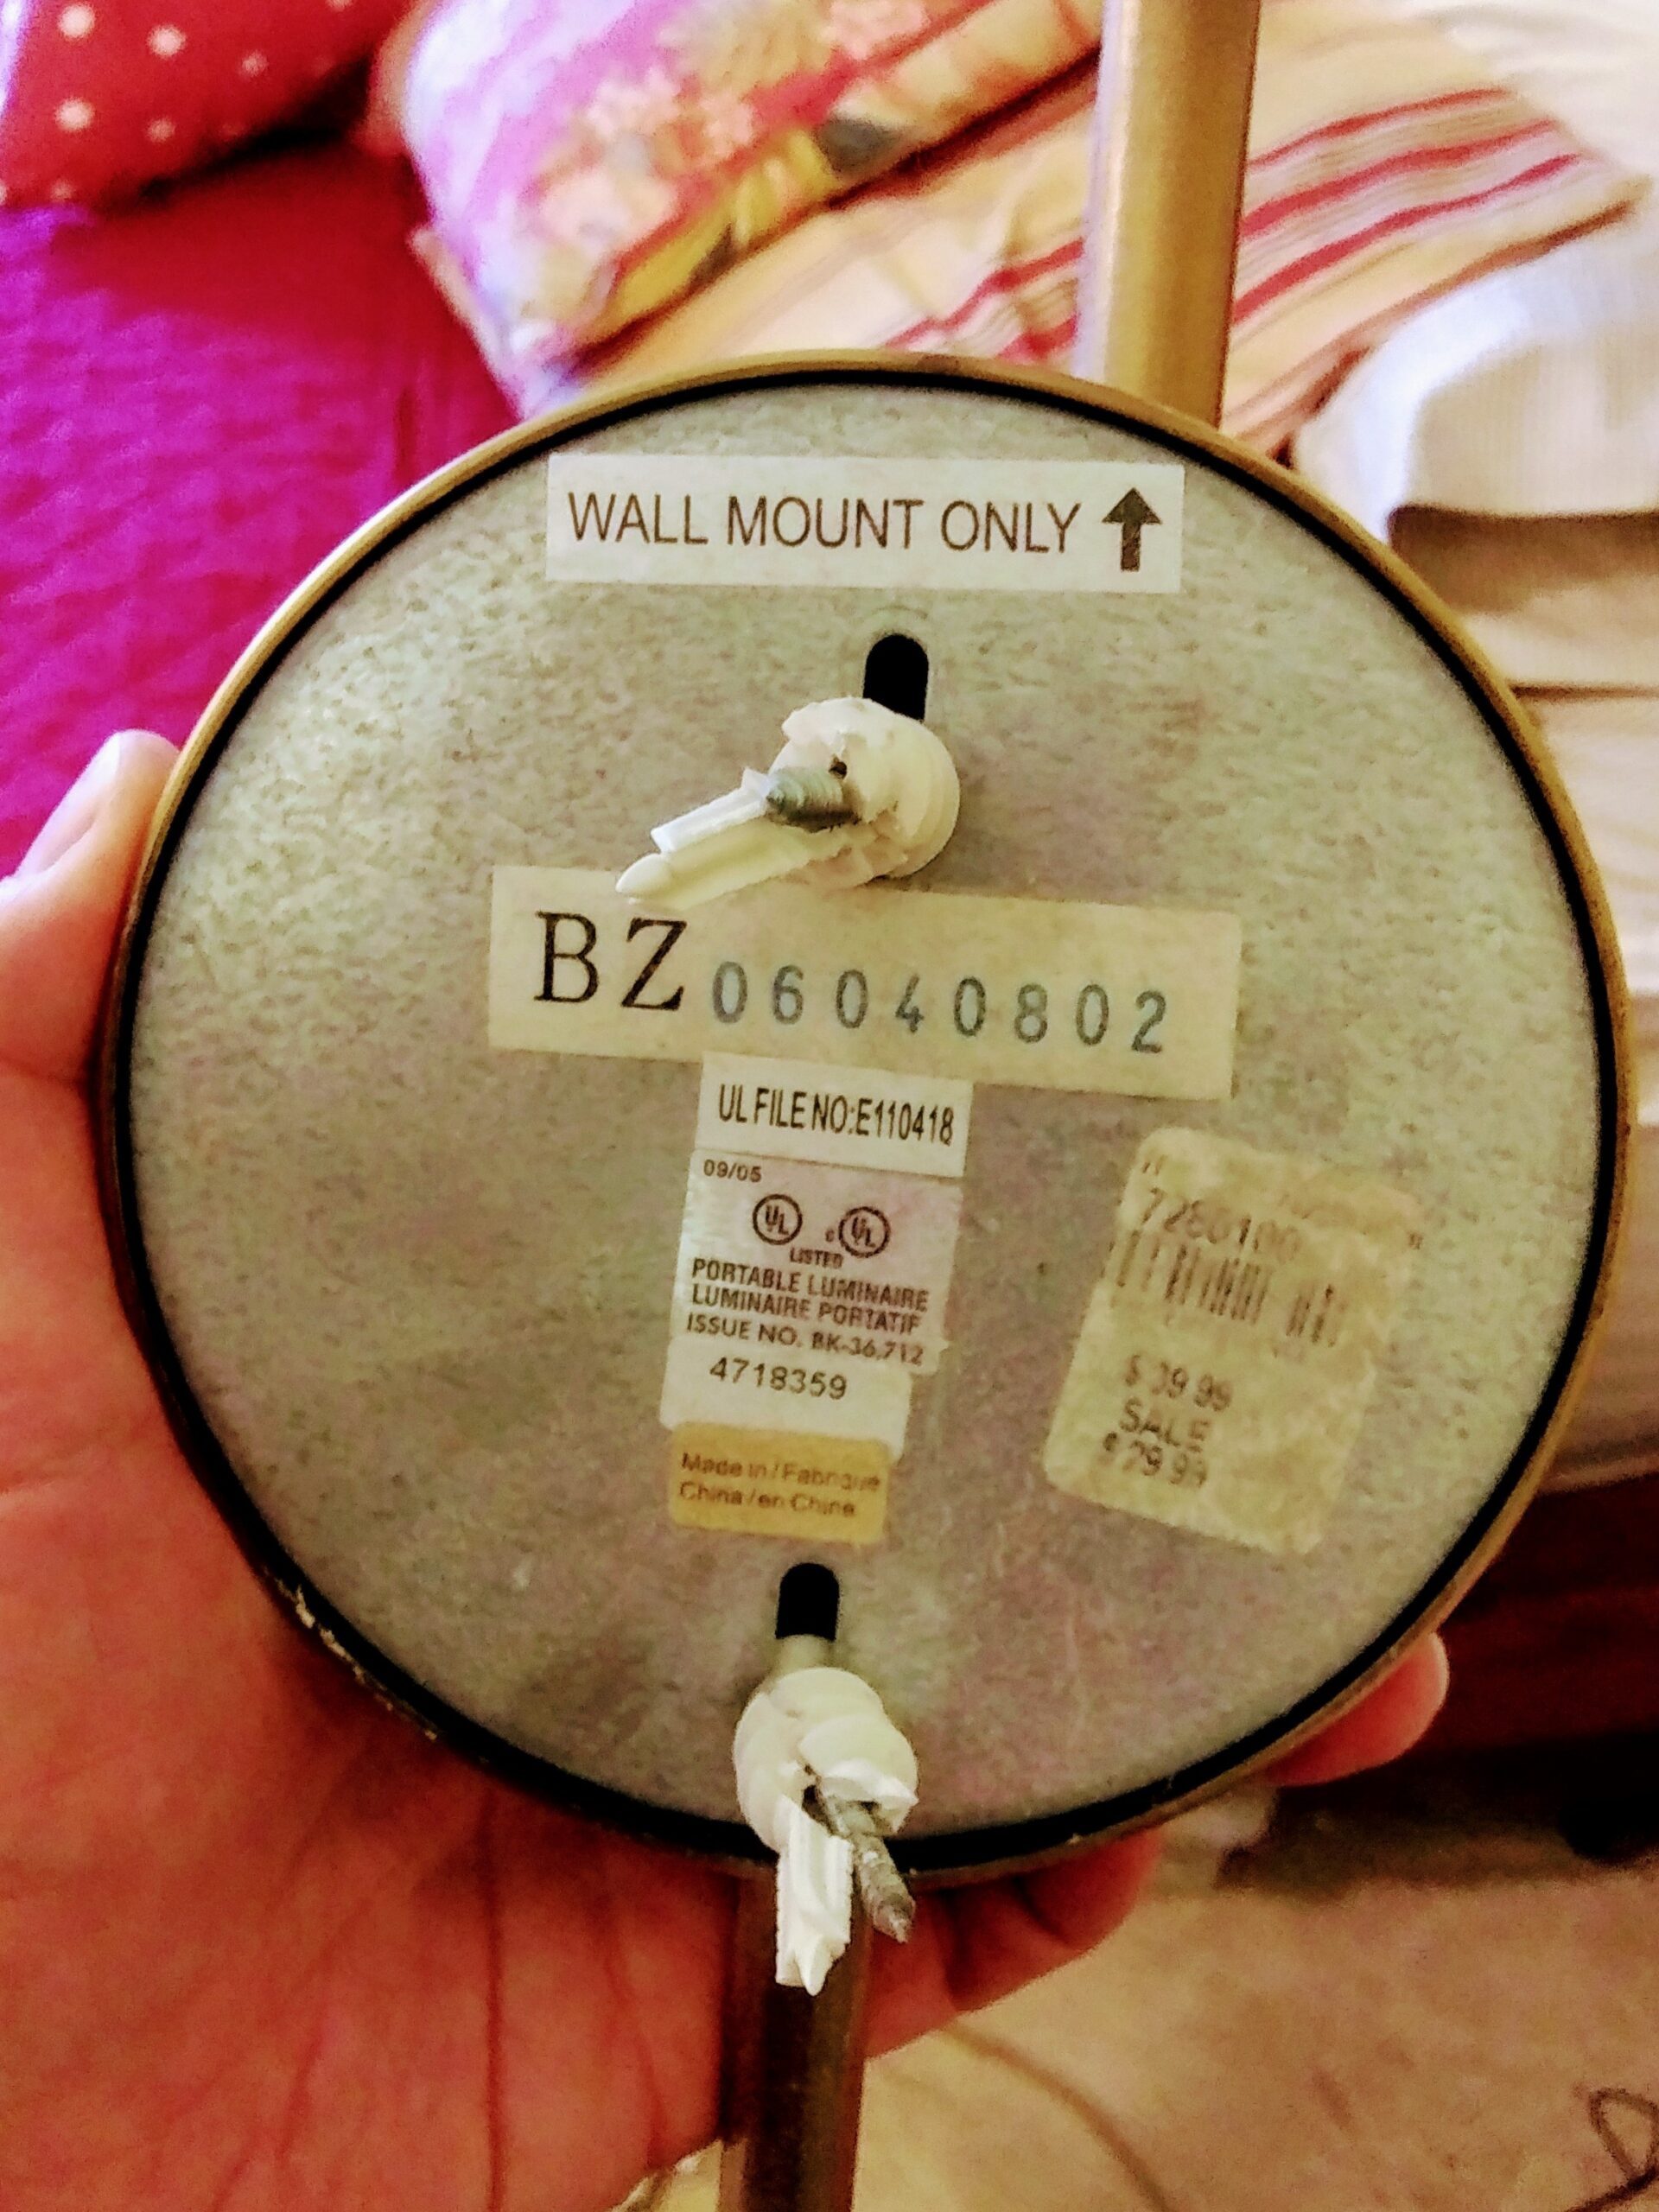 Back of Lamp
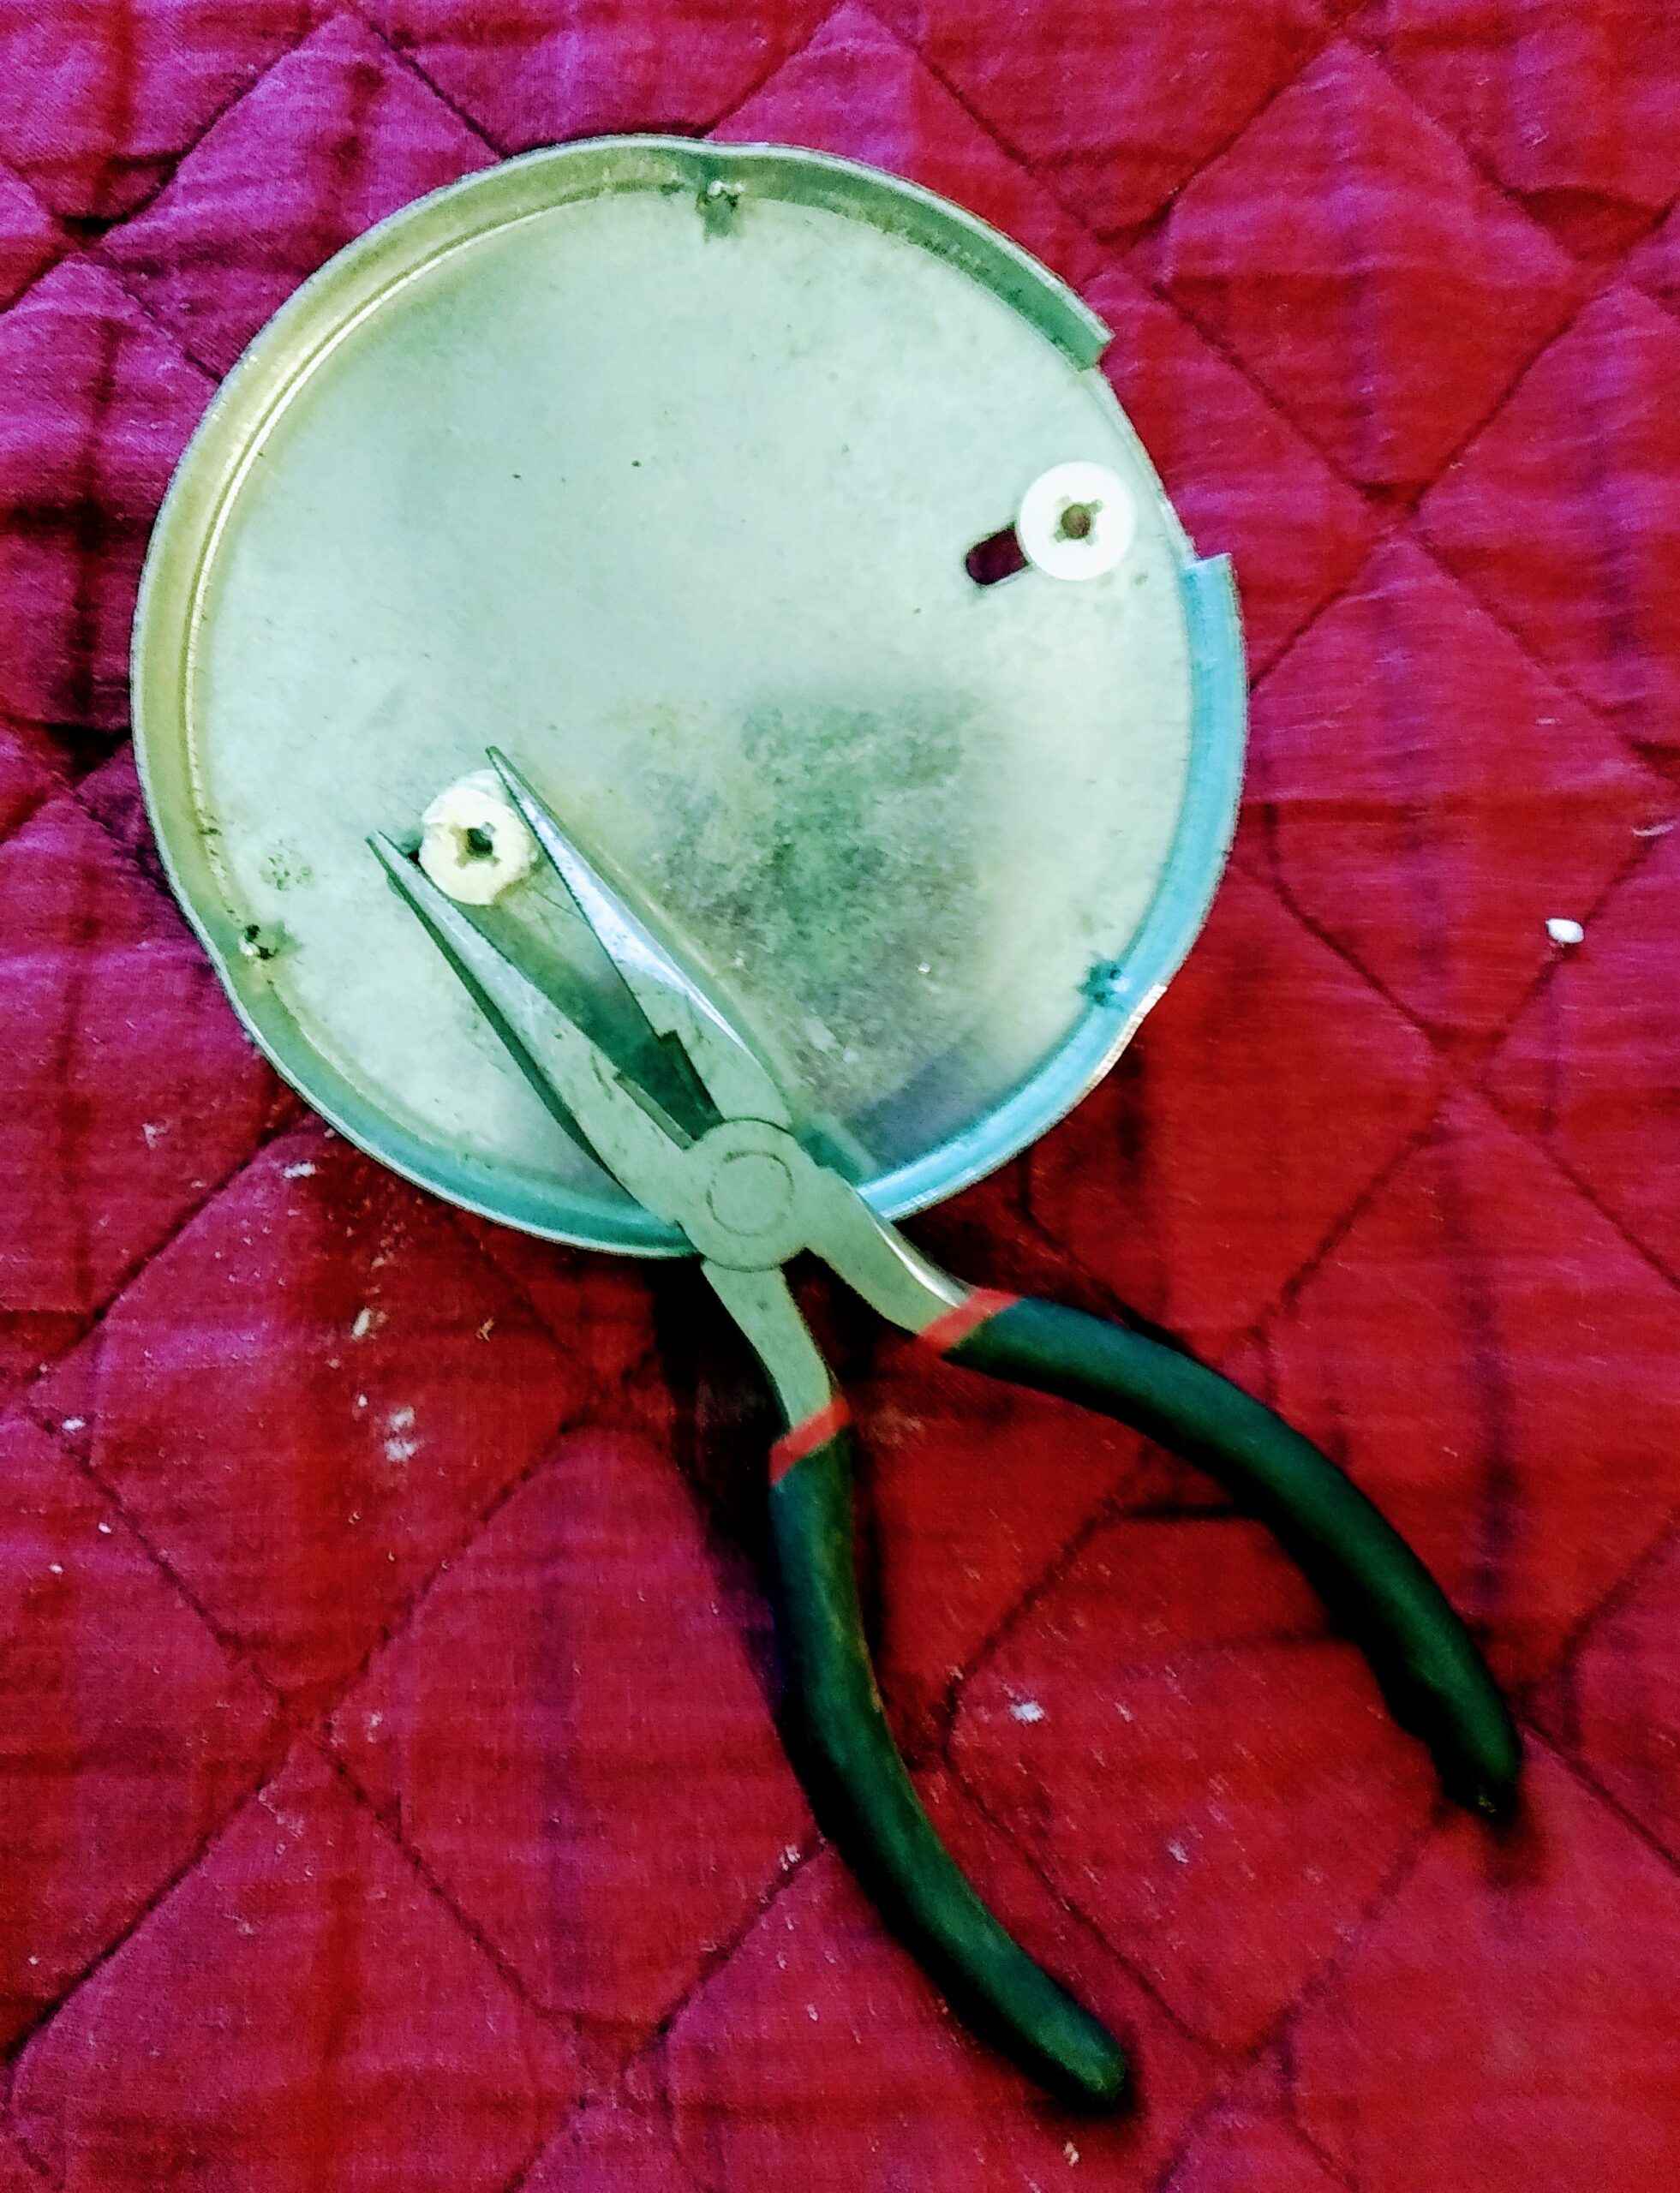 Removing Self Drilling Drywall Anchors
The first step is to remove the back plate by unscrewing the three screws located on the sides of the lamp.
The two above photographs shows removing the old self drilling drywall anchors with pliers.
I positioned the back plate on the wall after I found a stud with a stud finder.
I marked the two drill areas with pencil marks.
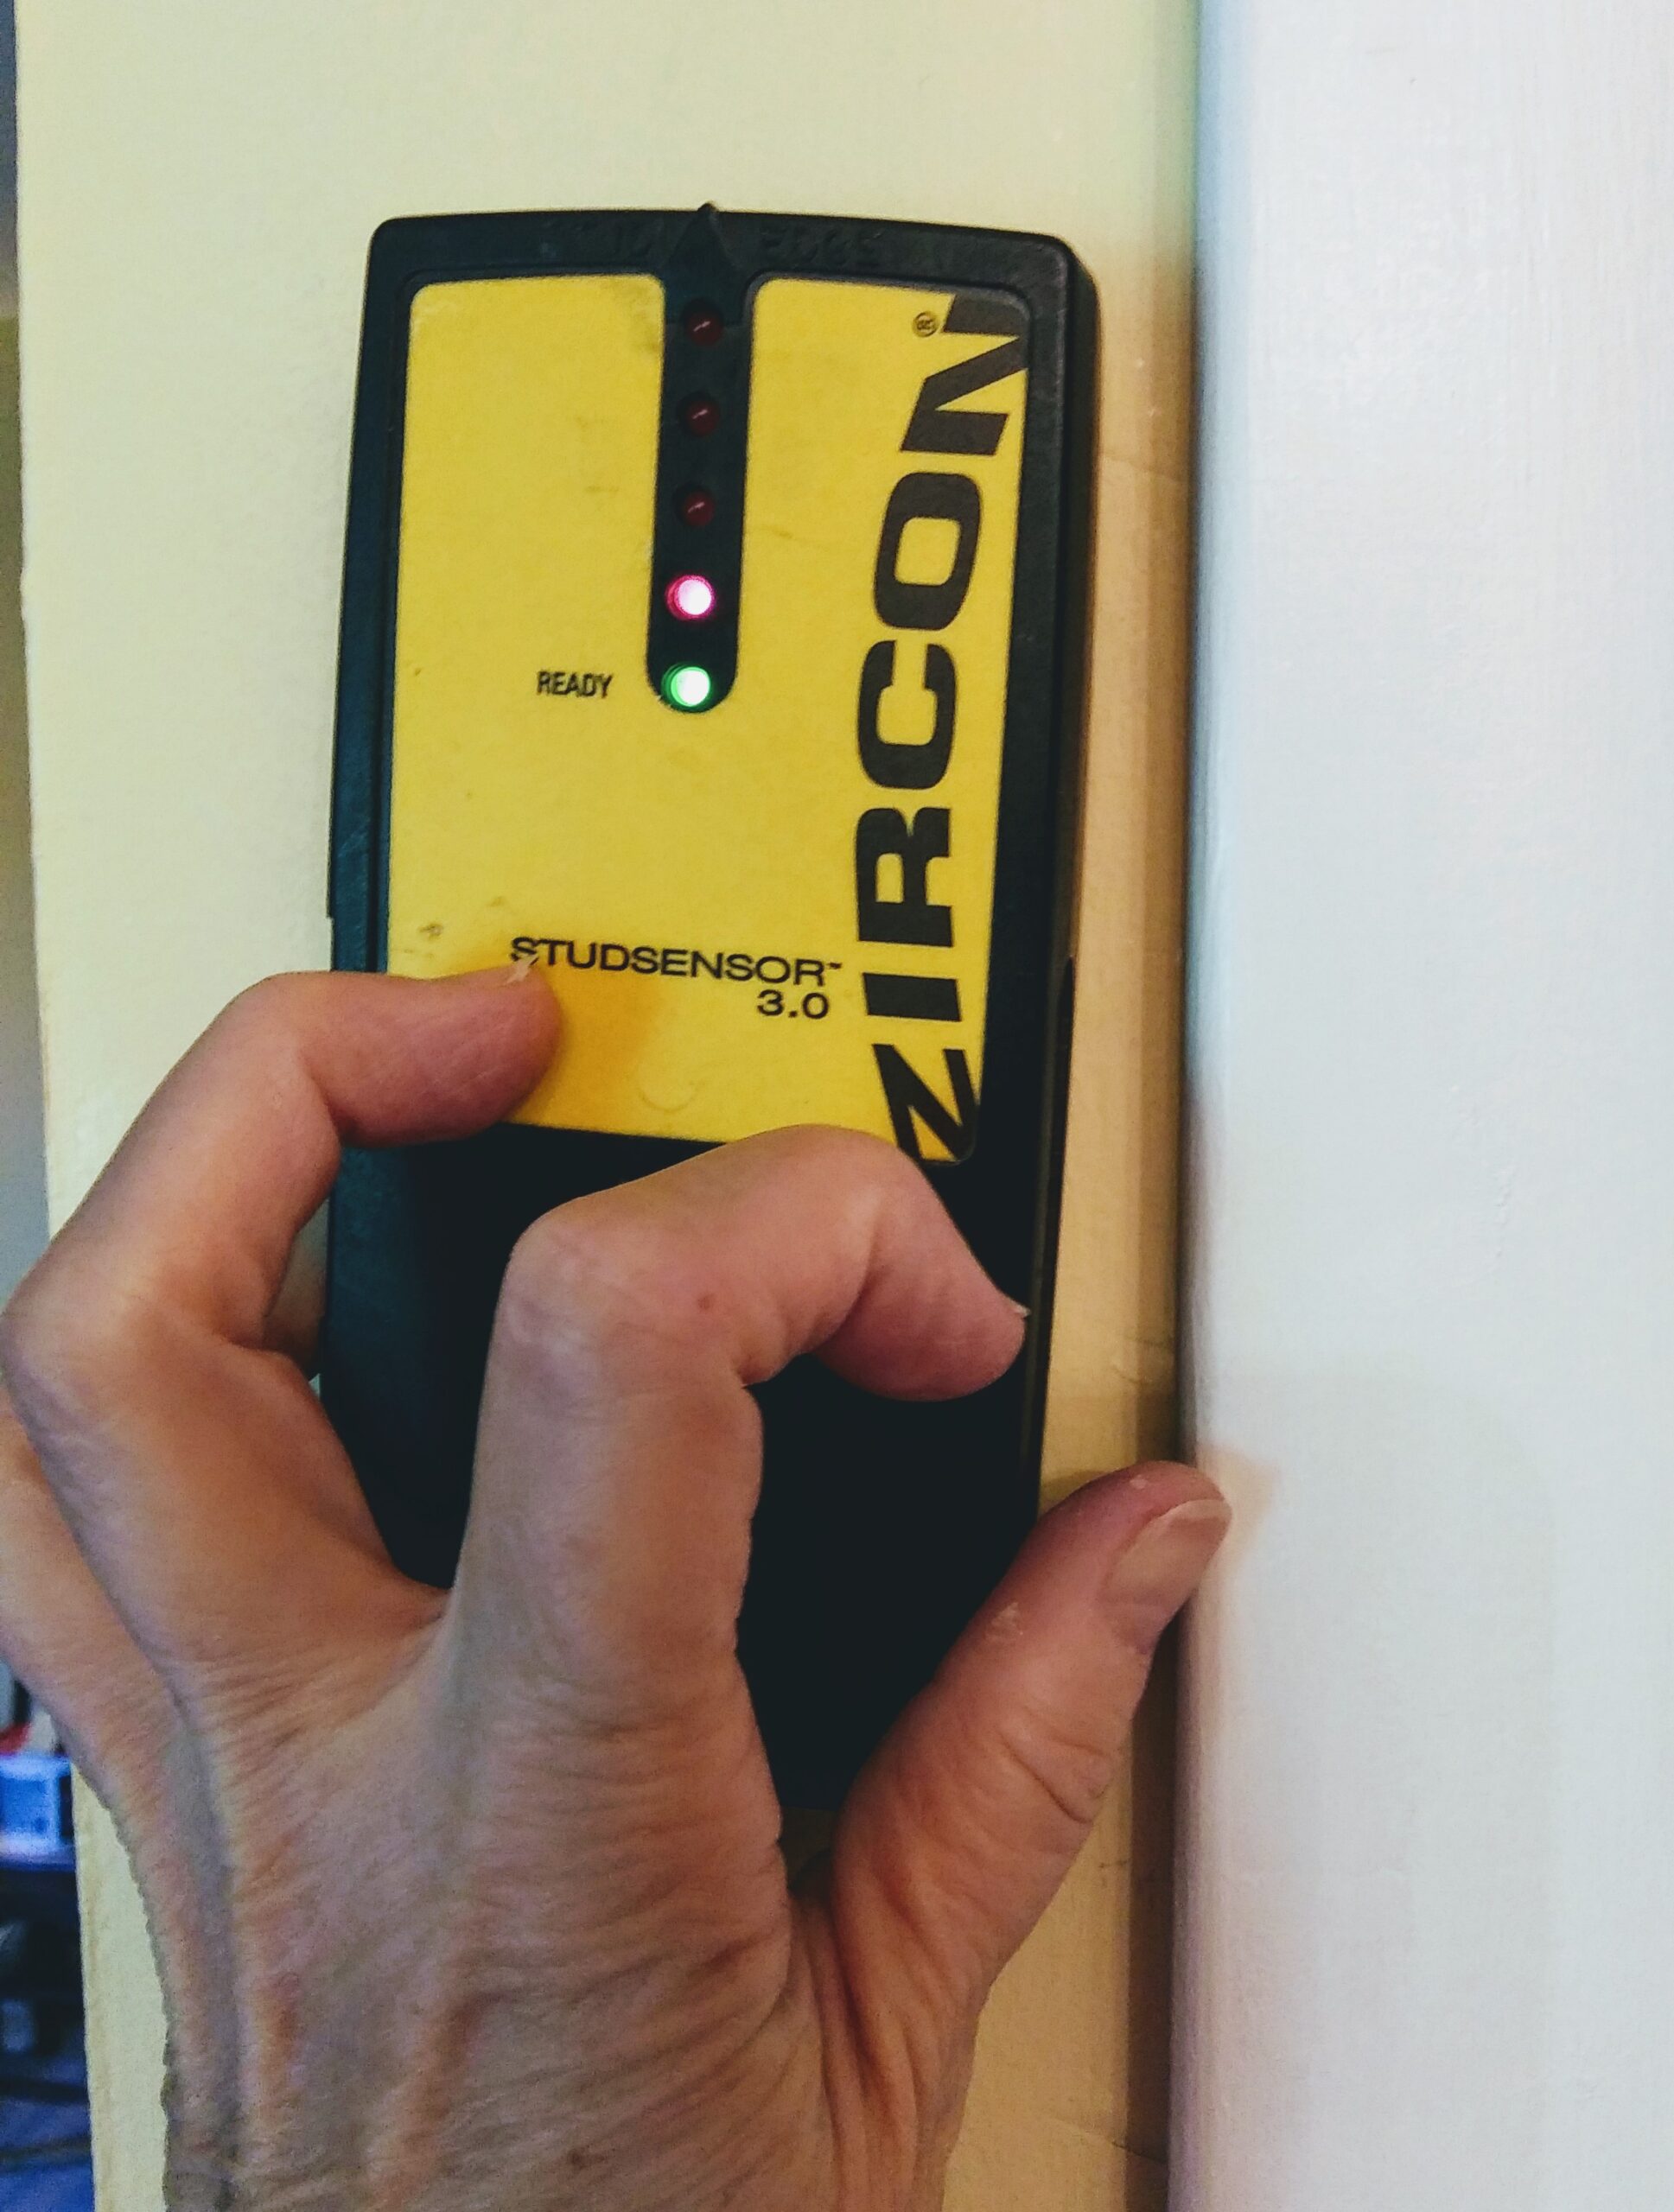 Stud Finder
The above photograph shows a stud finder in action. It’s generally pretty easy to use and works on a battery.
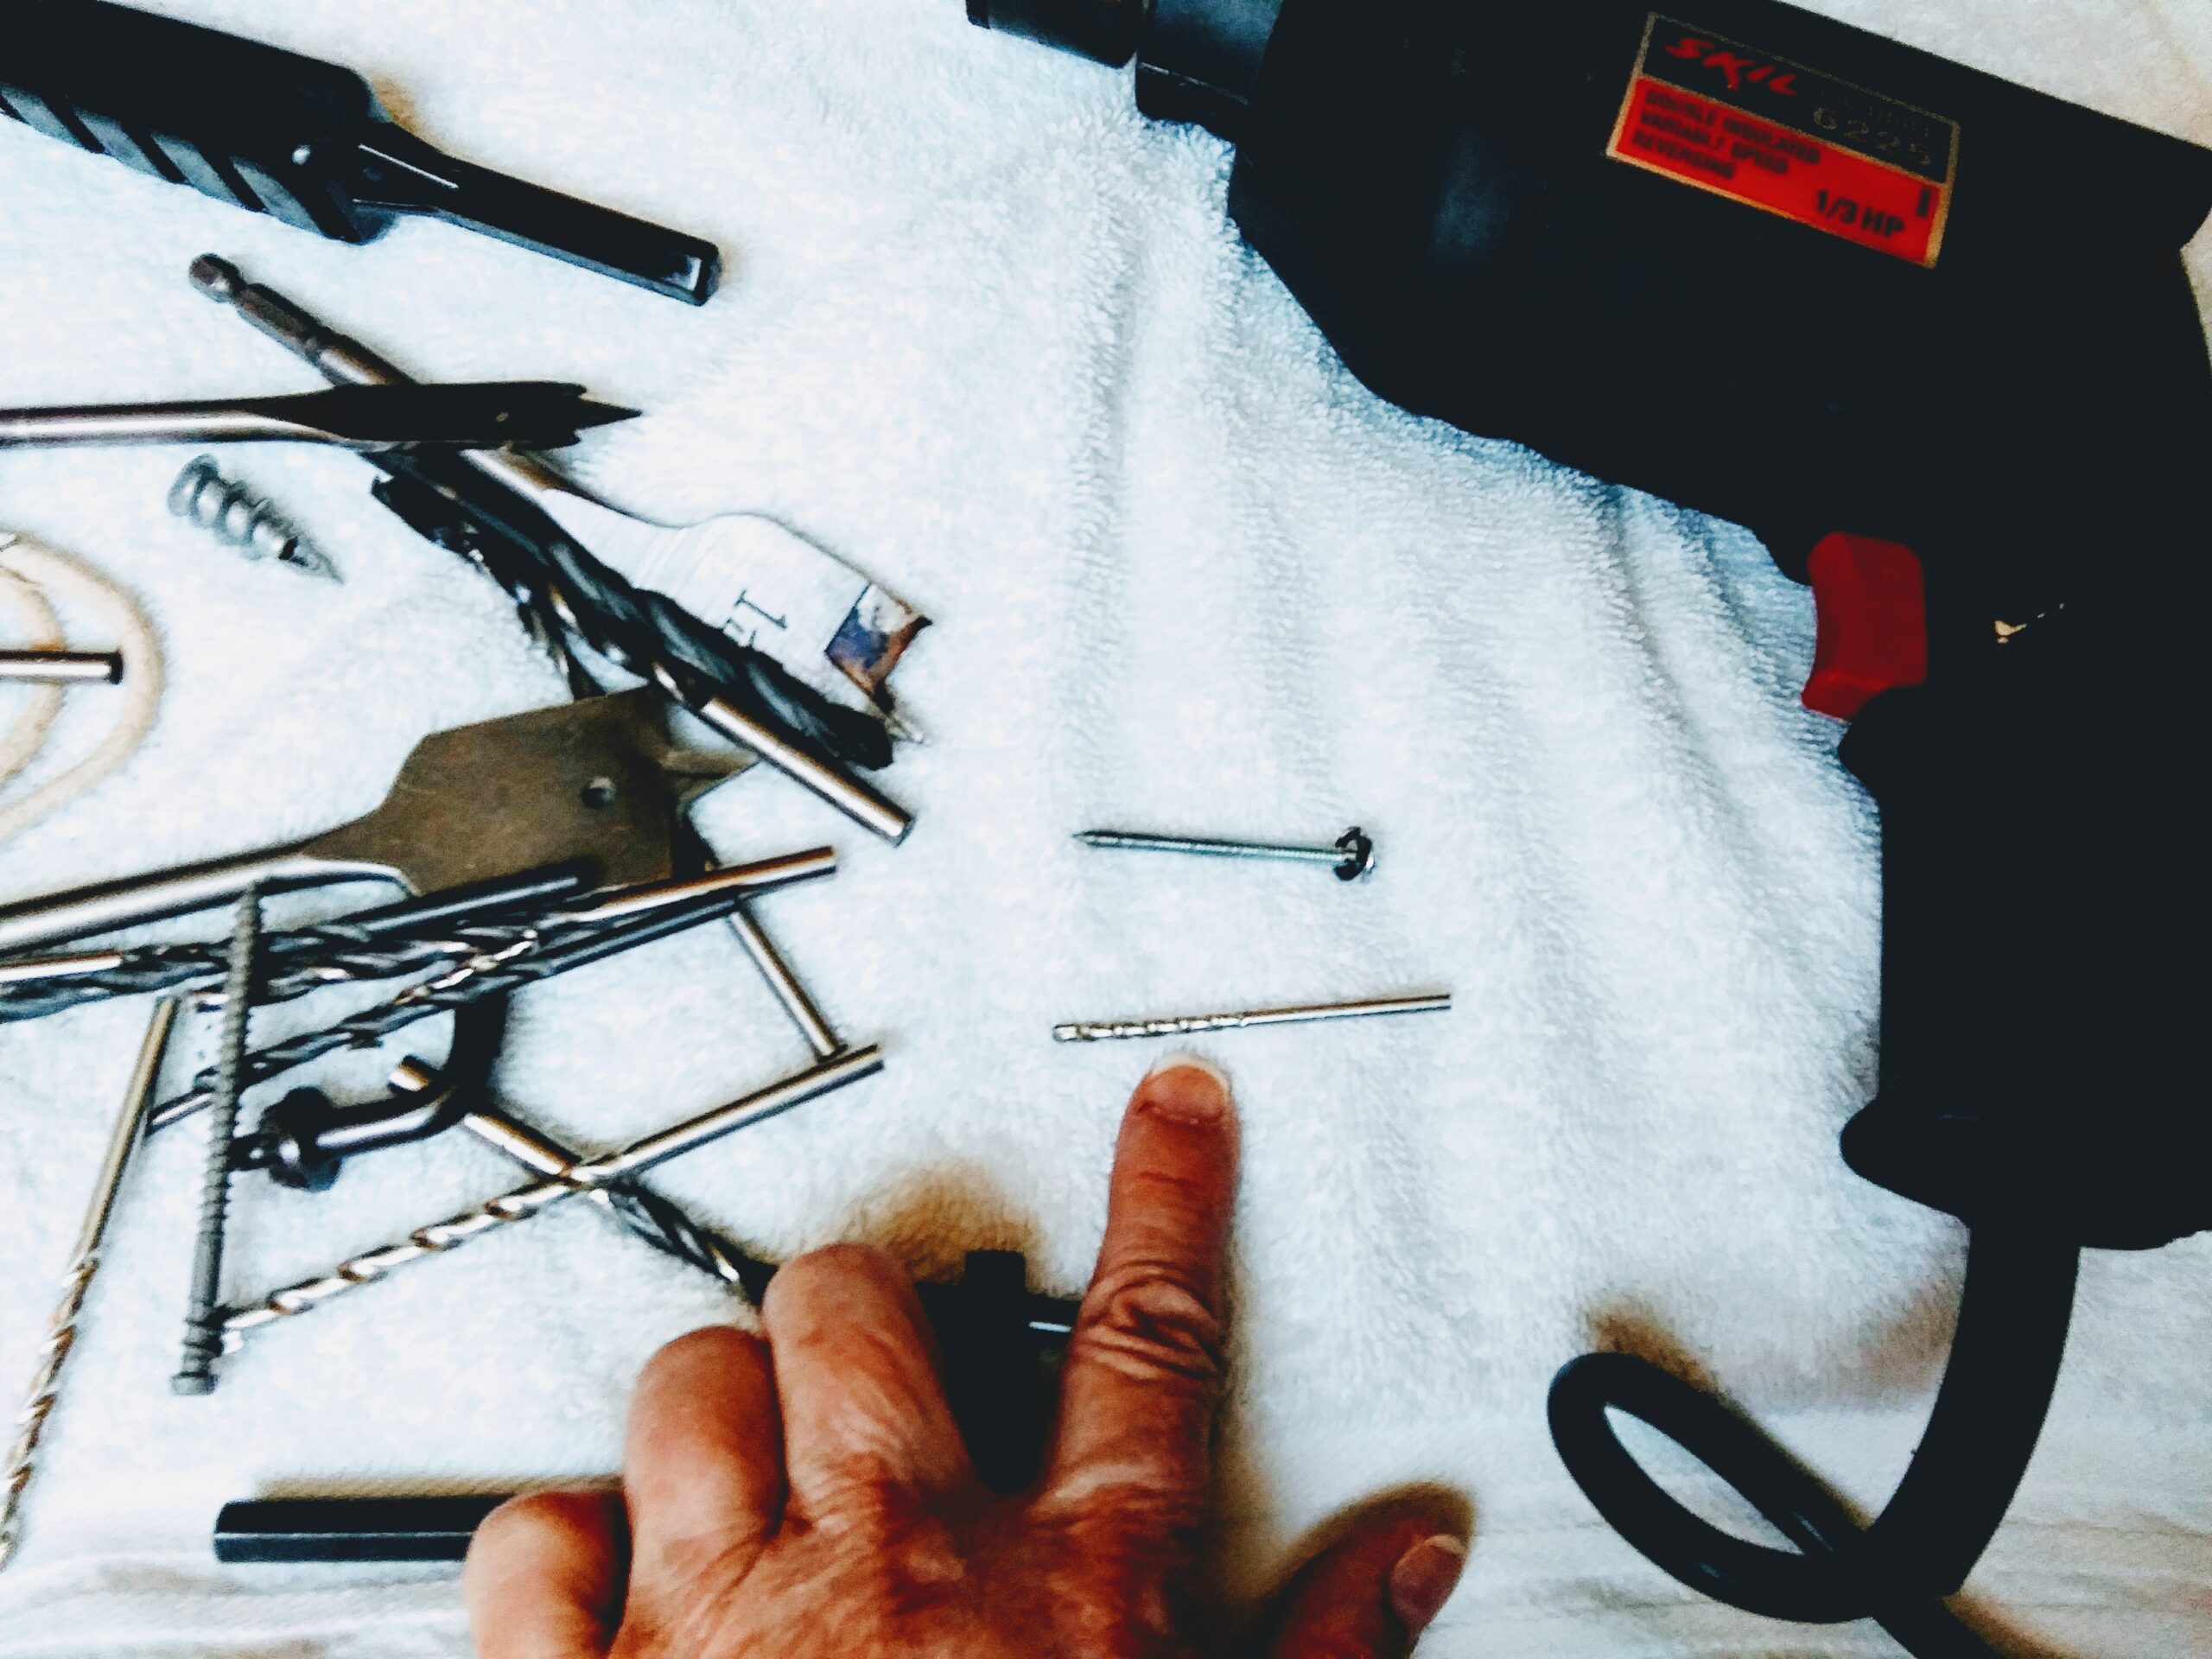 Matching Screw to Drill Bit
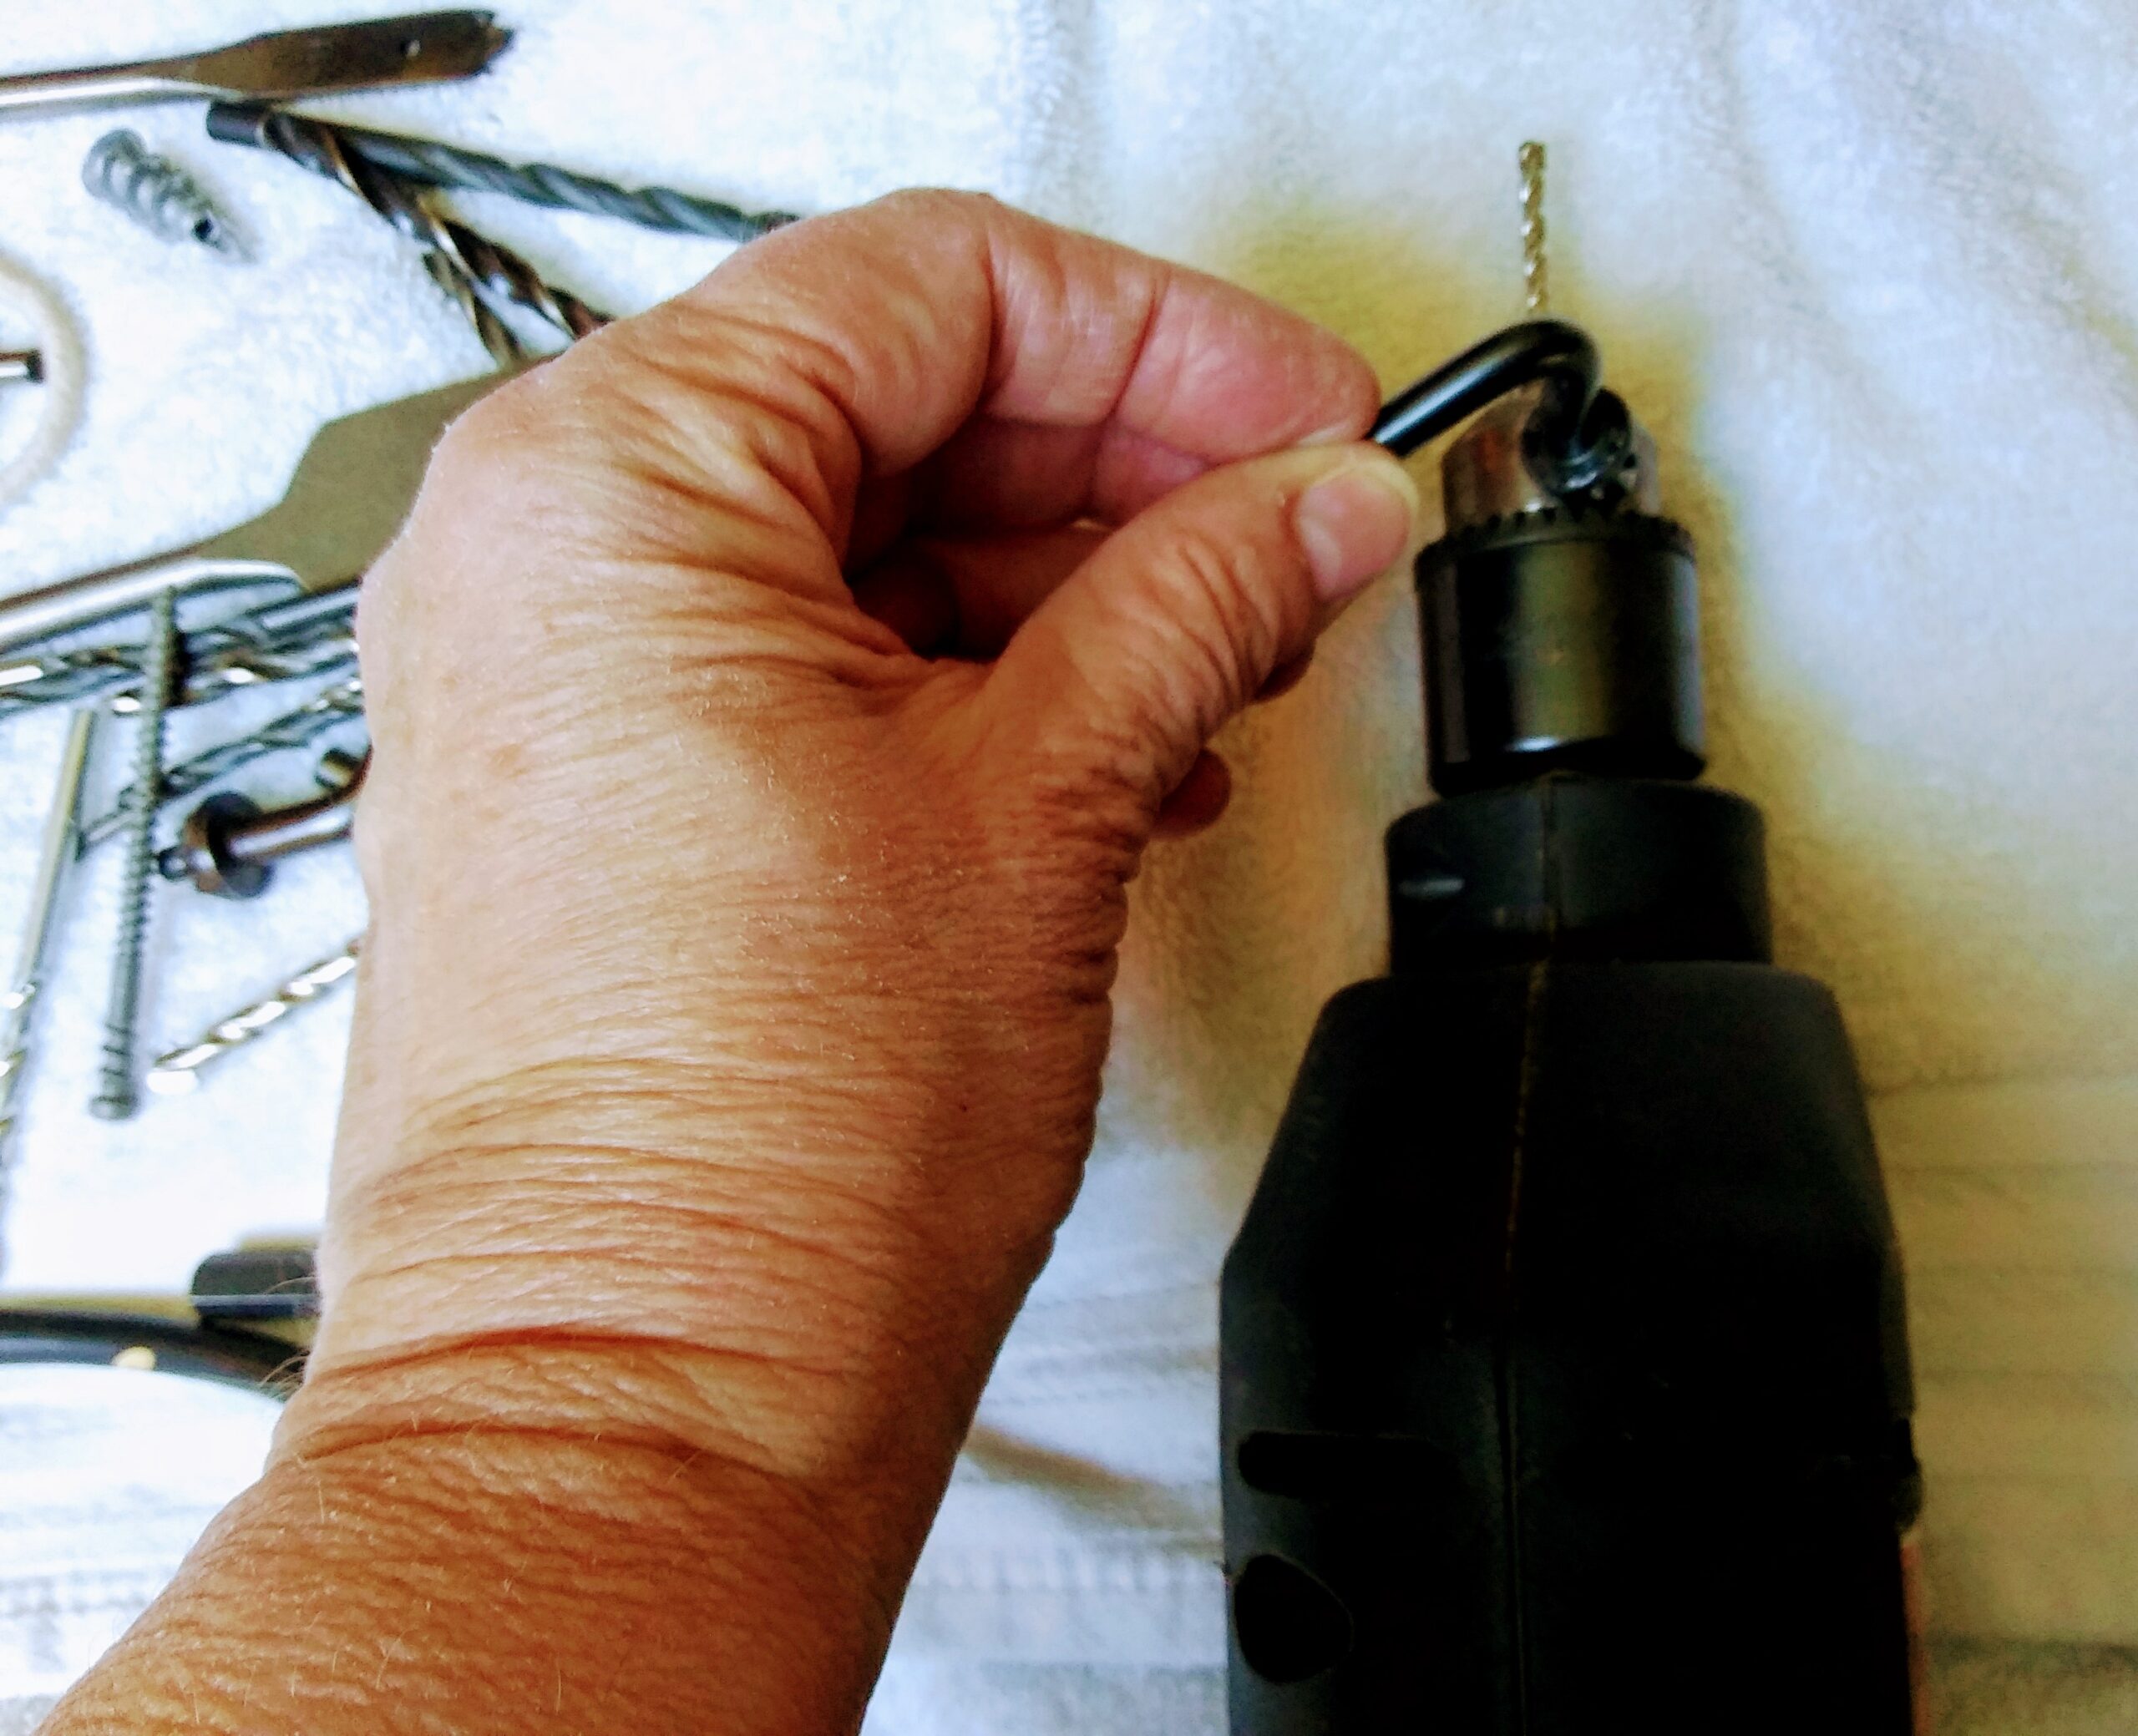 Adding Drill Bit to Drill and Tightening
After marking the area with pencil, I used the drill to drill into the drywall and wood stud.
In the second photograph I am tightening the drill bit.
The back plate is then securely attached to the wall using two large screws.
Make sure the screws are long enough to tack into the wooden stud.
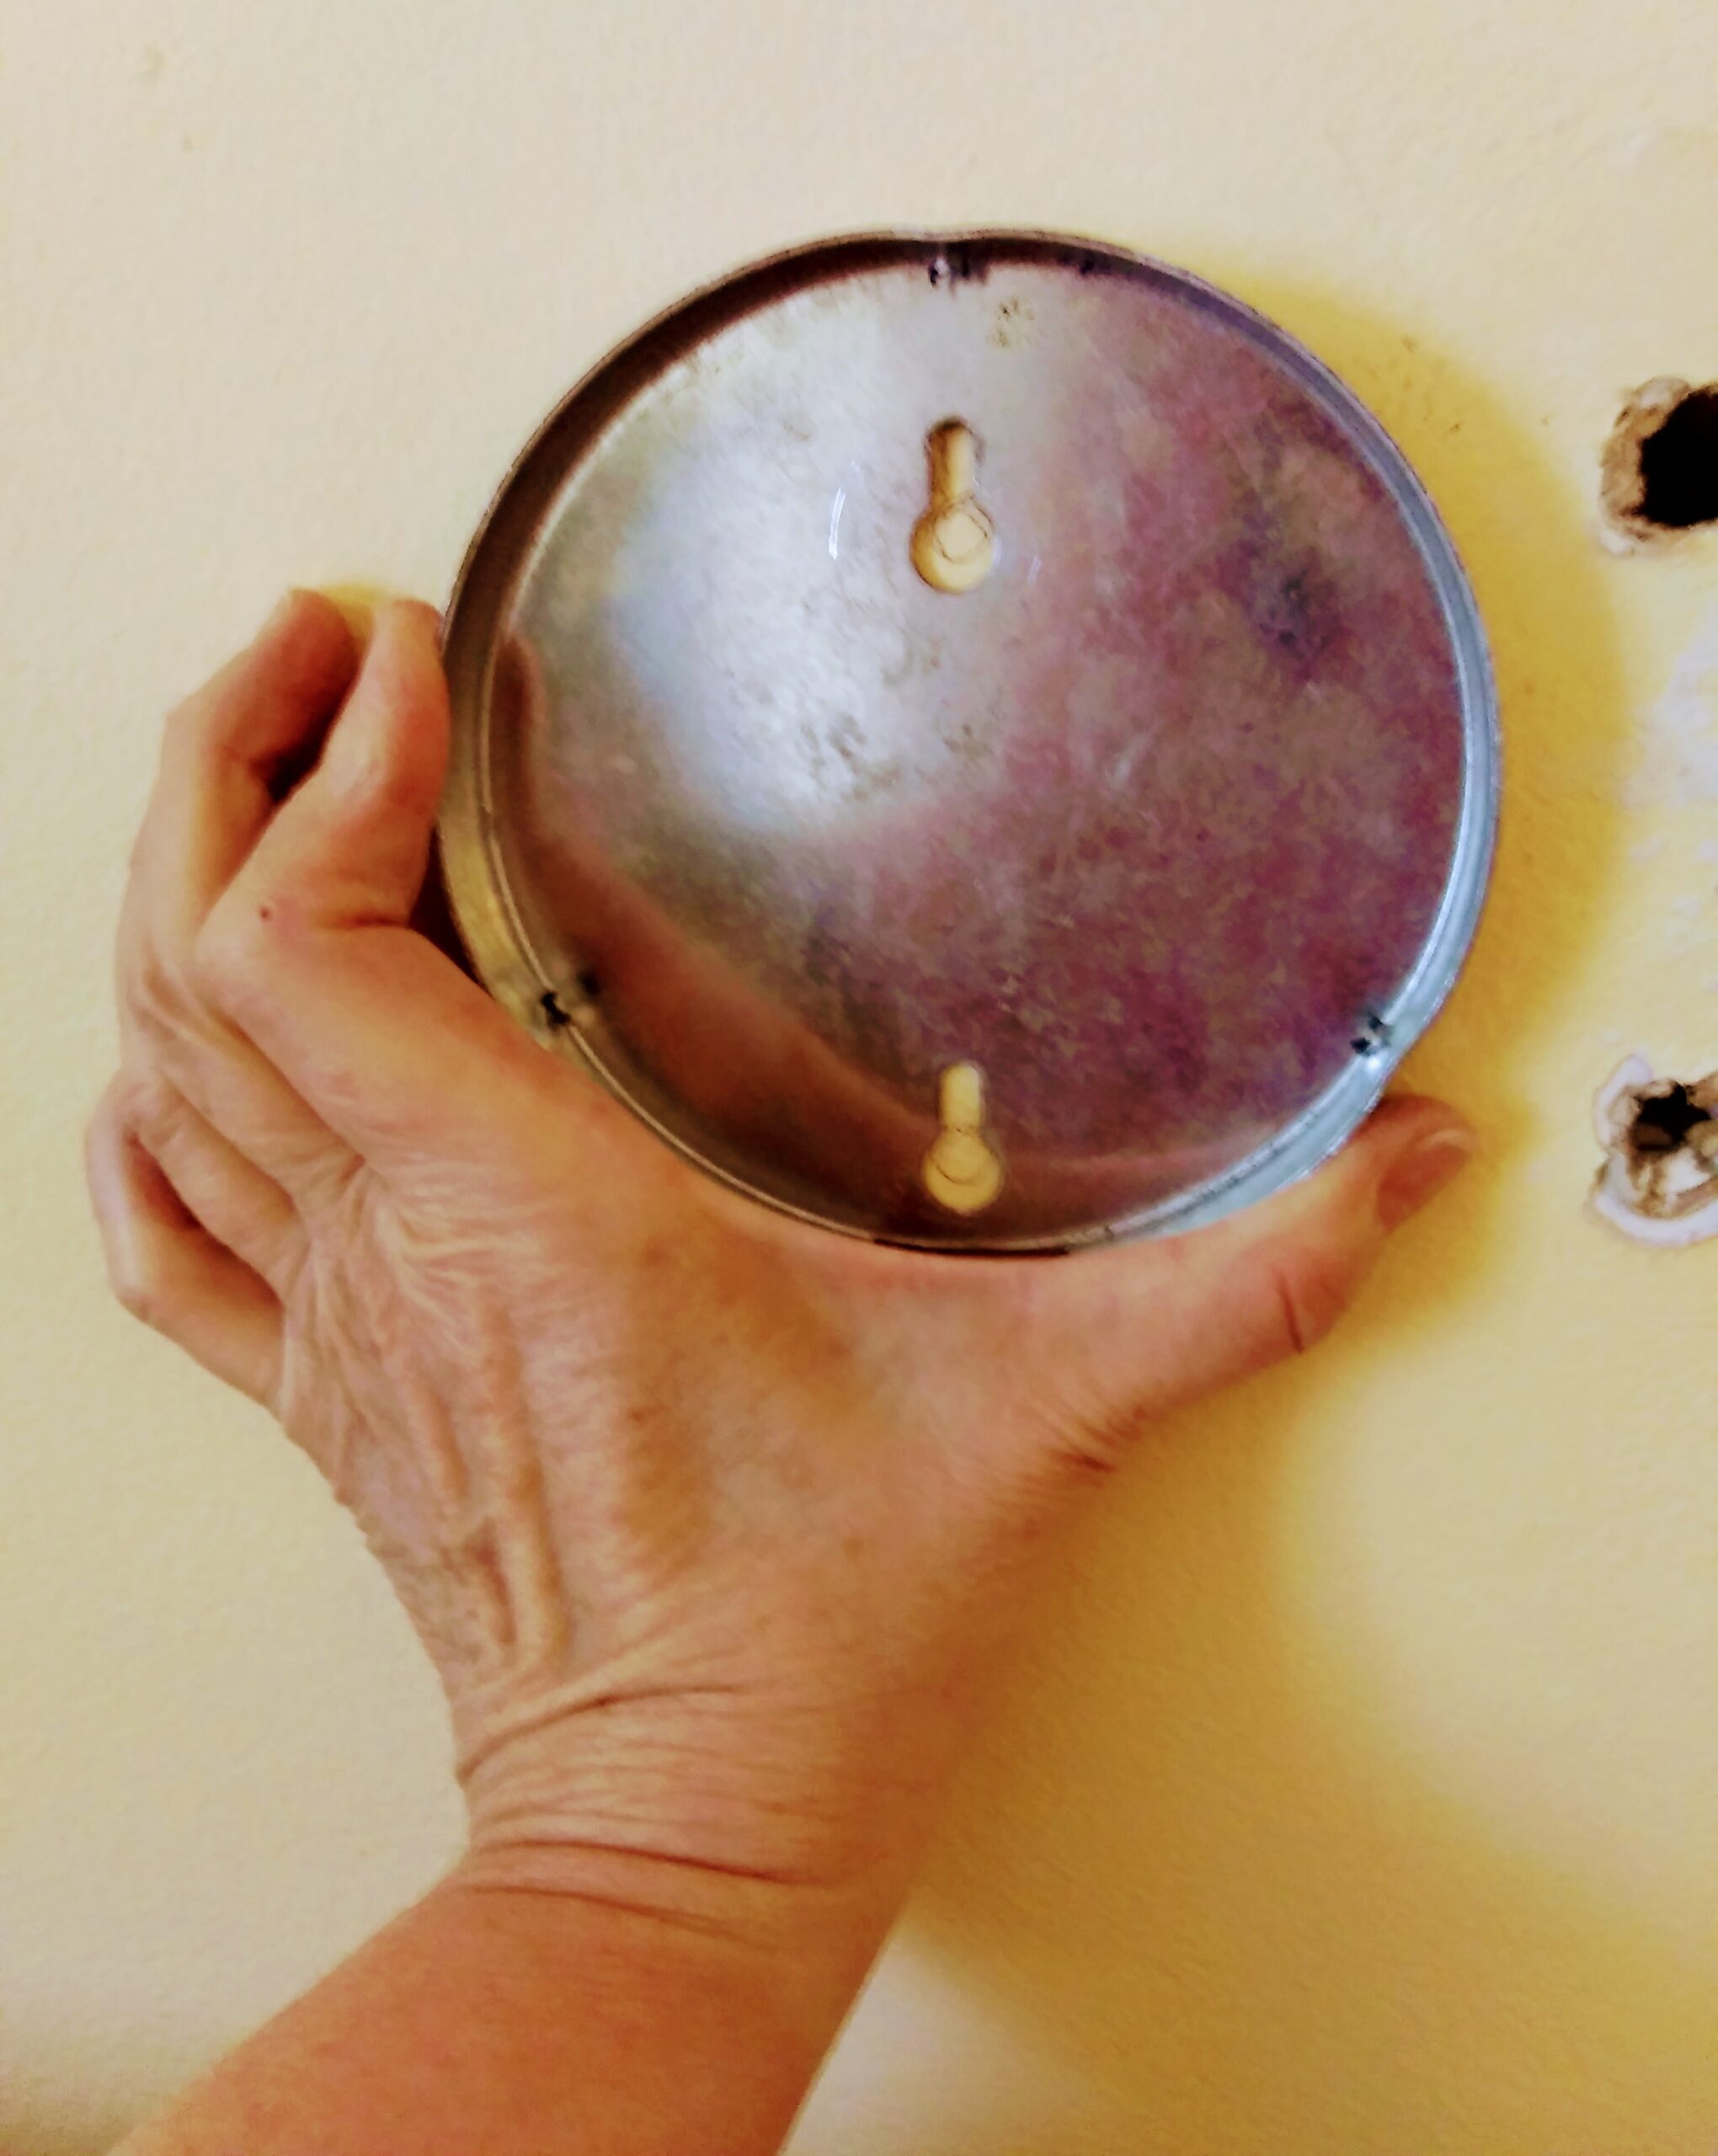 Positioning Back Plate on Wall
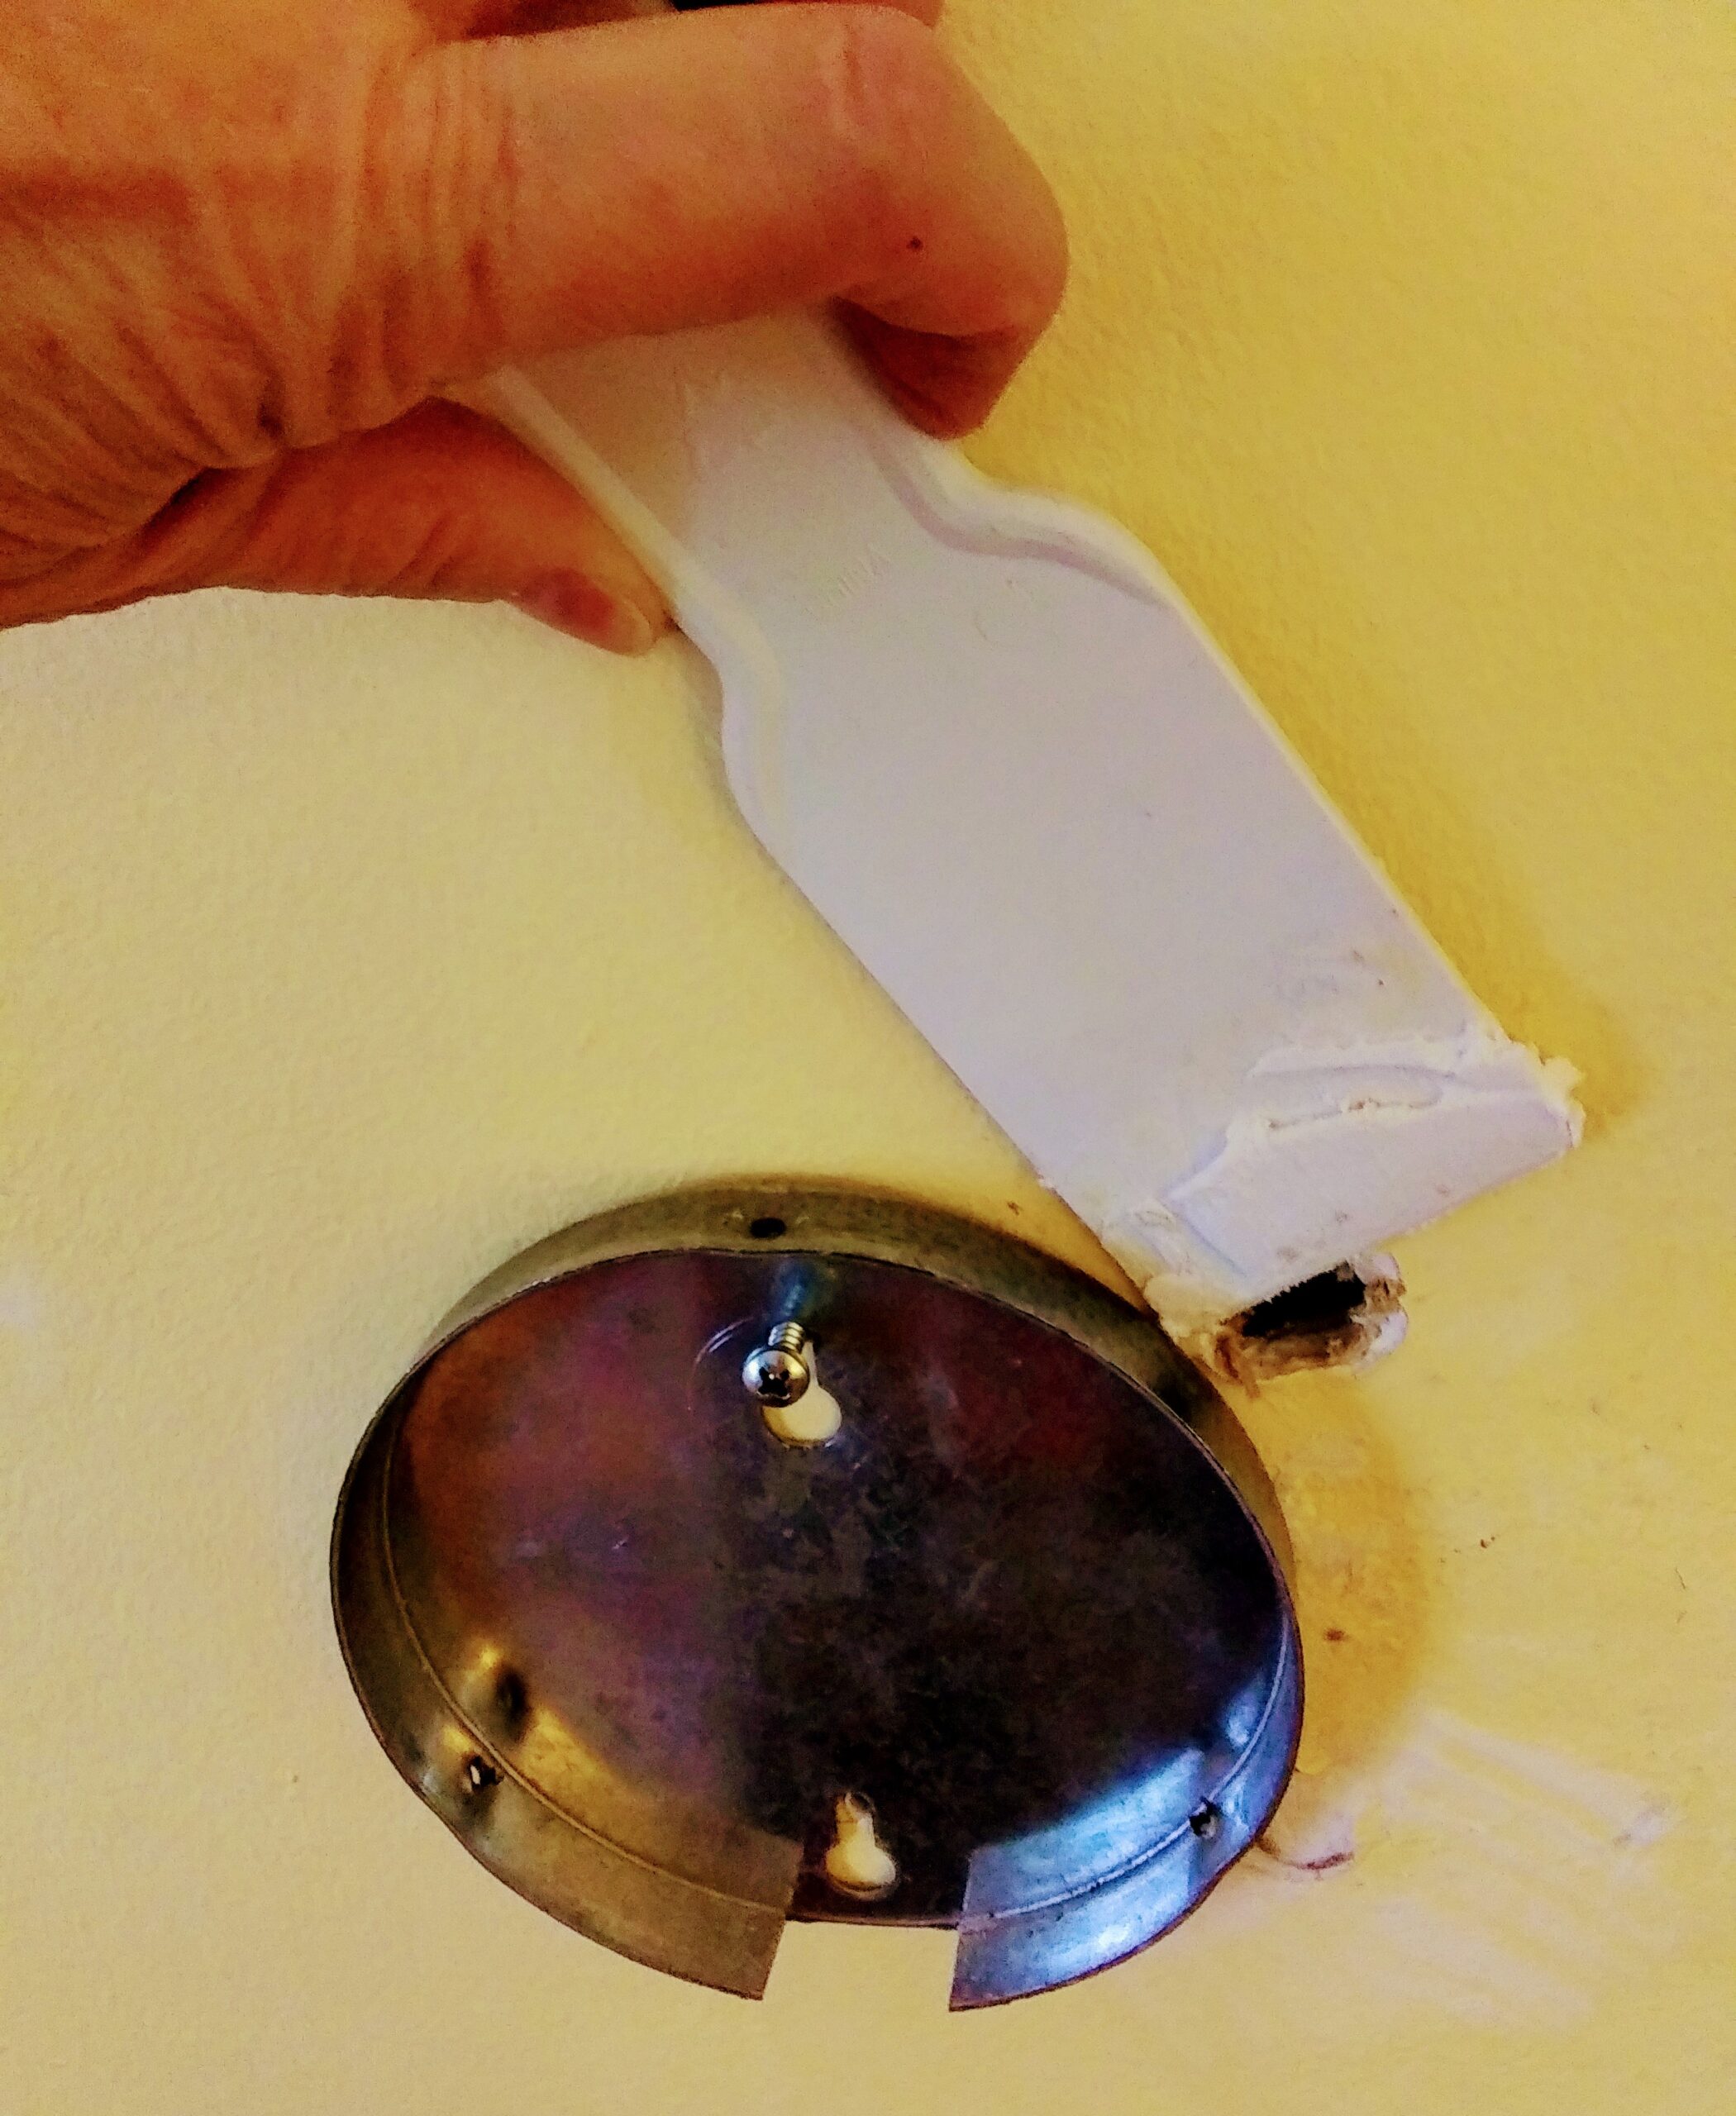 Making Drywall Repair with Spackling
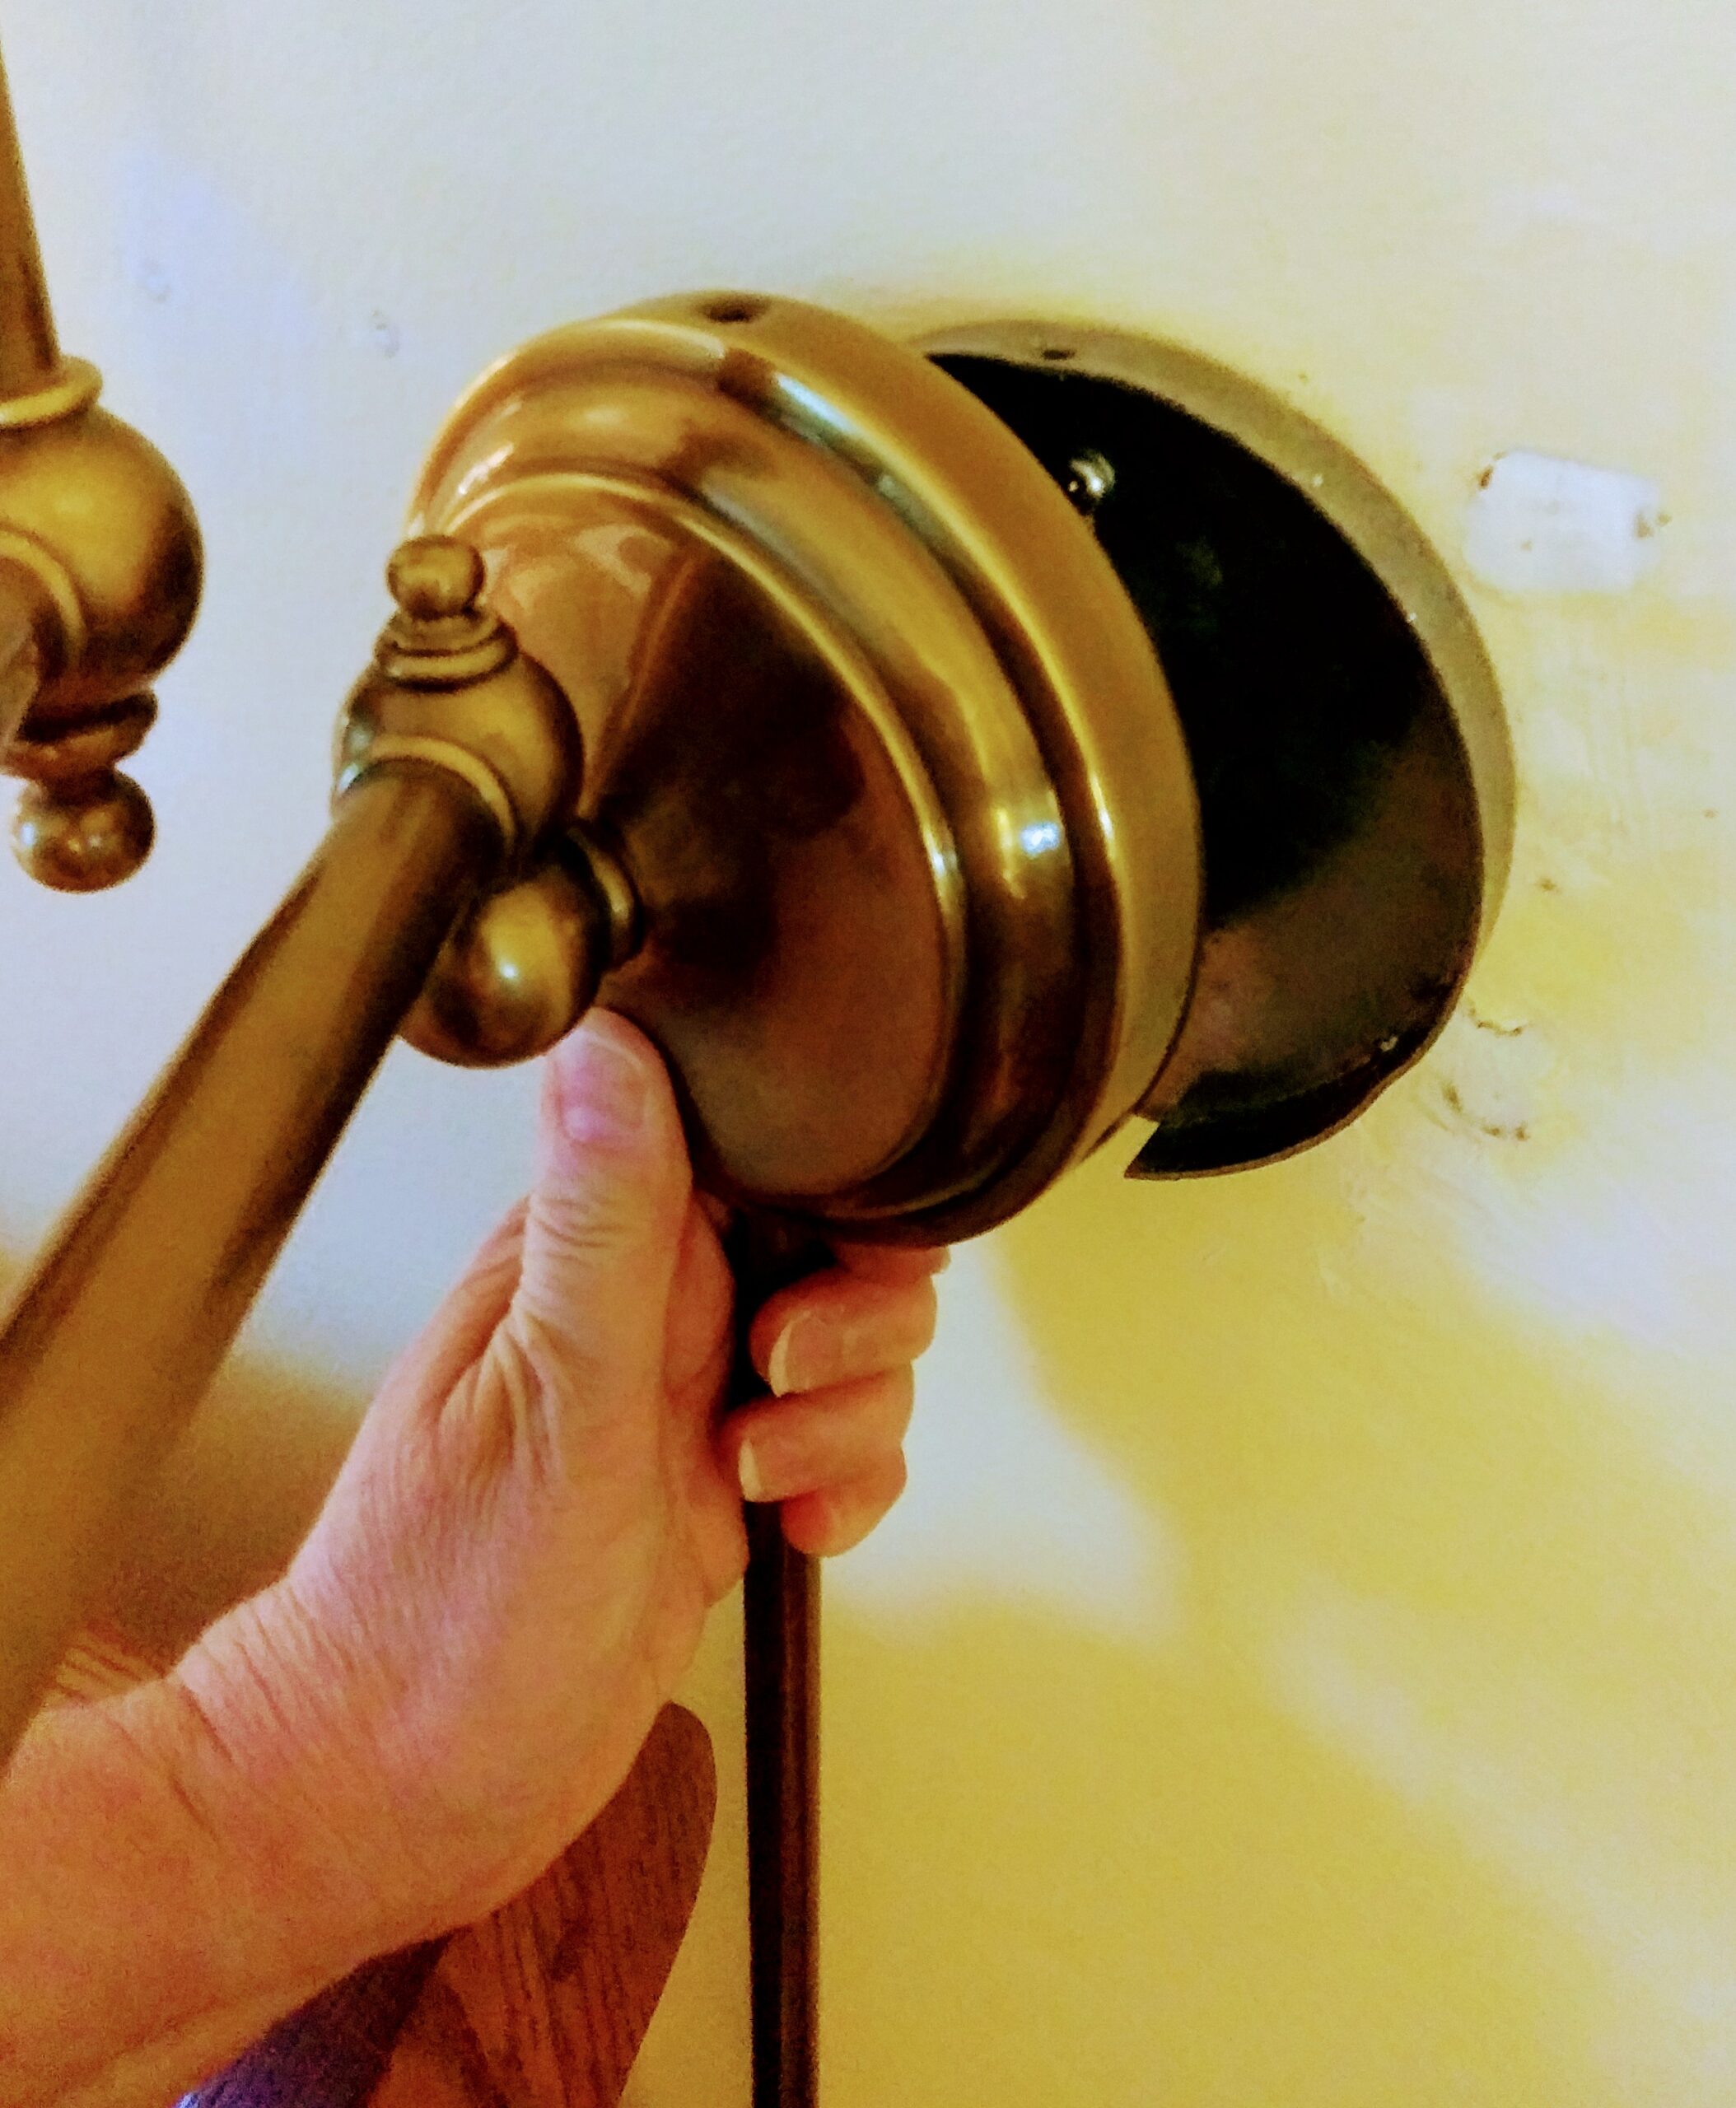 Replacing Lamp and Screwing it Together
Before totally tightening the back plate screws, I spread a little spackling over the two holes.
The last photograph shows placing the wall lamp in to the back plate and then screwing it on with three small screws.
This bedroom wall lamp has been on the floor for awhile so I’m glad that is back on the wall where it belongs.
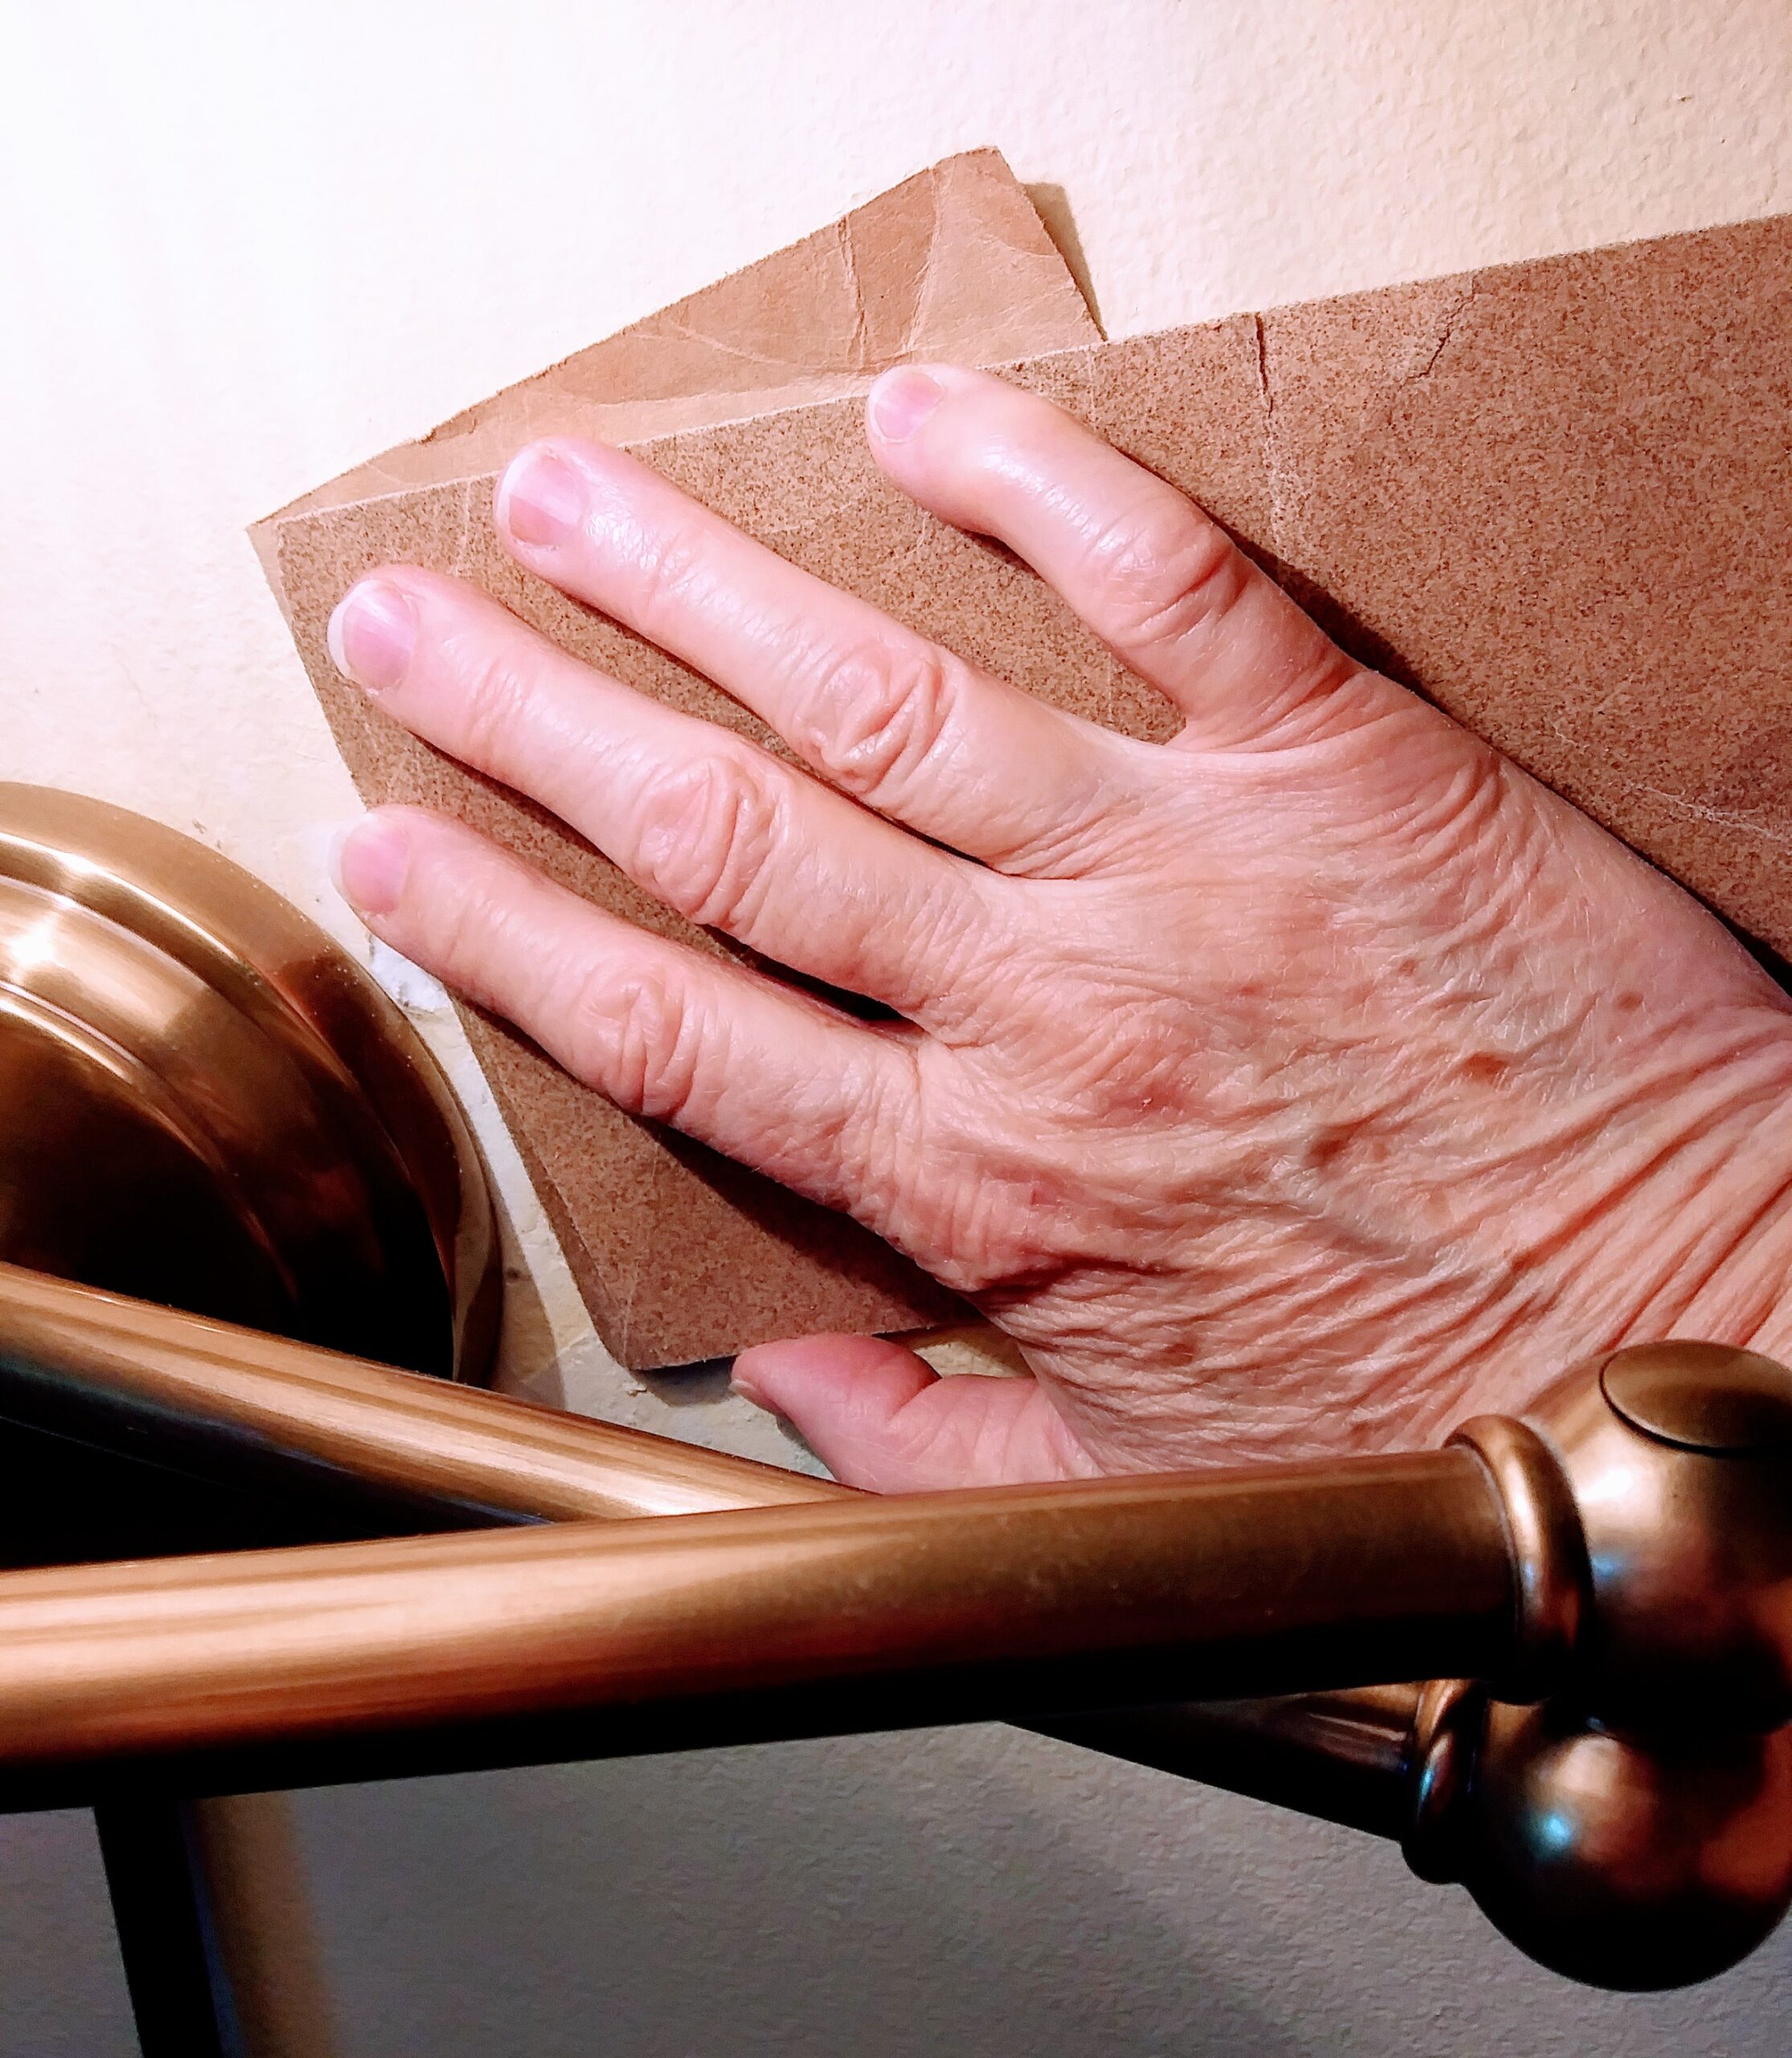 Sanding First Layer of Spackling
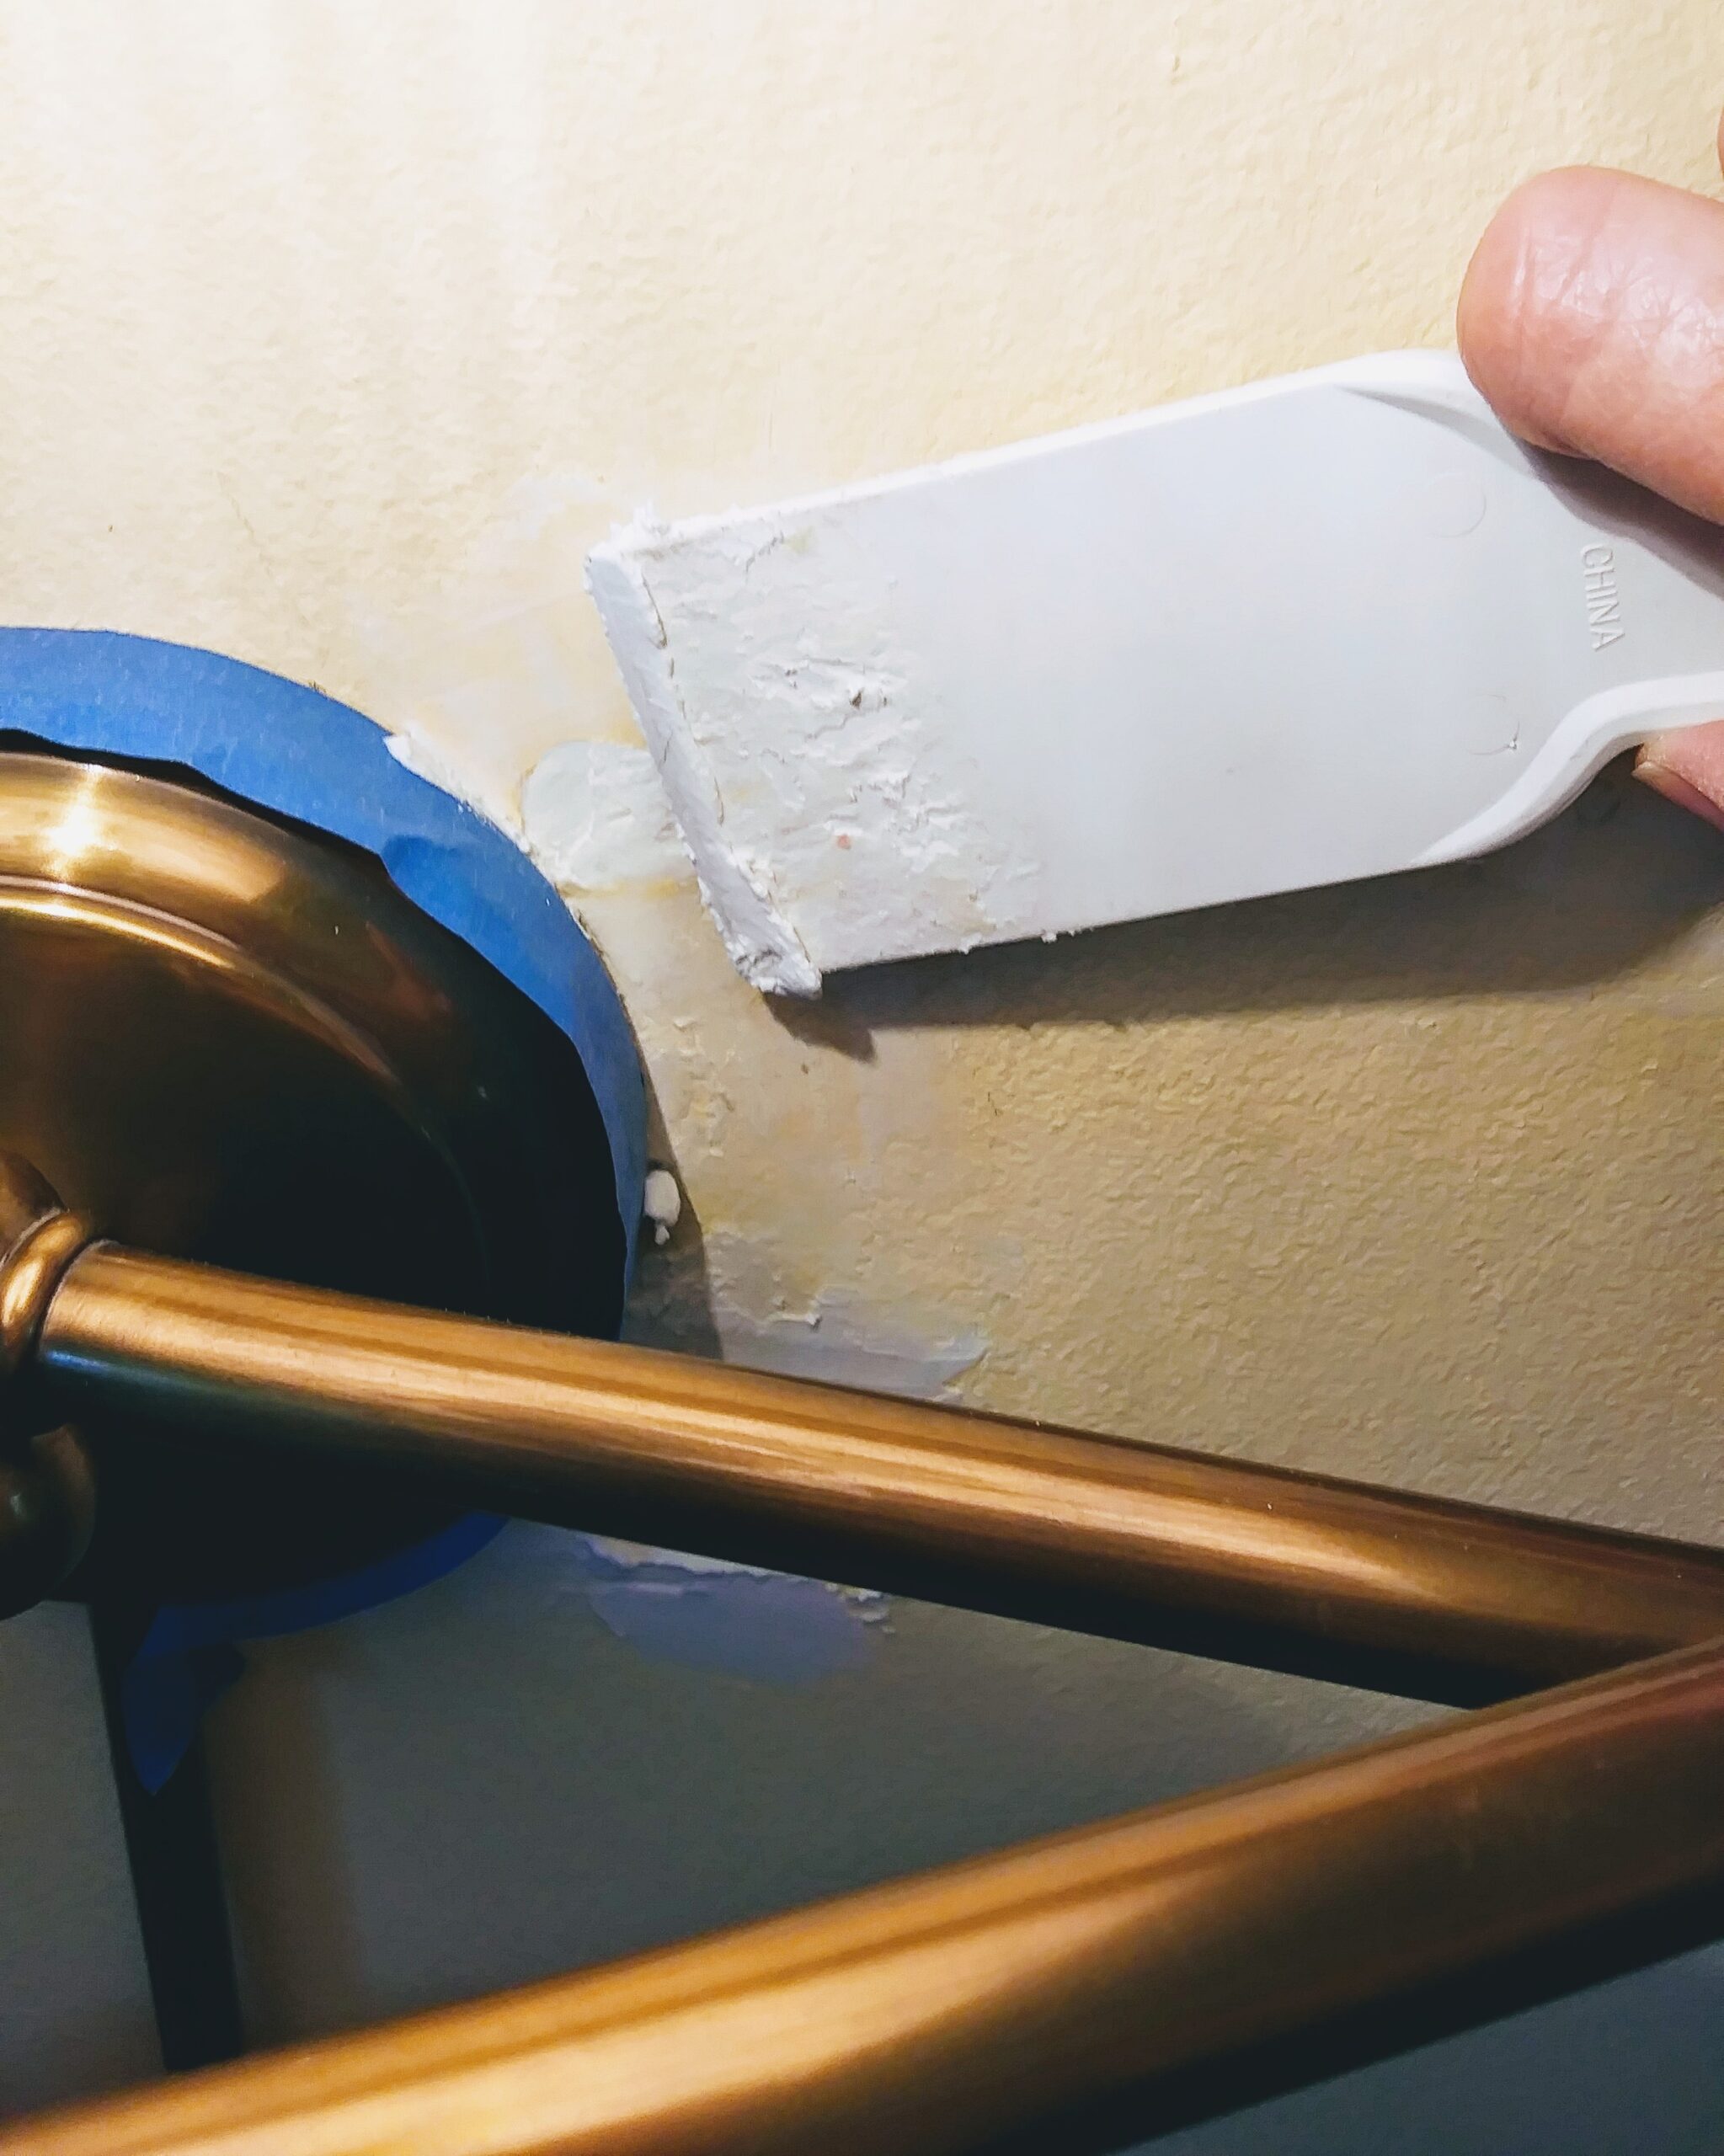 Using Painter’s Tape
Painting the Spackling
I used a small piece of painter’s tape around the base of the lamp to keep any spackling and paint off the lamp.
When the first layer of spackling was totally dry, I lightly sanded the area with a fine grit sandpaper and then added a second layer of spacking.
When the second layer was dry, again, lightly sand the spackled area.
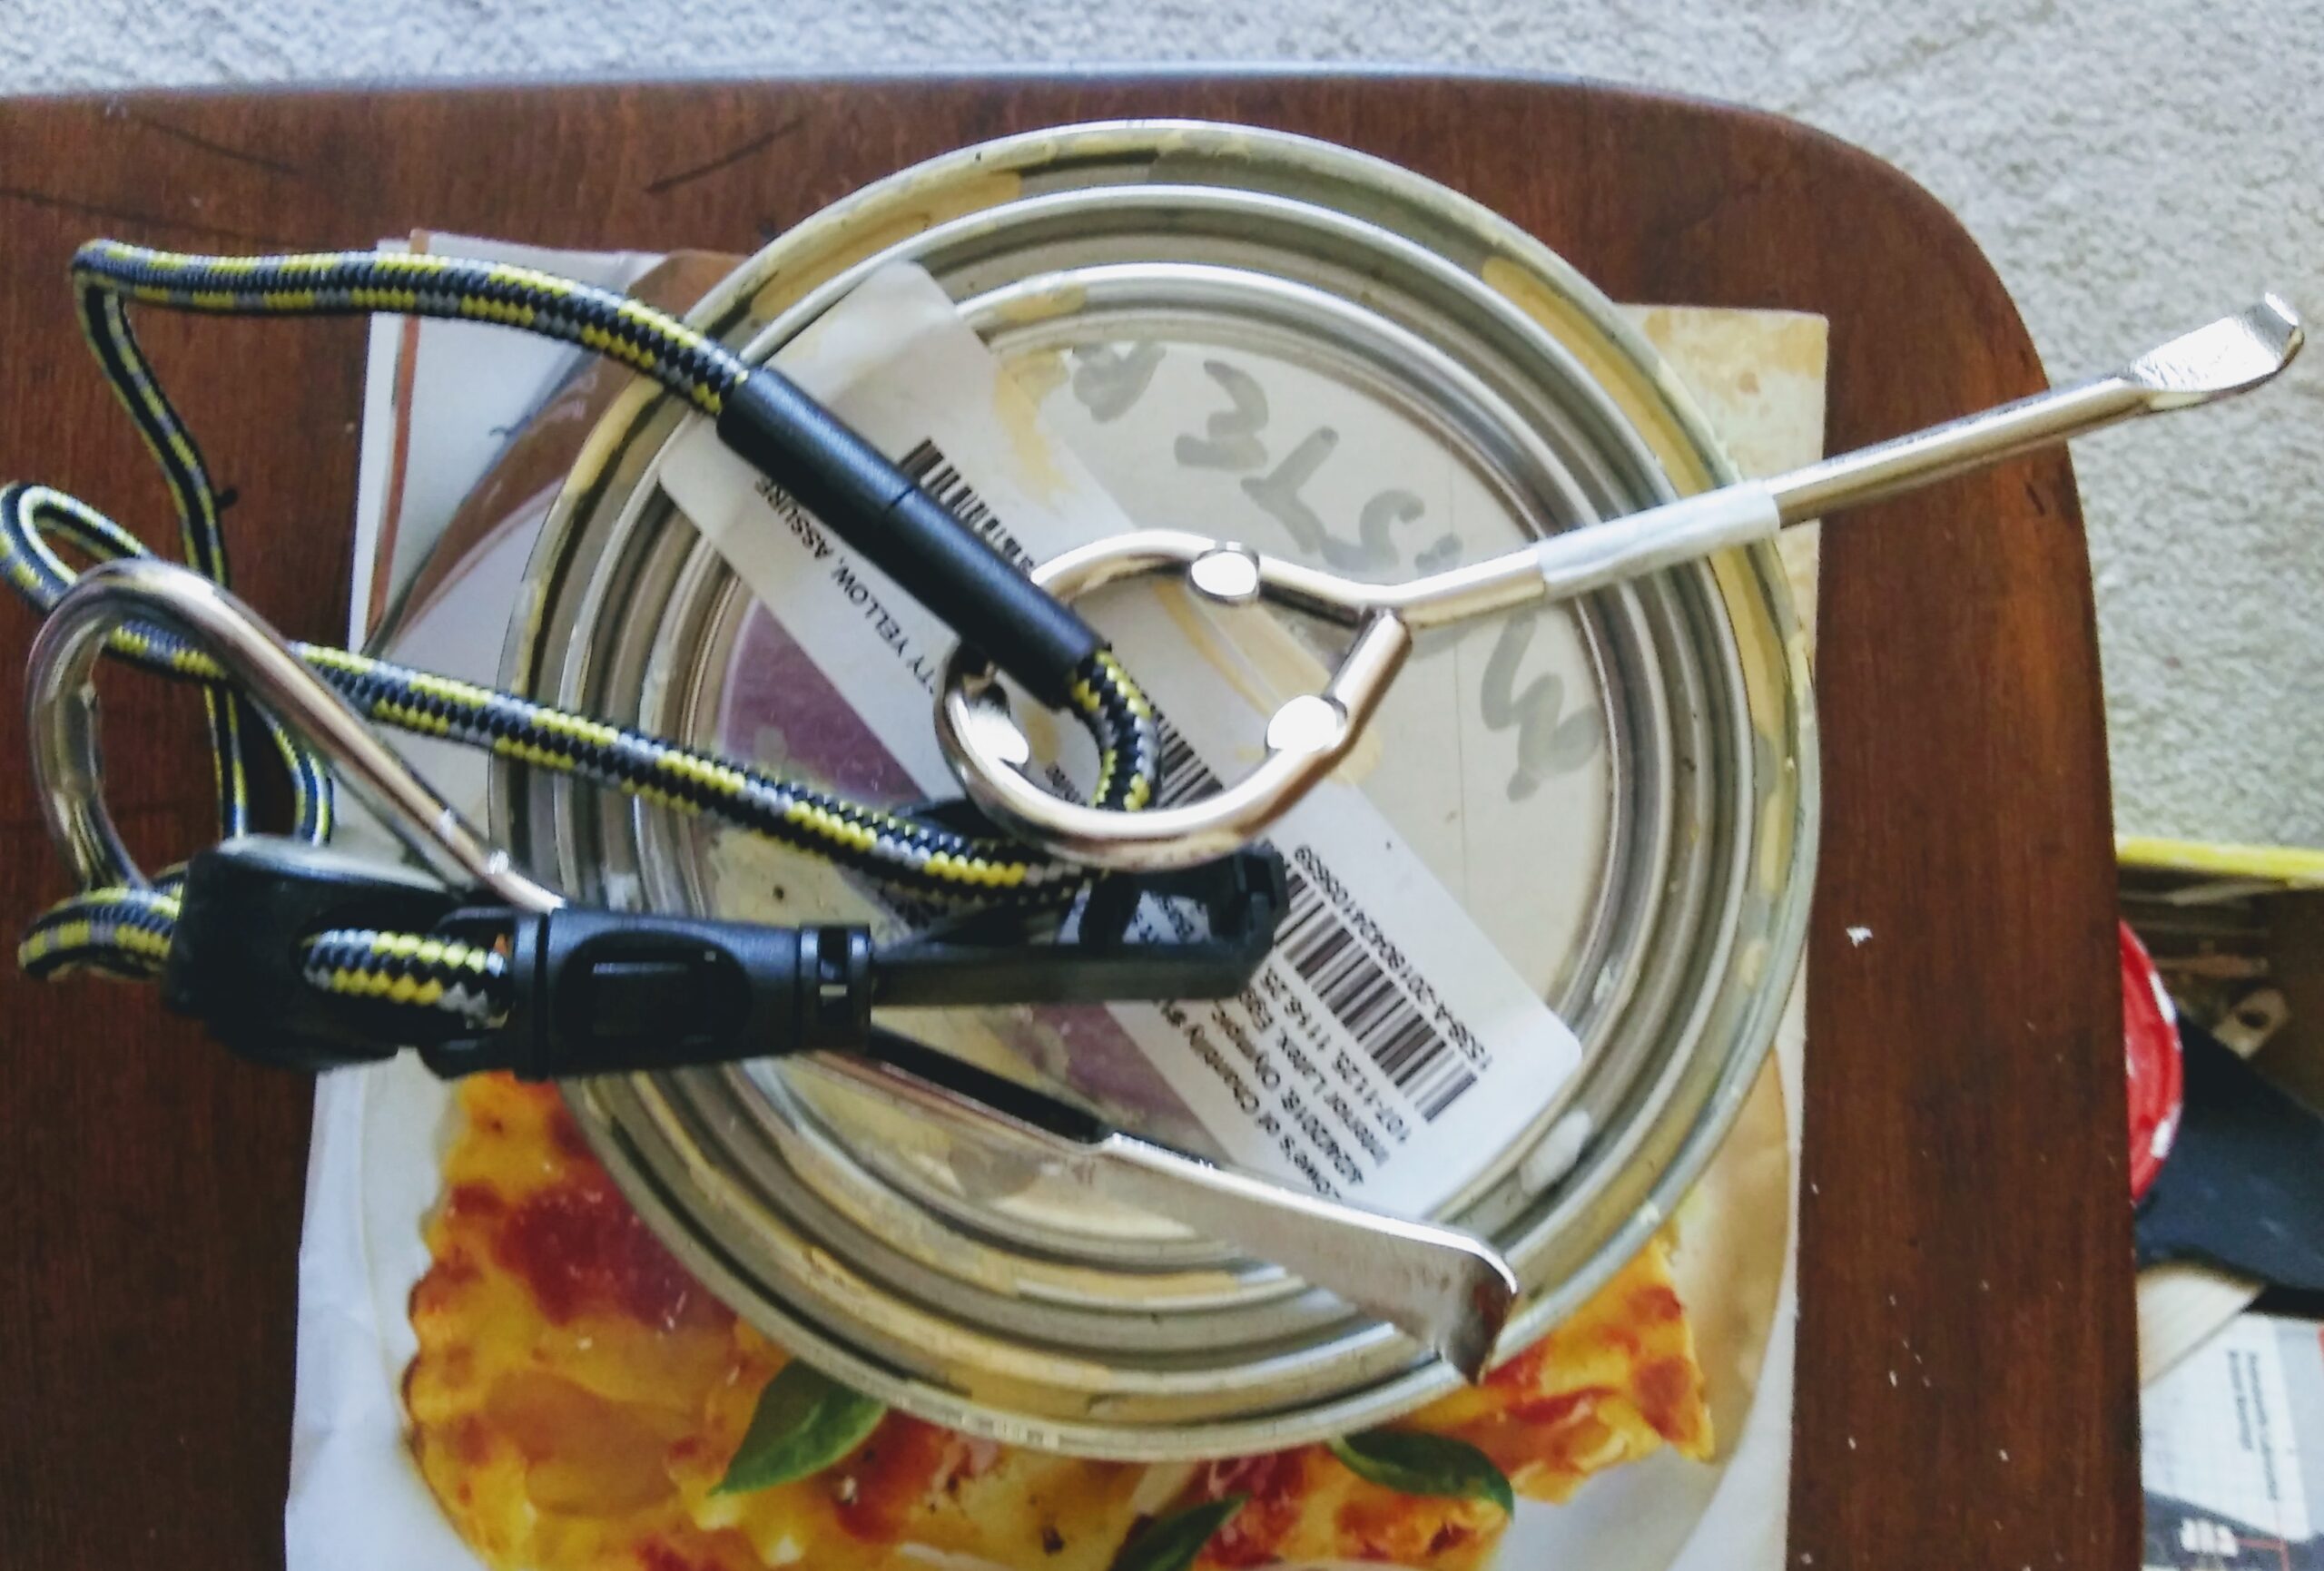 Paint Can Openers
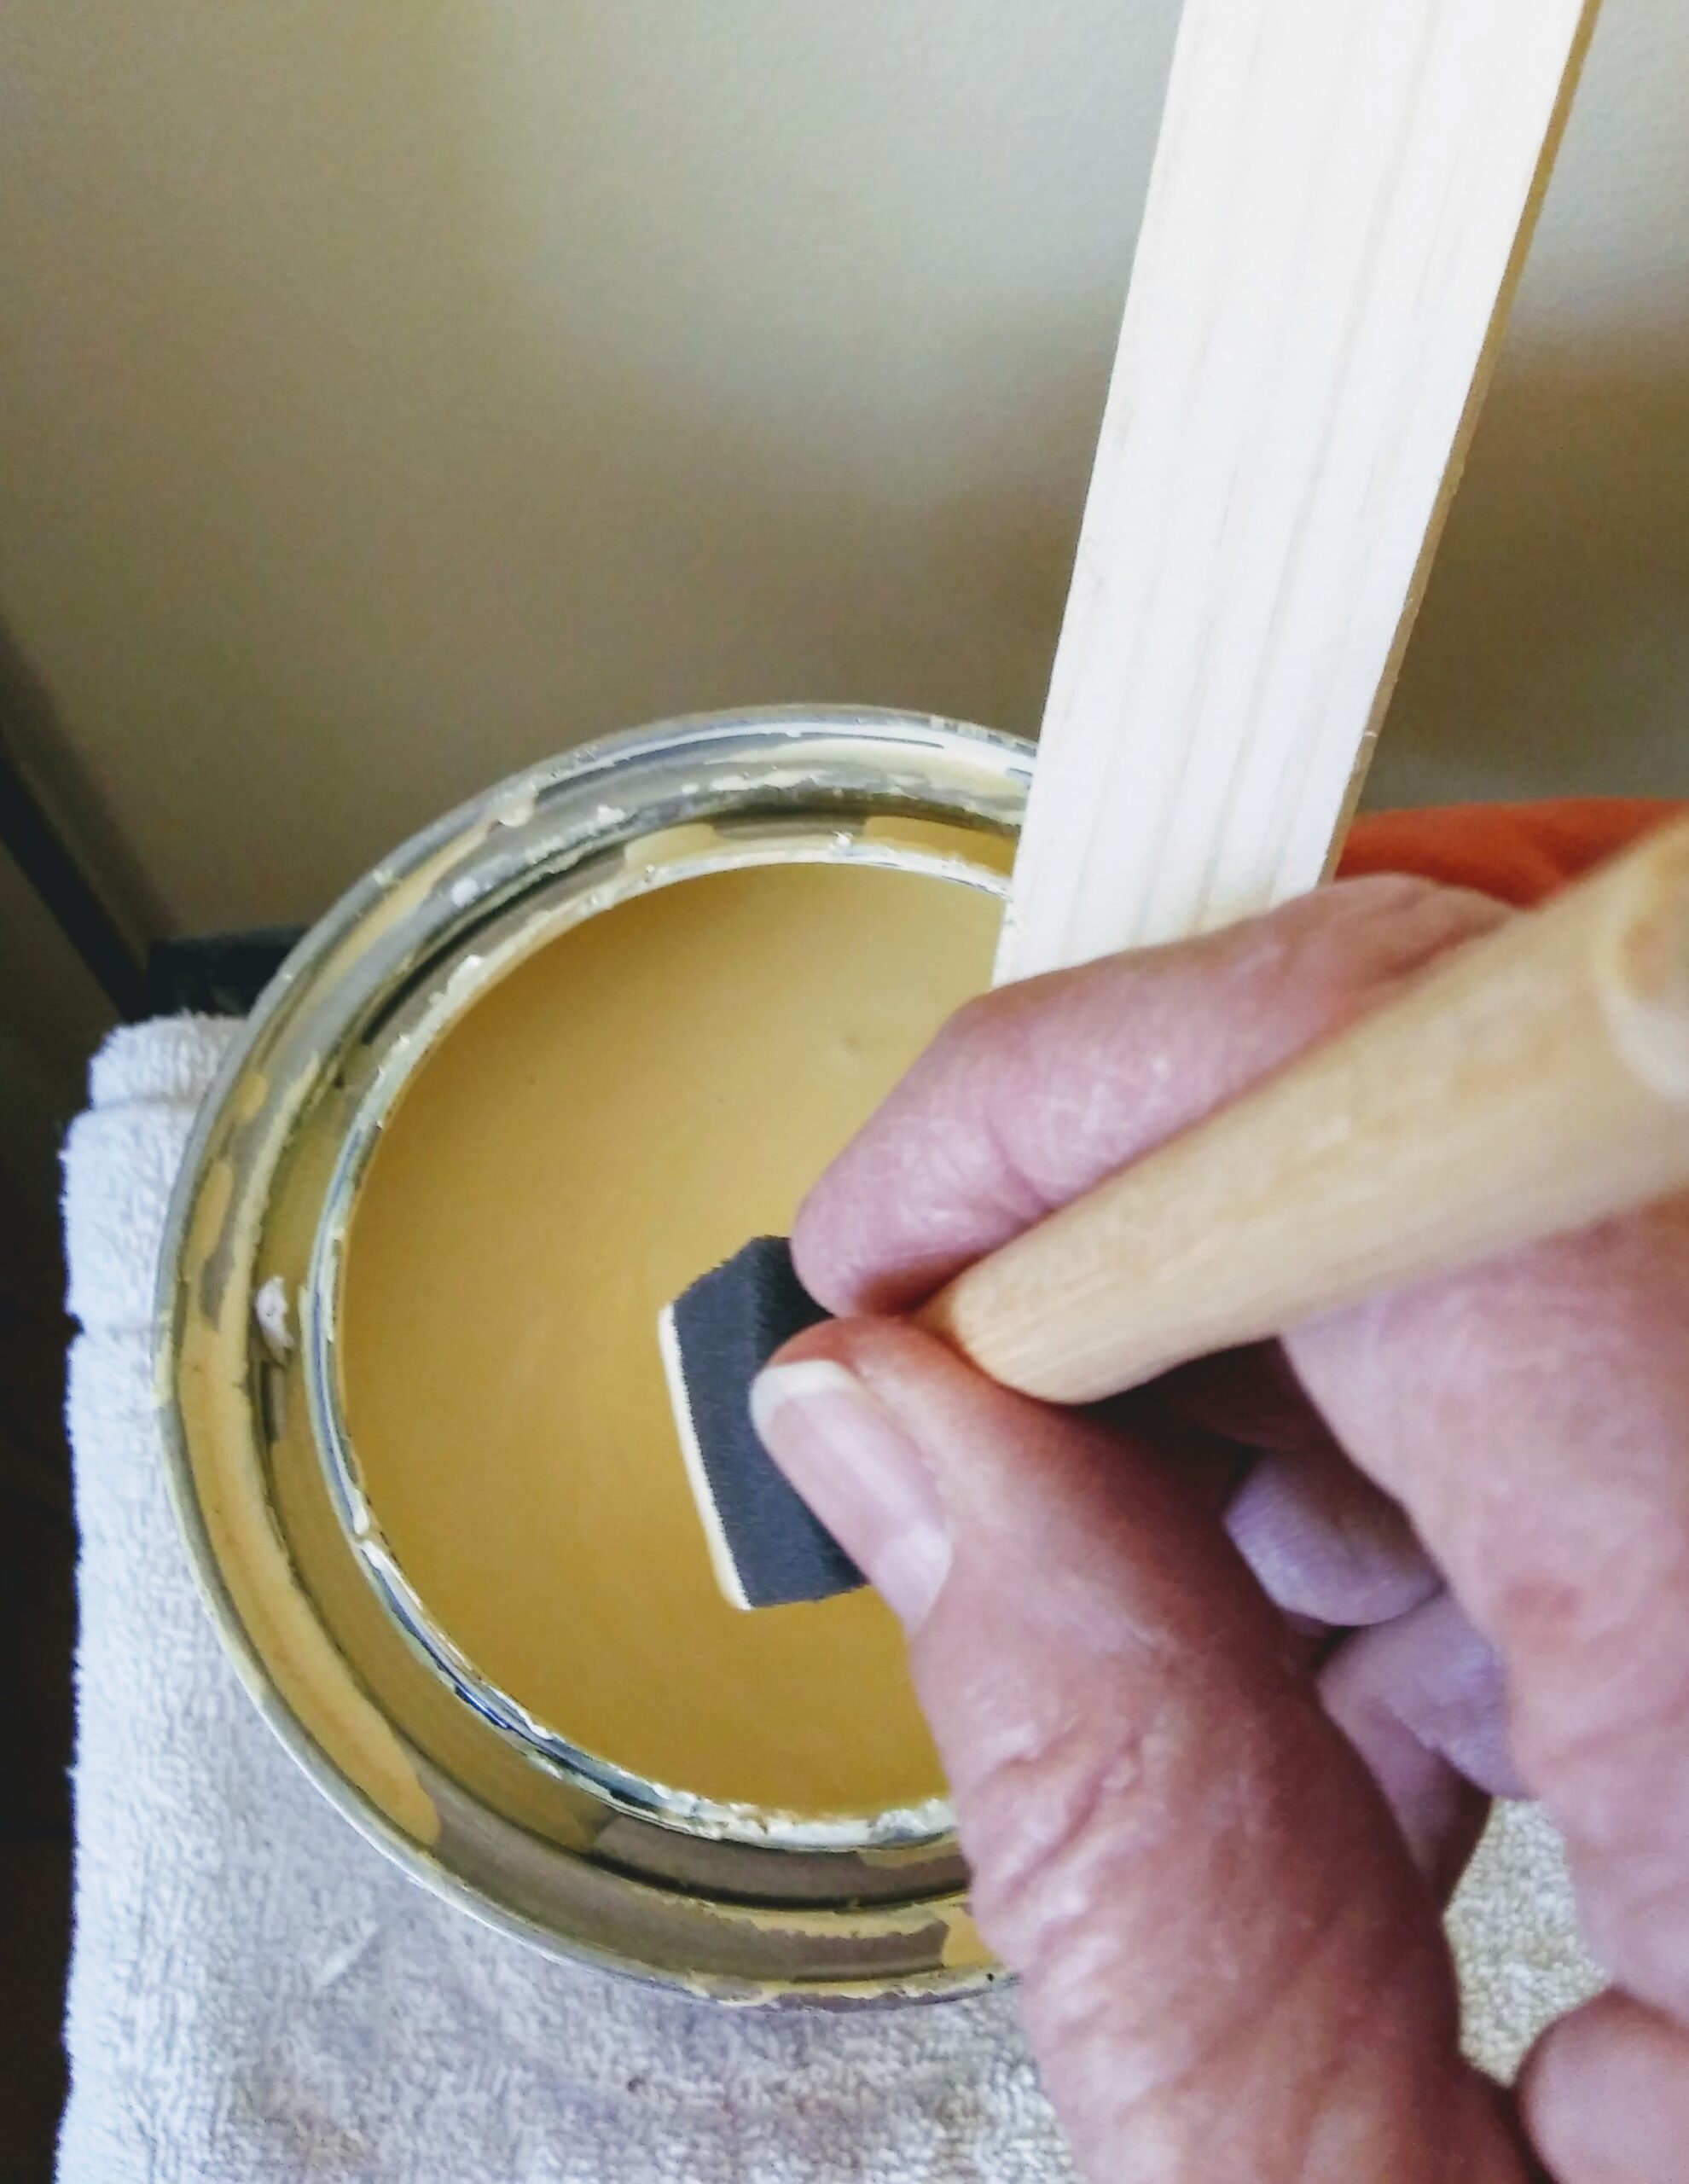 Stirring the Paint
The first photograph shows the opening of the paint can using a paint can opener. I love using these openers as they save the tips of my screwdrivers.
I stirred the paint well. Using a small sponge tipped paintbrush, I carefully painted the spackling trying to feather the paint out.
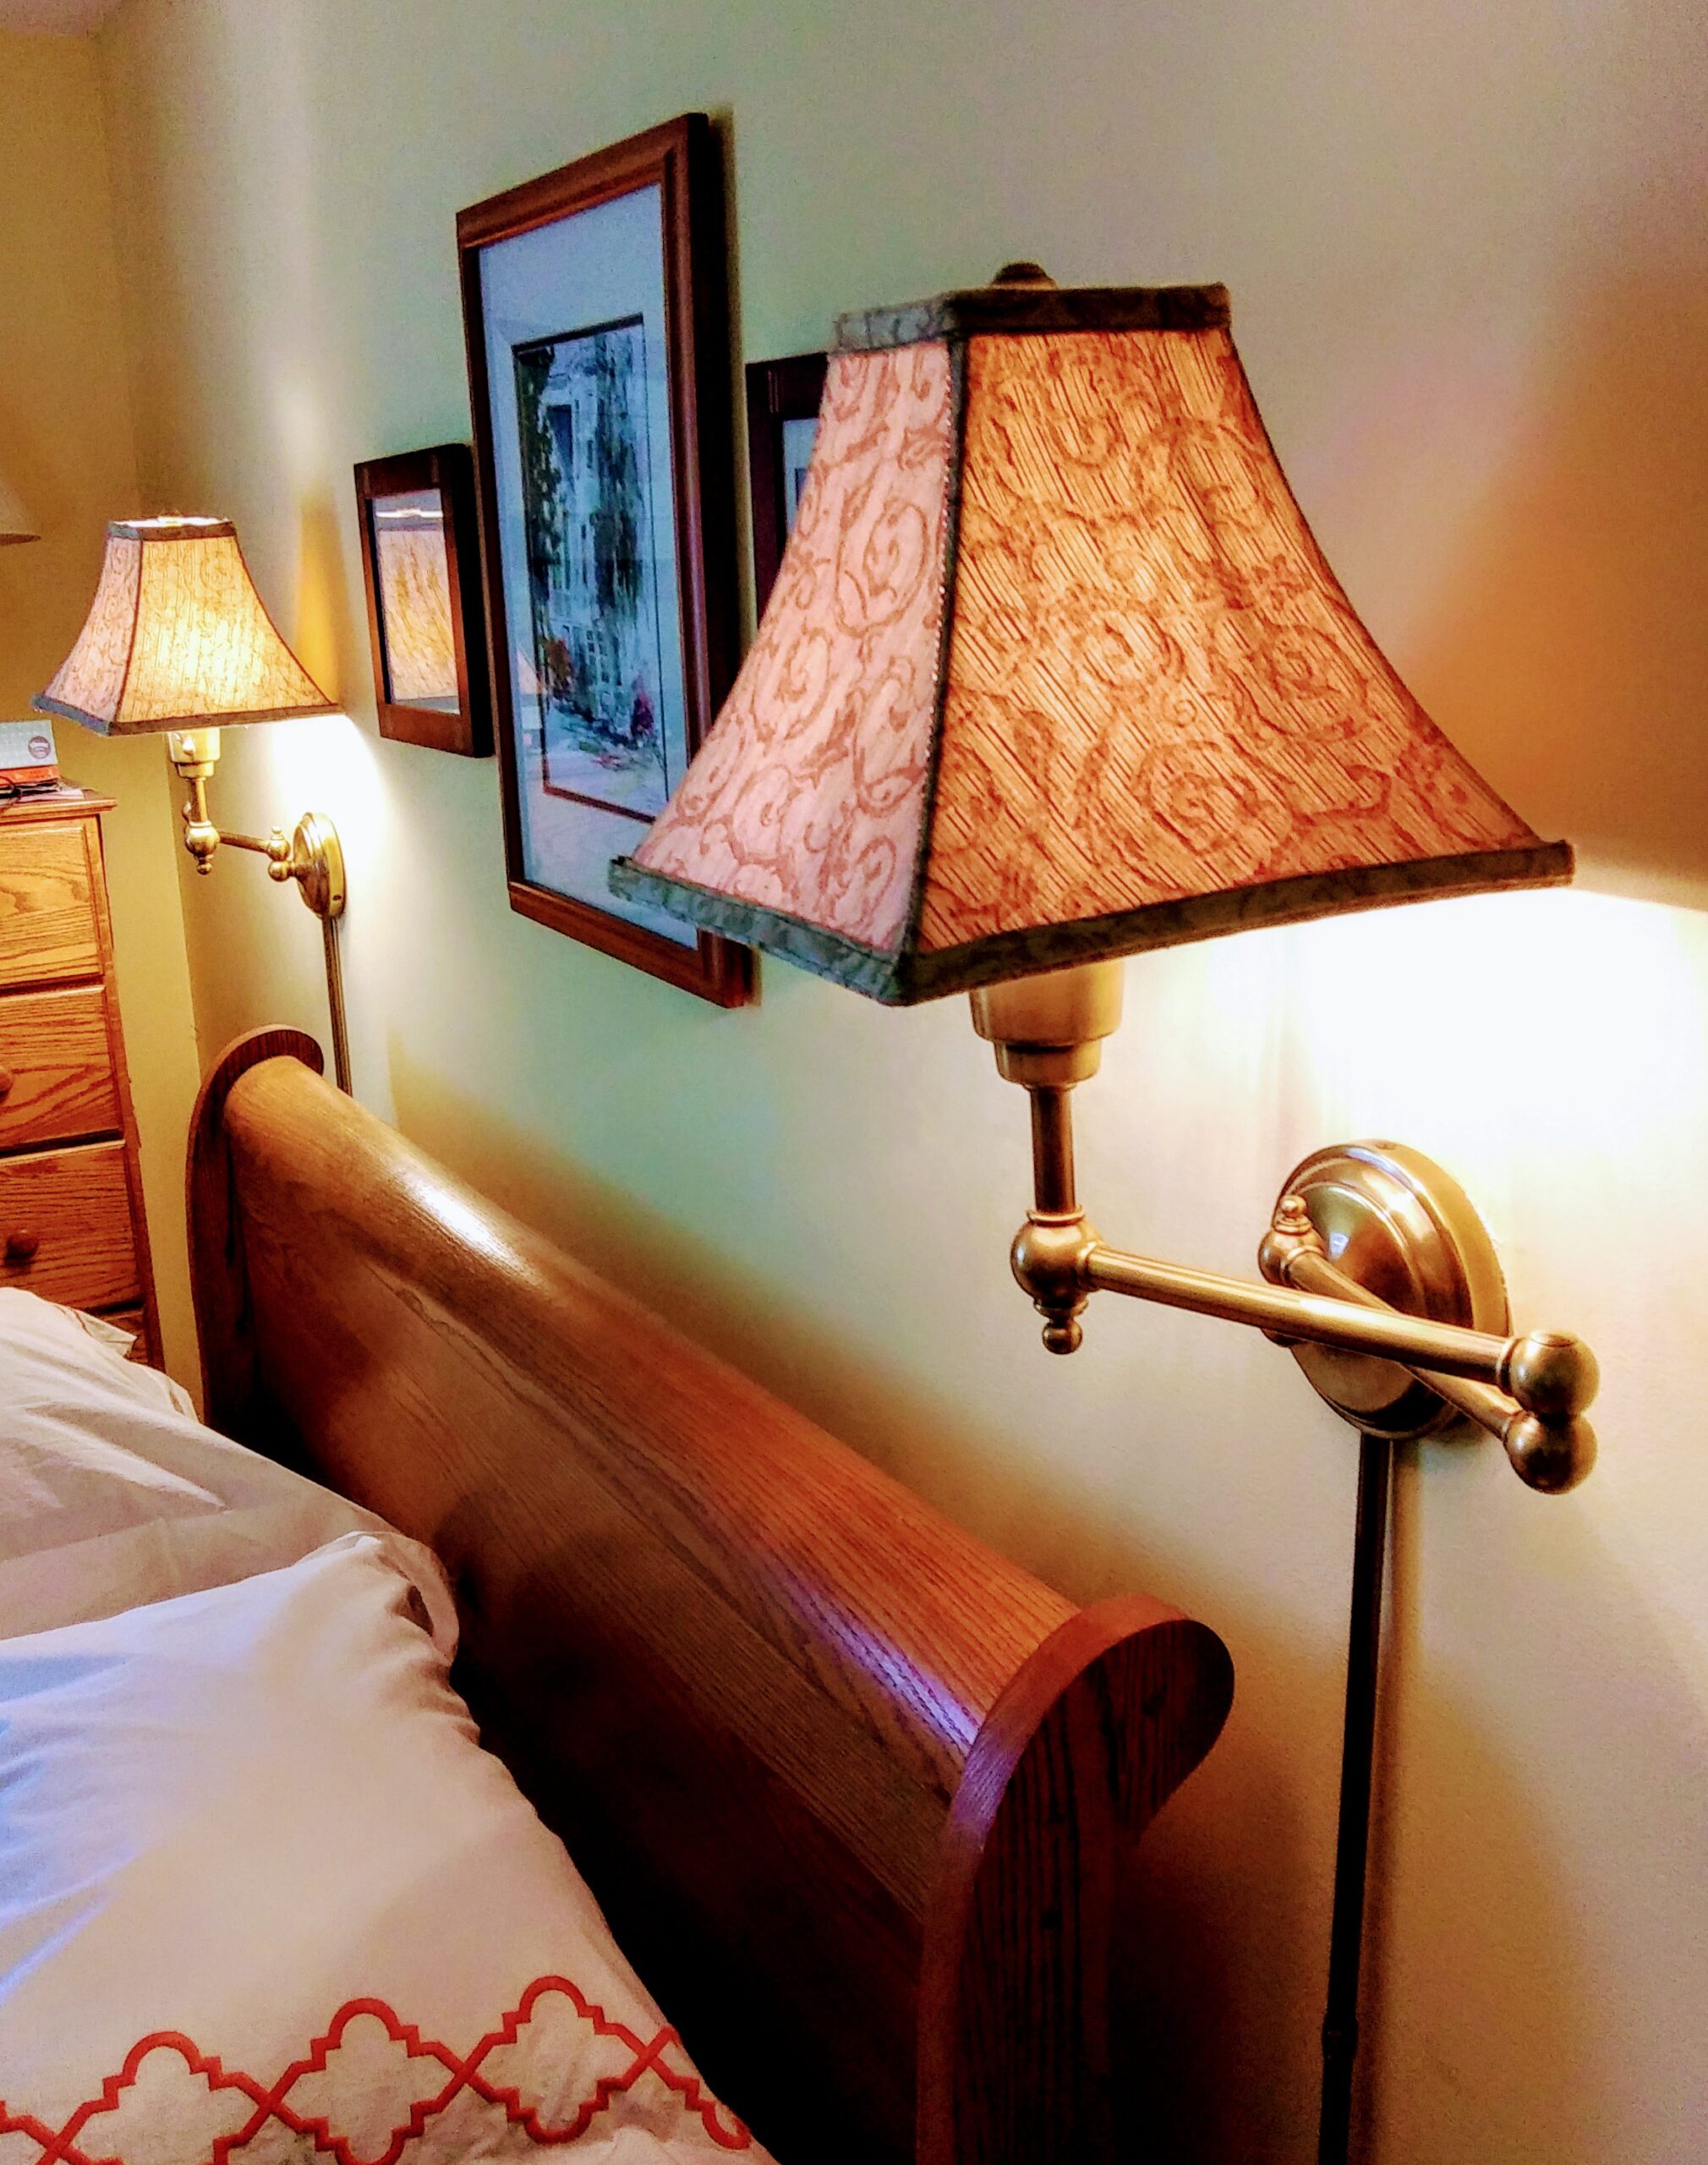 Finished Repairs
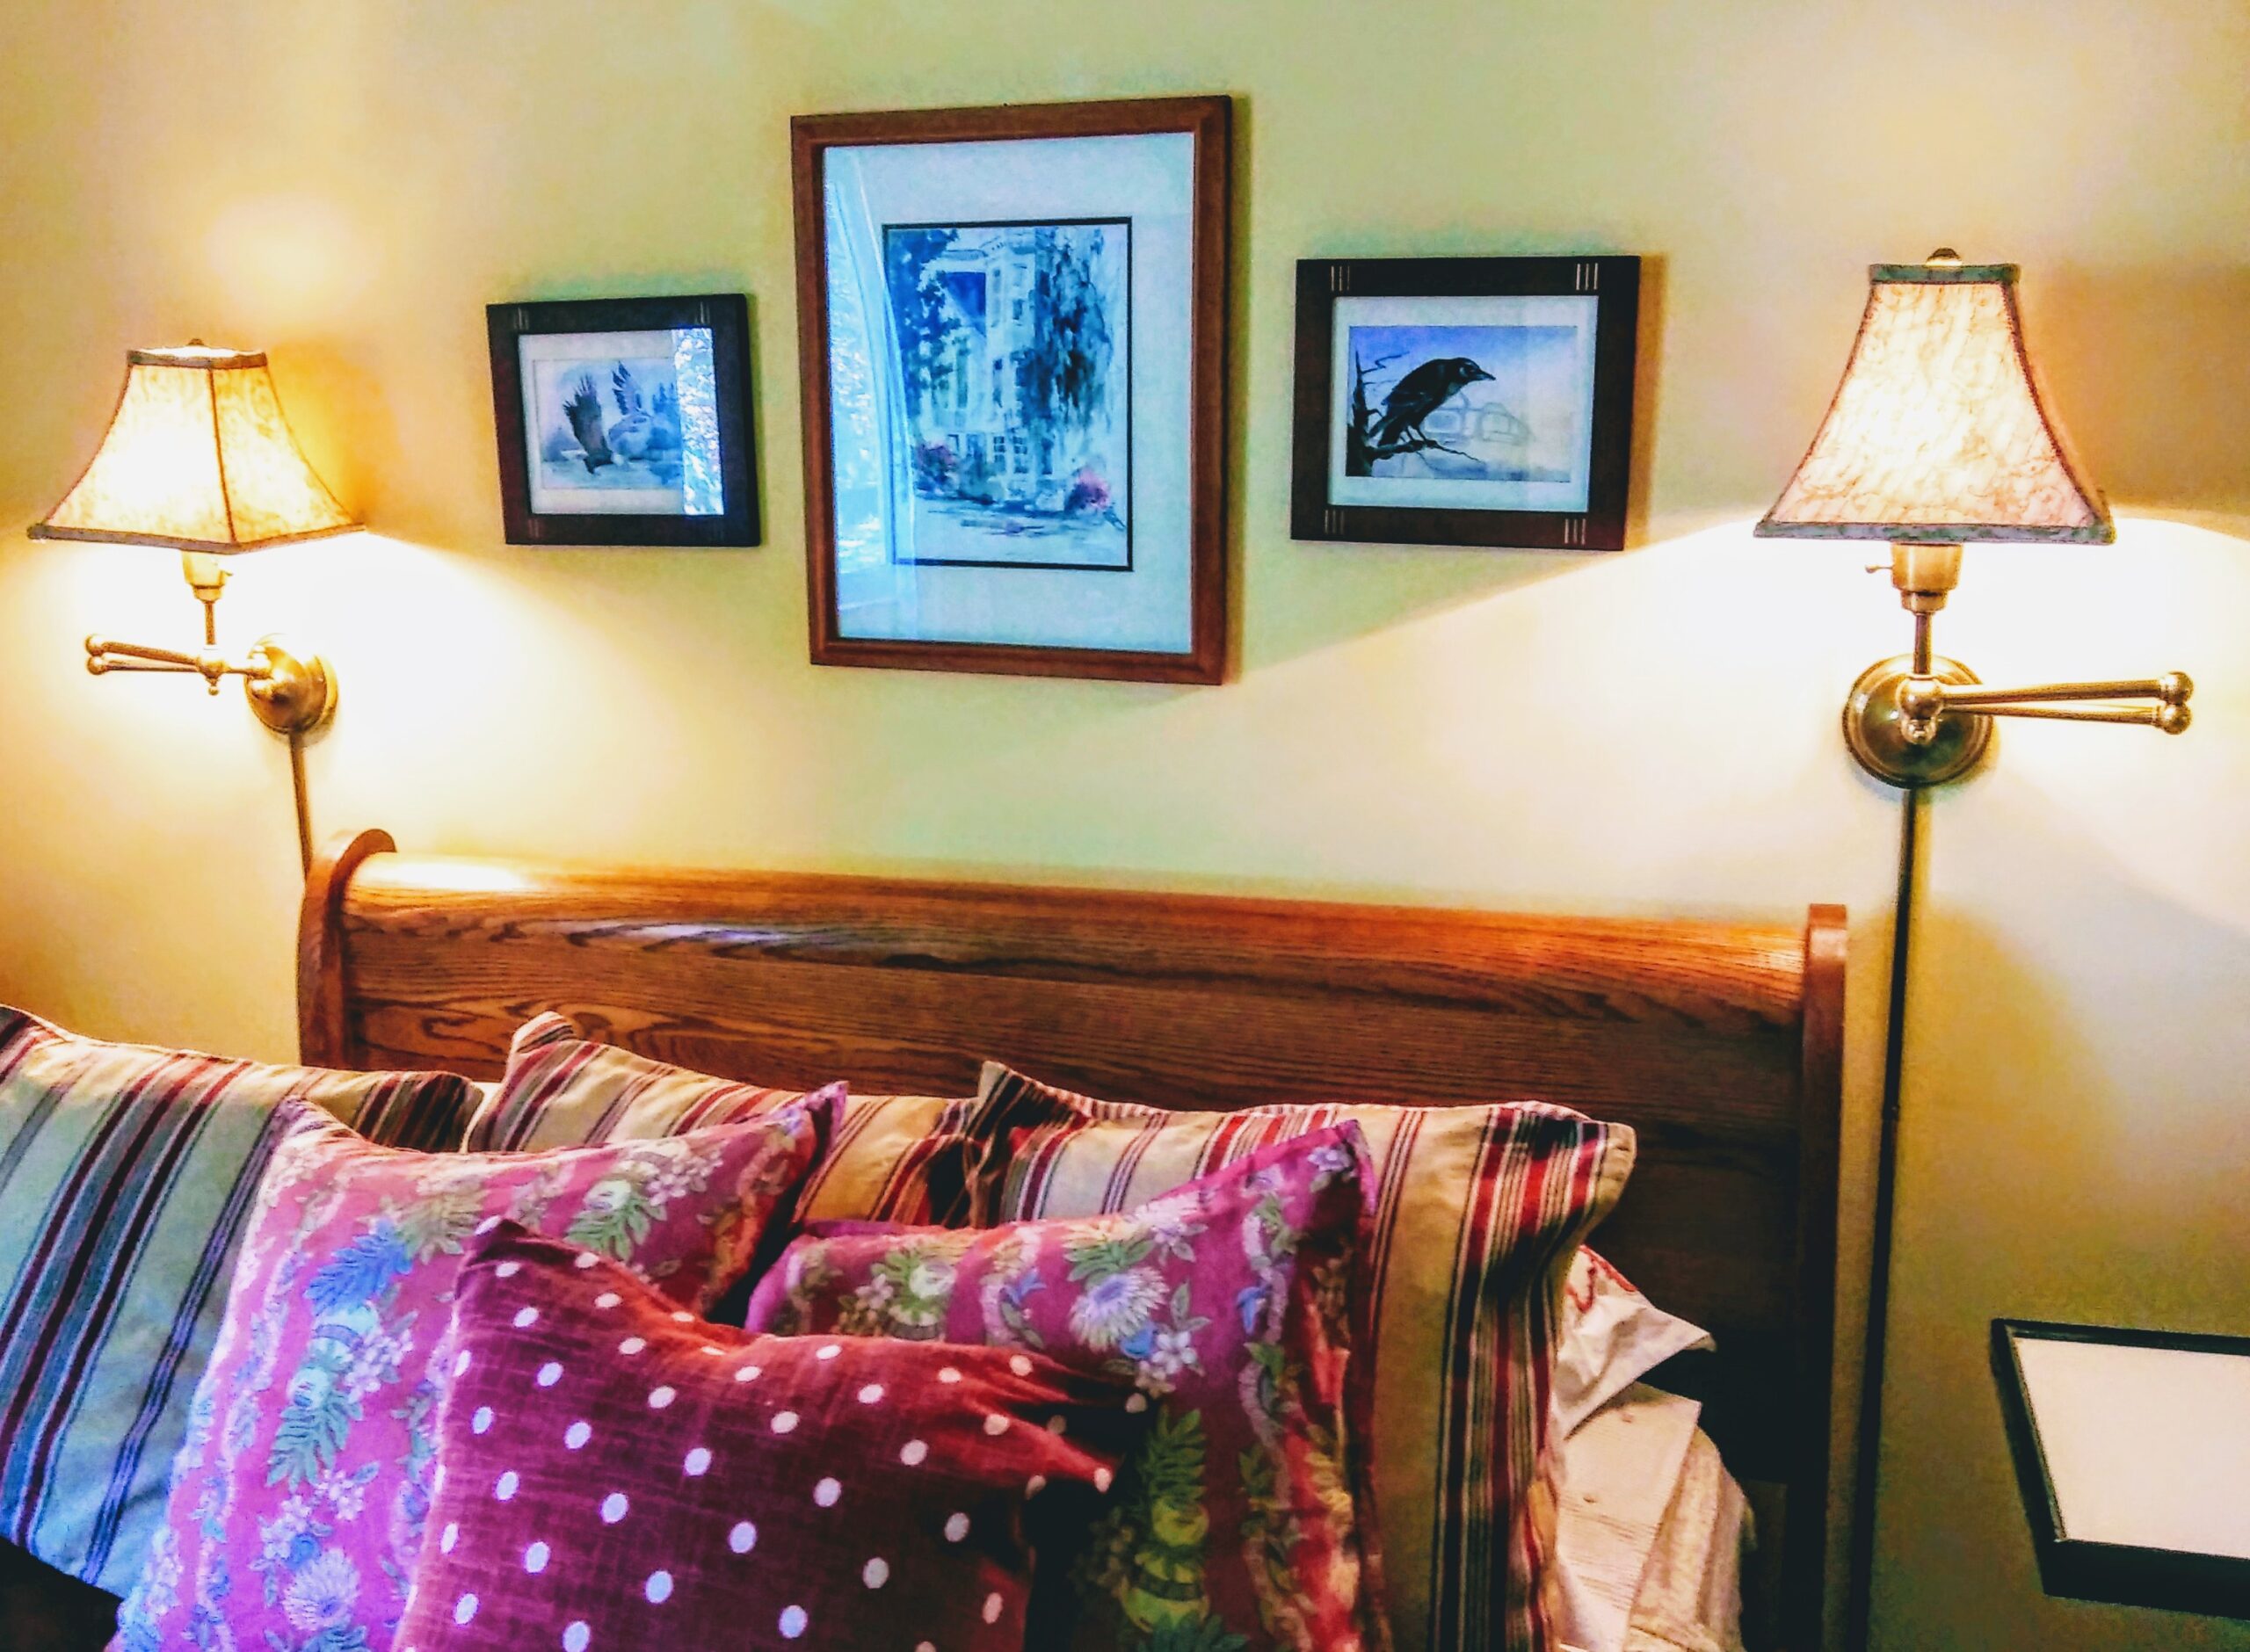 Front View of Wall Lamps with Pillows
If you walk into my bedroom, you will not notice the paint difference but to my eye the color is ever so slightly off. I am unable to go out and buy any more paint during the COVID-19 times so that’s the color it will be for now.
I also need to buy matching light bulbs so both lamps shine the same wattage.
However, I’m happy with the results and think it turned out great.

I’ve had a comment regarding the number of pillows on my bed. I use them for decorative purposes and also for reading in bed. They all came from the Pottery Barn and two of the pillows are reversible. If you tire of one design, you just flip it over to the other design. Very Clever. Anyway, I love them all! Take care and I hope I see a humming bird soon.
FARMHOUSE MAGIC BLOG.COM