
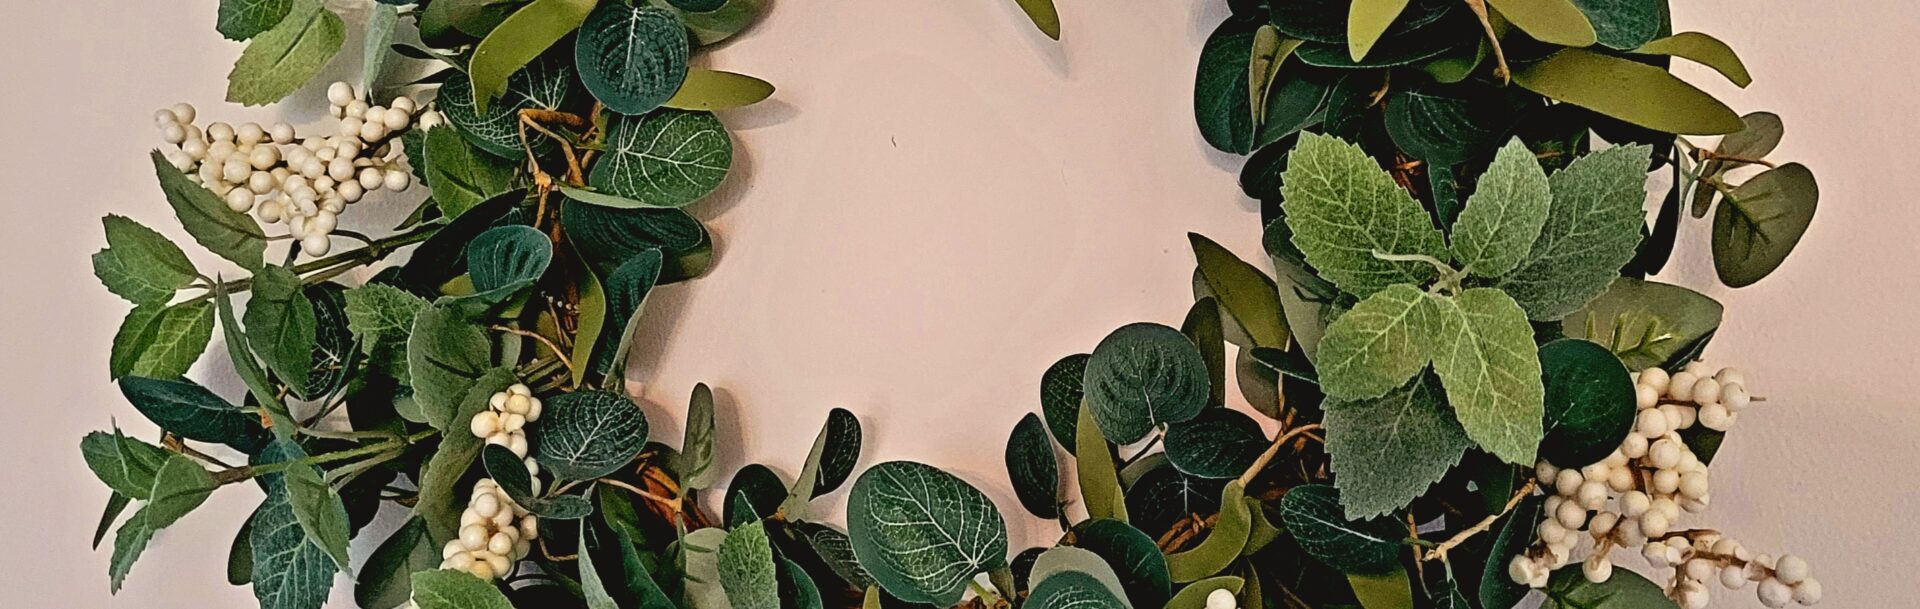
Today topic is about a refreshed green wreath hanging on my living room wall. The original wreath felt a bit flat and needed a little something extra for spring. You might remember some blogs back; I bought the wreath secondhand for about $4.
So, this weekend when I was at the craft store, I picked up a floral branch that was marked down 40%.
I also picked up a ready-made burlap ribbon, also on sale. Unfortunately, the ribbon doesn’t match the wreath or my living room. Therefore, I decided not to use it and will save it for another project or possibly donate it to charity.
How to Refresh a Green Wreath
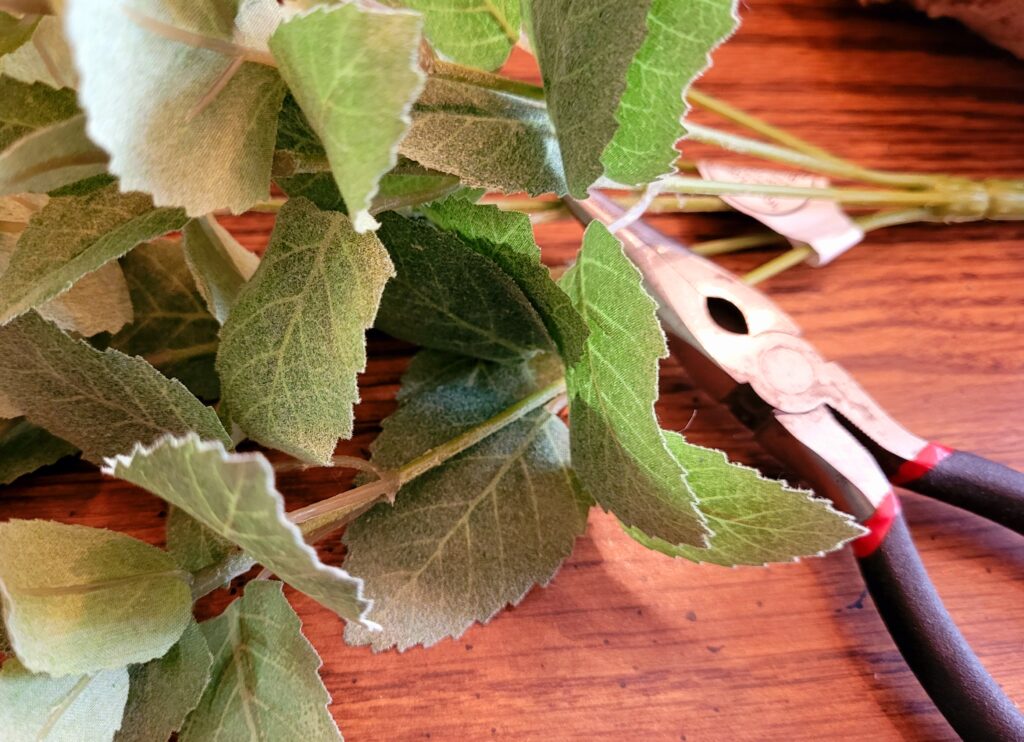
First step is to get out my pair of needle-nose pliers to cut apart the stems from this floral branch. I picked out a floral branch containing only leaves. This way, I kept the green theme of things. It was fairly easy to cut the stems off with the pliers.
After cutting the stems apart, I then placed them where I wanted them and twisted them to the back side of the wreath, so the ends did not show.
The quick fix it project was then ready to be hung on the wall again.
Ending Notes of Refreshed Green Wreath
So, this craft project only took about five minutes to complete. I’m always looking for quick craft projects.
However, I’m thinking this refreshed green wreath could still use a little something else. I’m looking for either light-colored stem of greenery to compliments things. Or I could go through my craft box to see if I have any extra ribbon about. Or some different colored berries?

Sometimes the fun with a craft project is continuing on until it is perfect.
Happy Crafting Everyone!