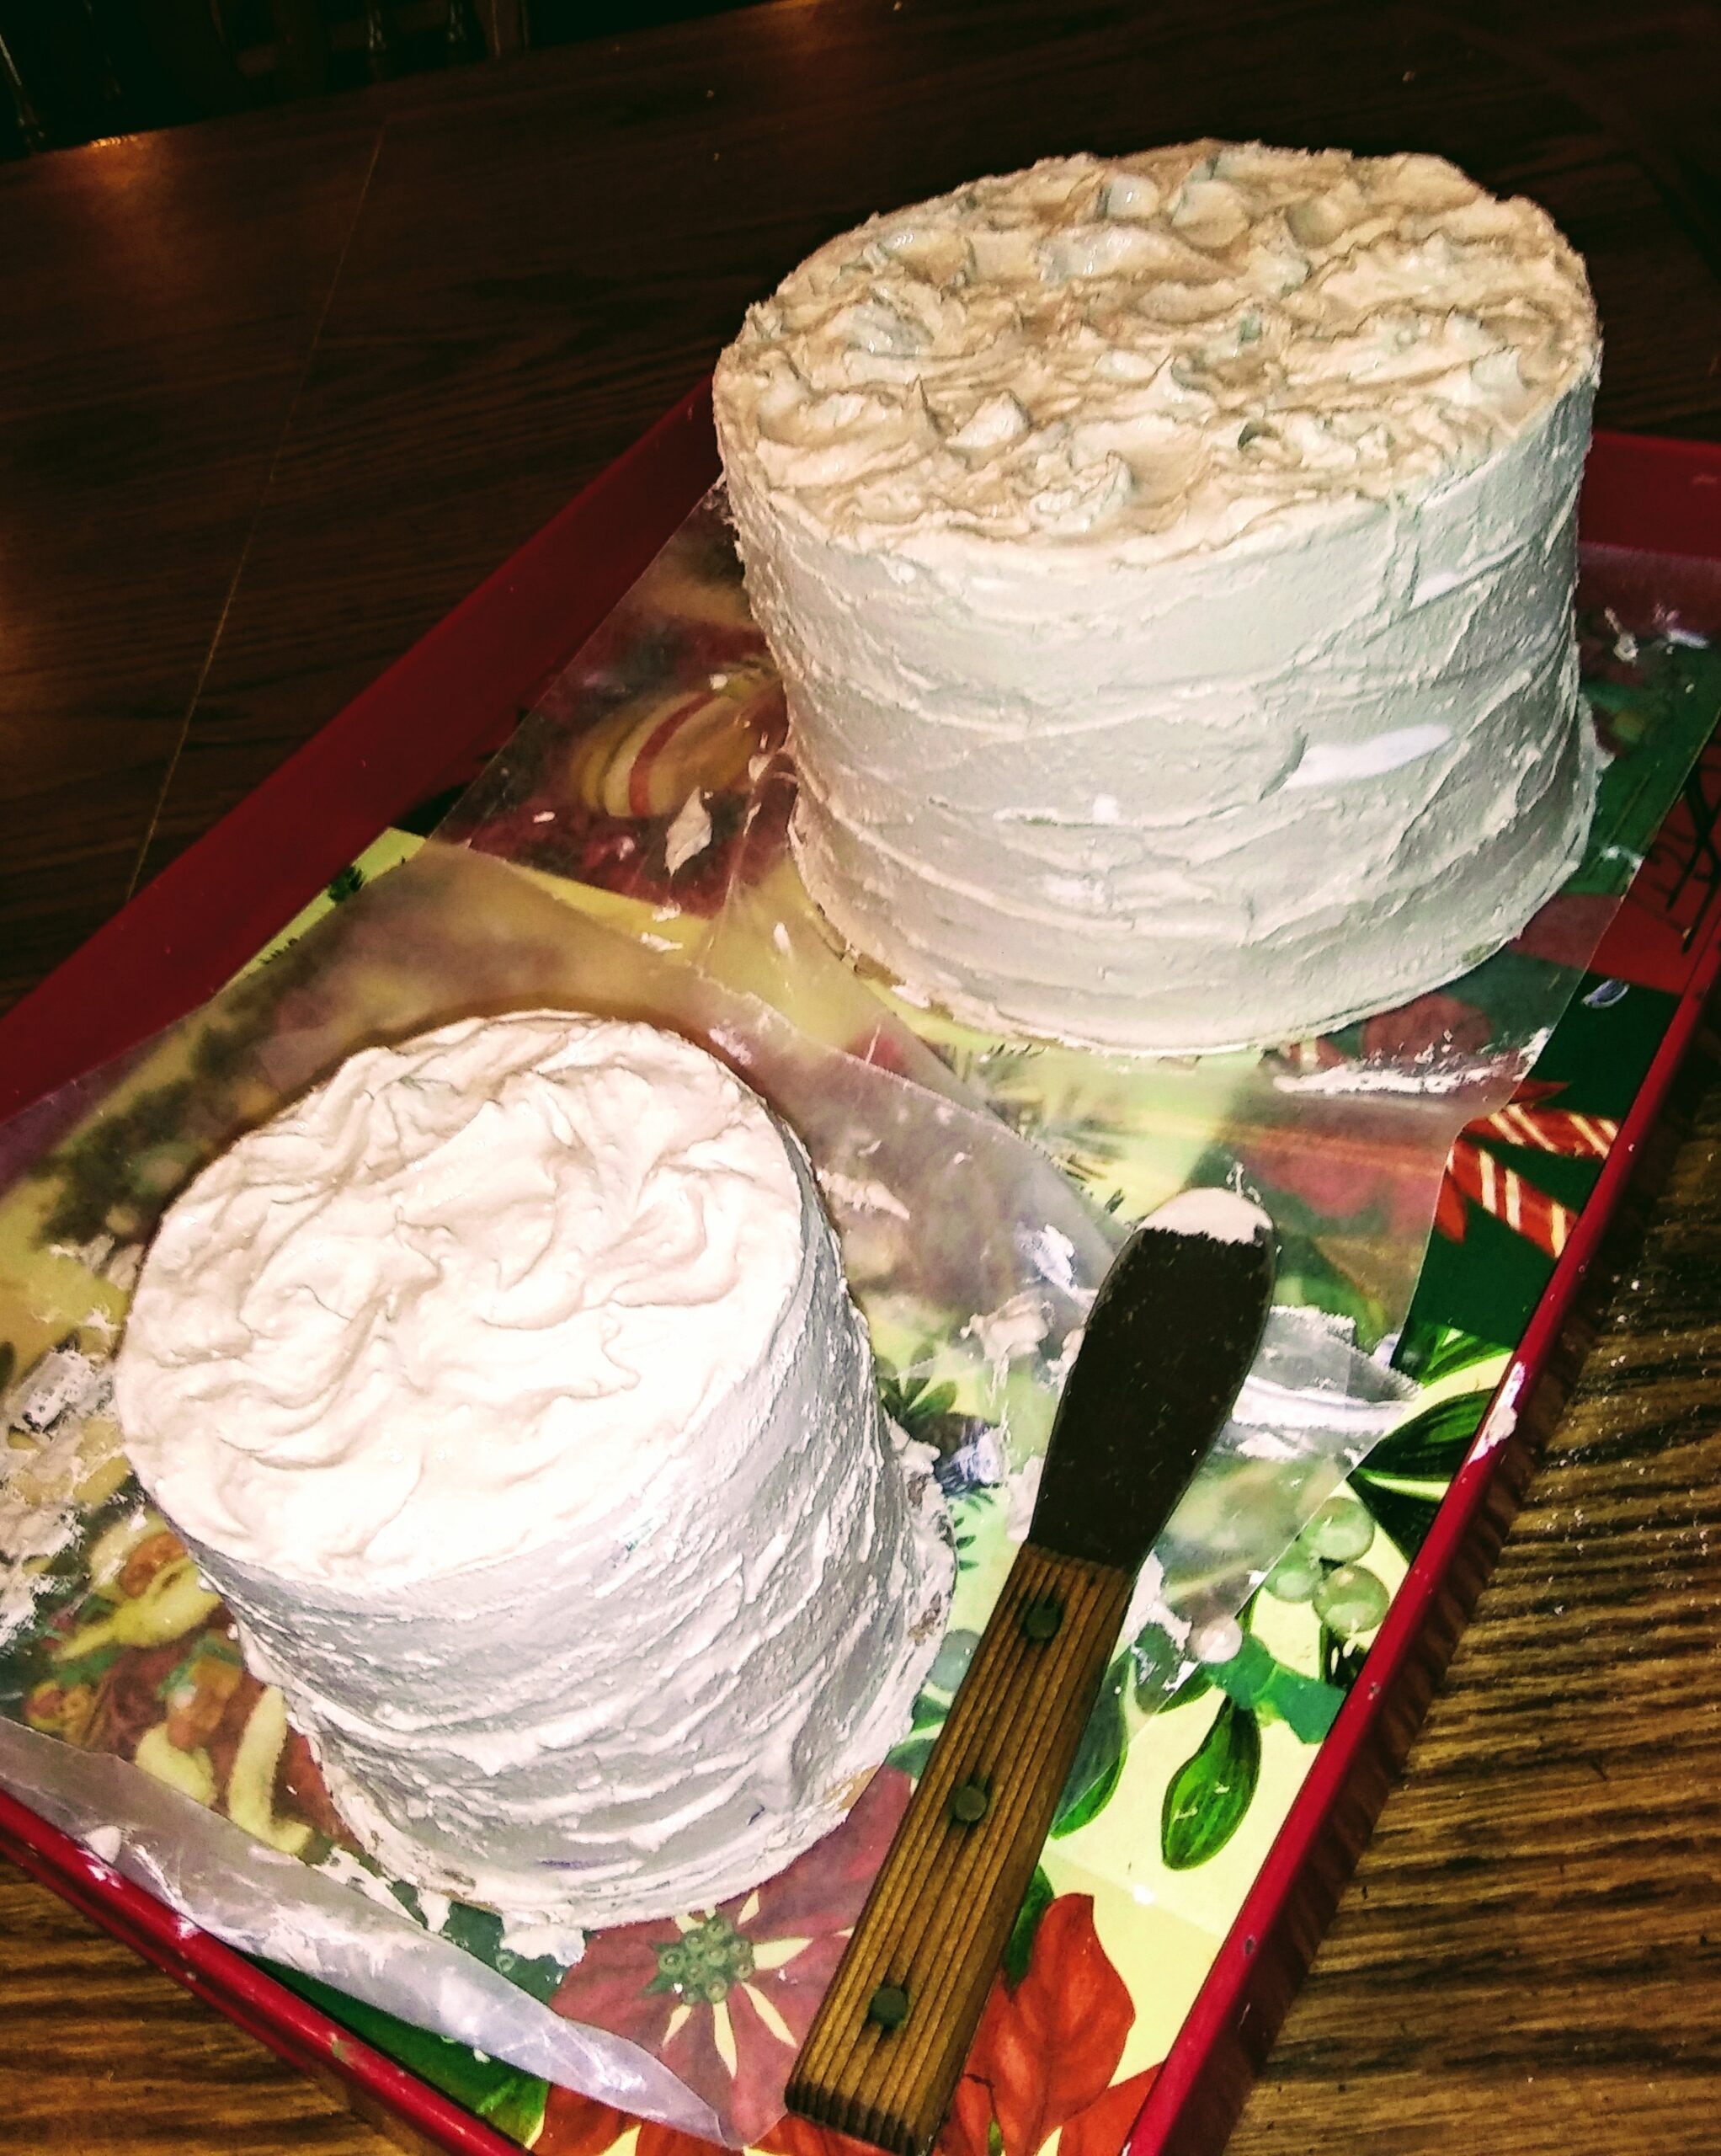
After talking about faux cakes today, I decided to ice the faux cakes I started earlier in my blog.
This picture shows the completed iced faux cakes.
The larger cake is made from cardboard boxes and the smaller one is made from recycled cheese boxes.
Directions for Icing Faux Cardboard Cakes
In the last faux cake blog, we talked about gluing the boxes together and adding a small cardboard lip or rim on the bottom.
I glued one more recycled cheese box on the small faux cake as I didn’t think it looked tall enough. See photograph.
Supplies needed are Plaster of Paris, household white glue, disposable mixing container, water, something to stir the mixture with, and a cake icing tool.
 Faux Iced Cakes
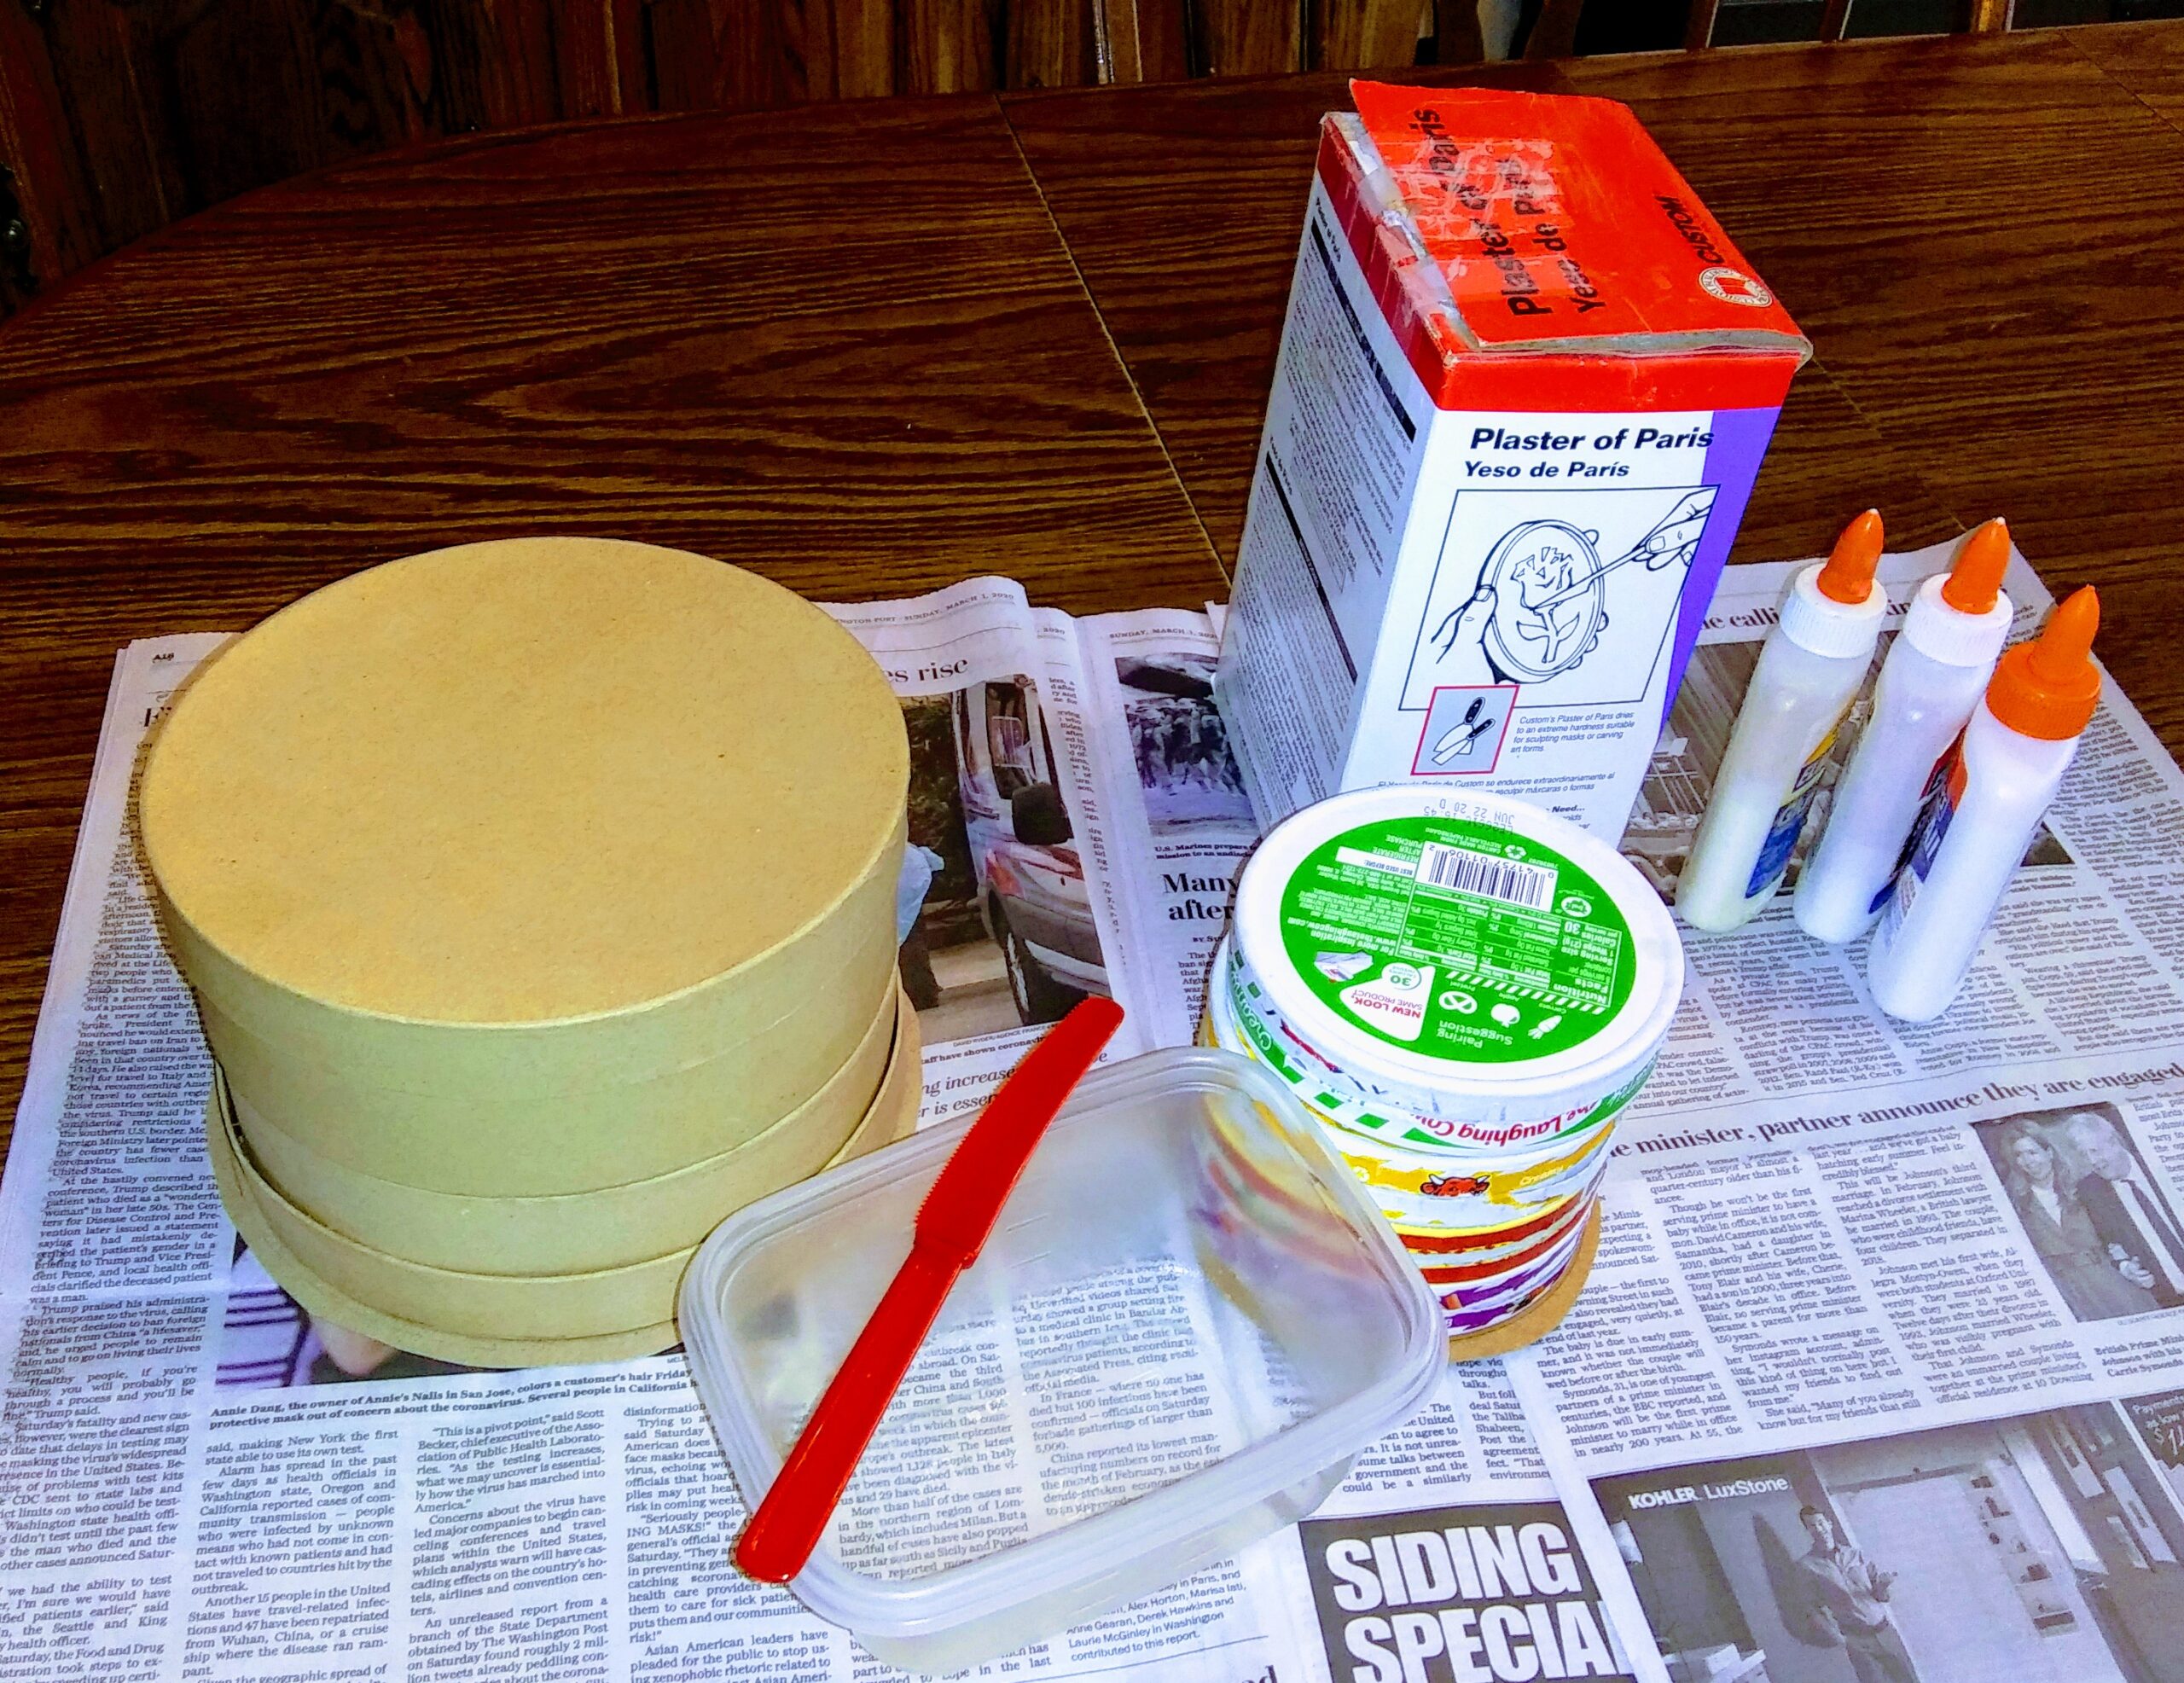 Supplies to Ice Faux Cakes
The one extra cheese box makes the cake the correct size.
Boxes were glued together using white household glue.
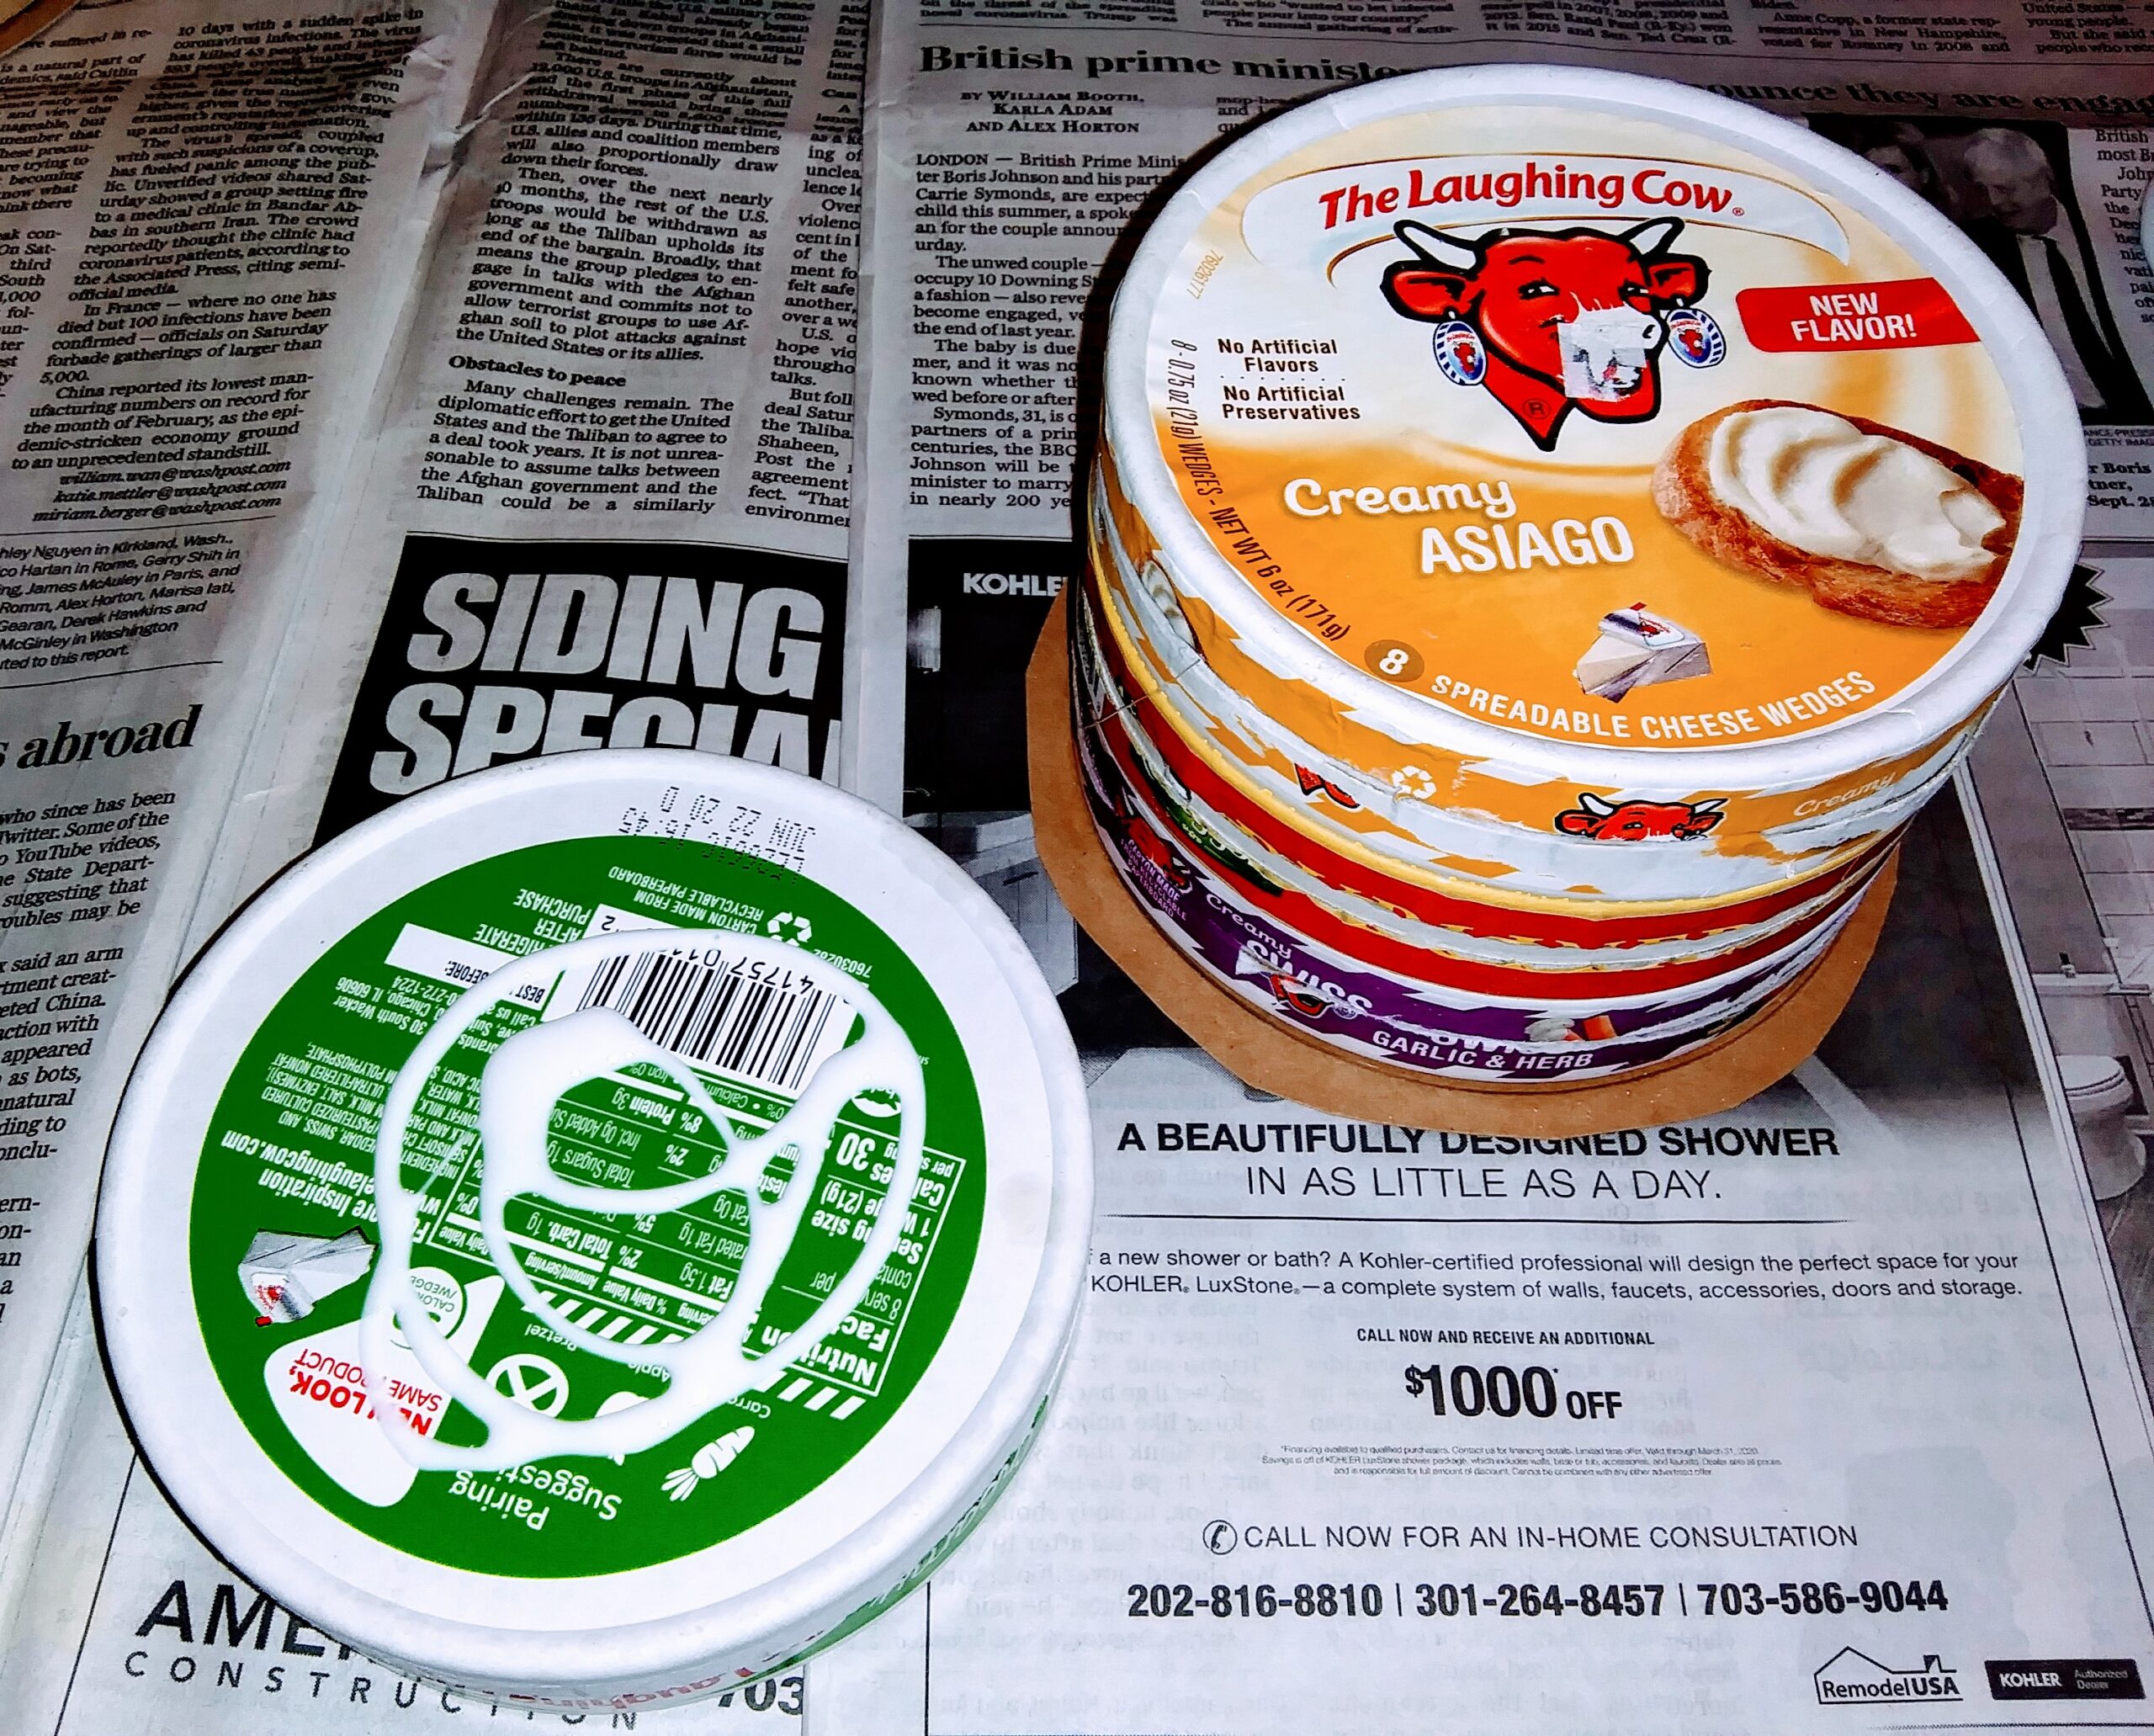 Small Faux Cake, Adding One More Layer
Using a disposable container add Plaster of Paris, warm water and white glue. If you only mix the solution with warm water, you run the risk of your faux icing cracking. The mixture should have a consistency close to real frosting.
If you use a combination of water and white household glue, you have a better chance of it drying without cracks.
Make sure you stir the mixture until there are no more lumps.
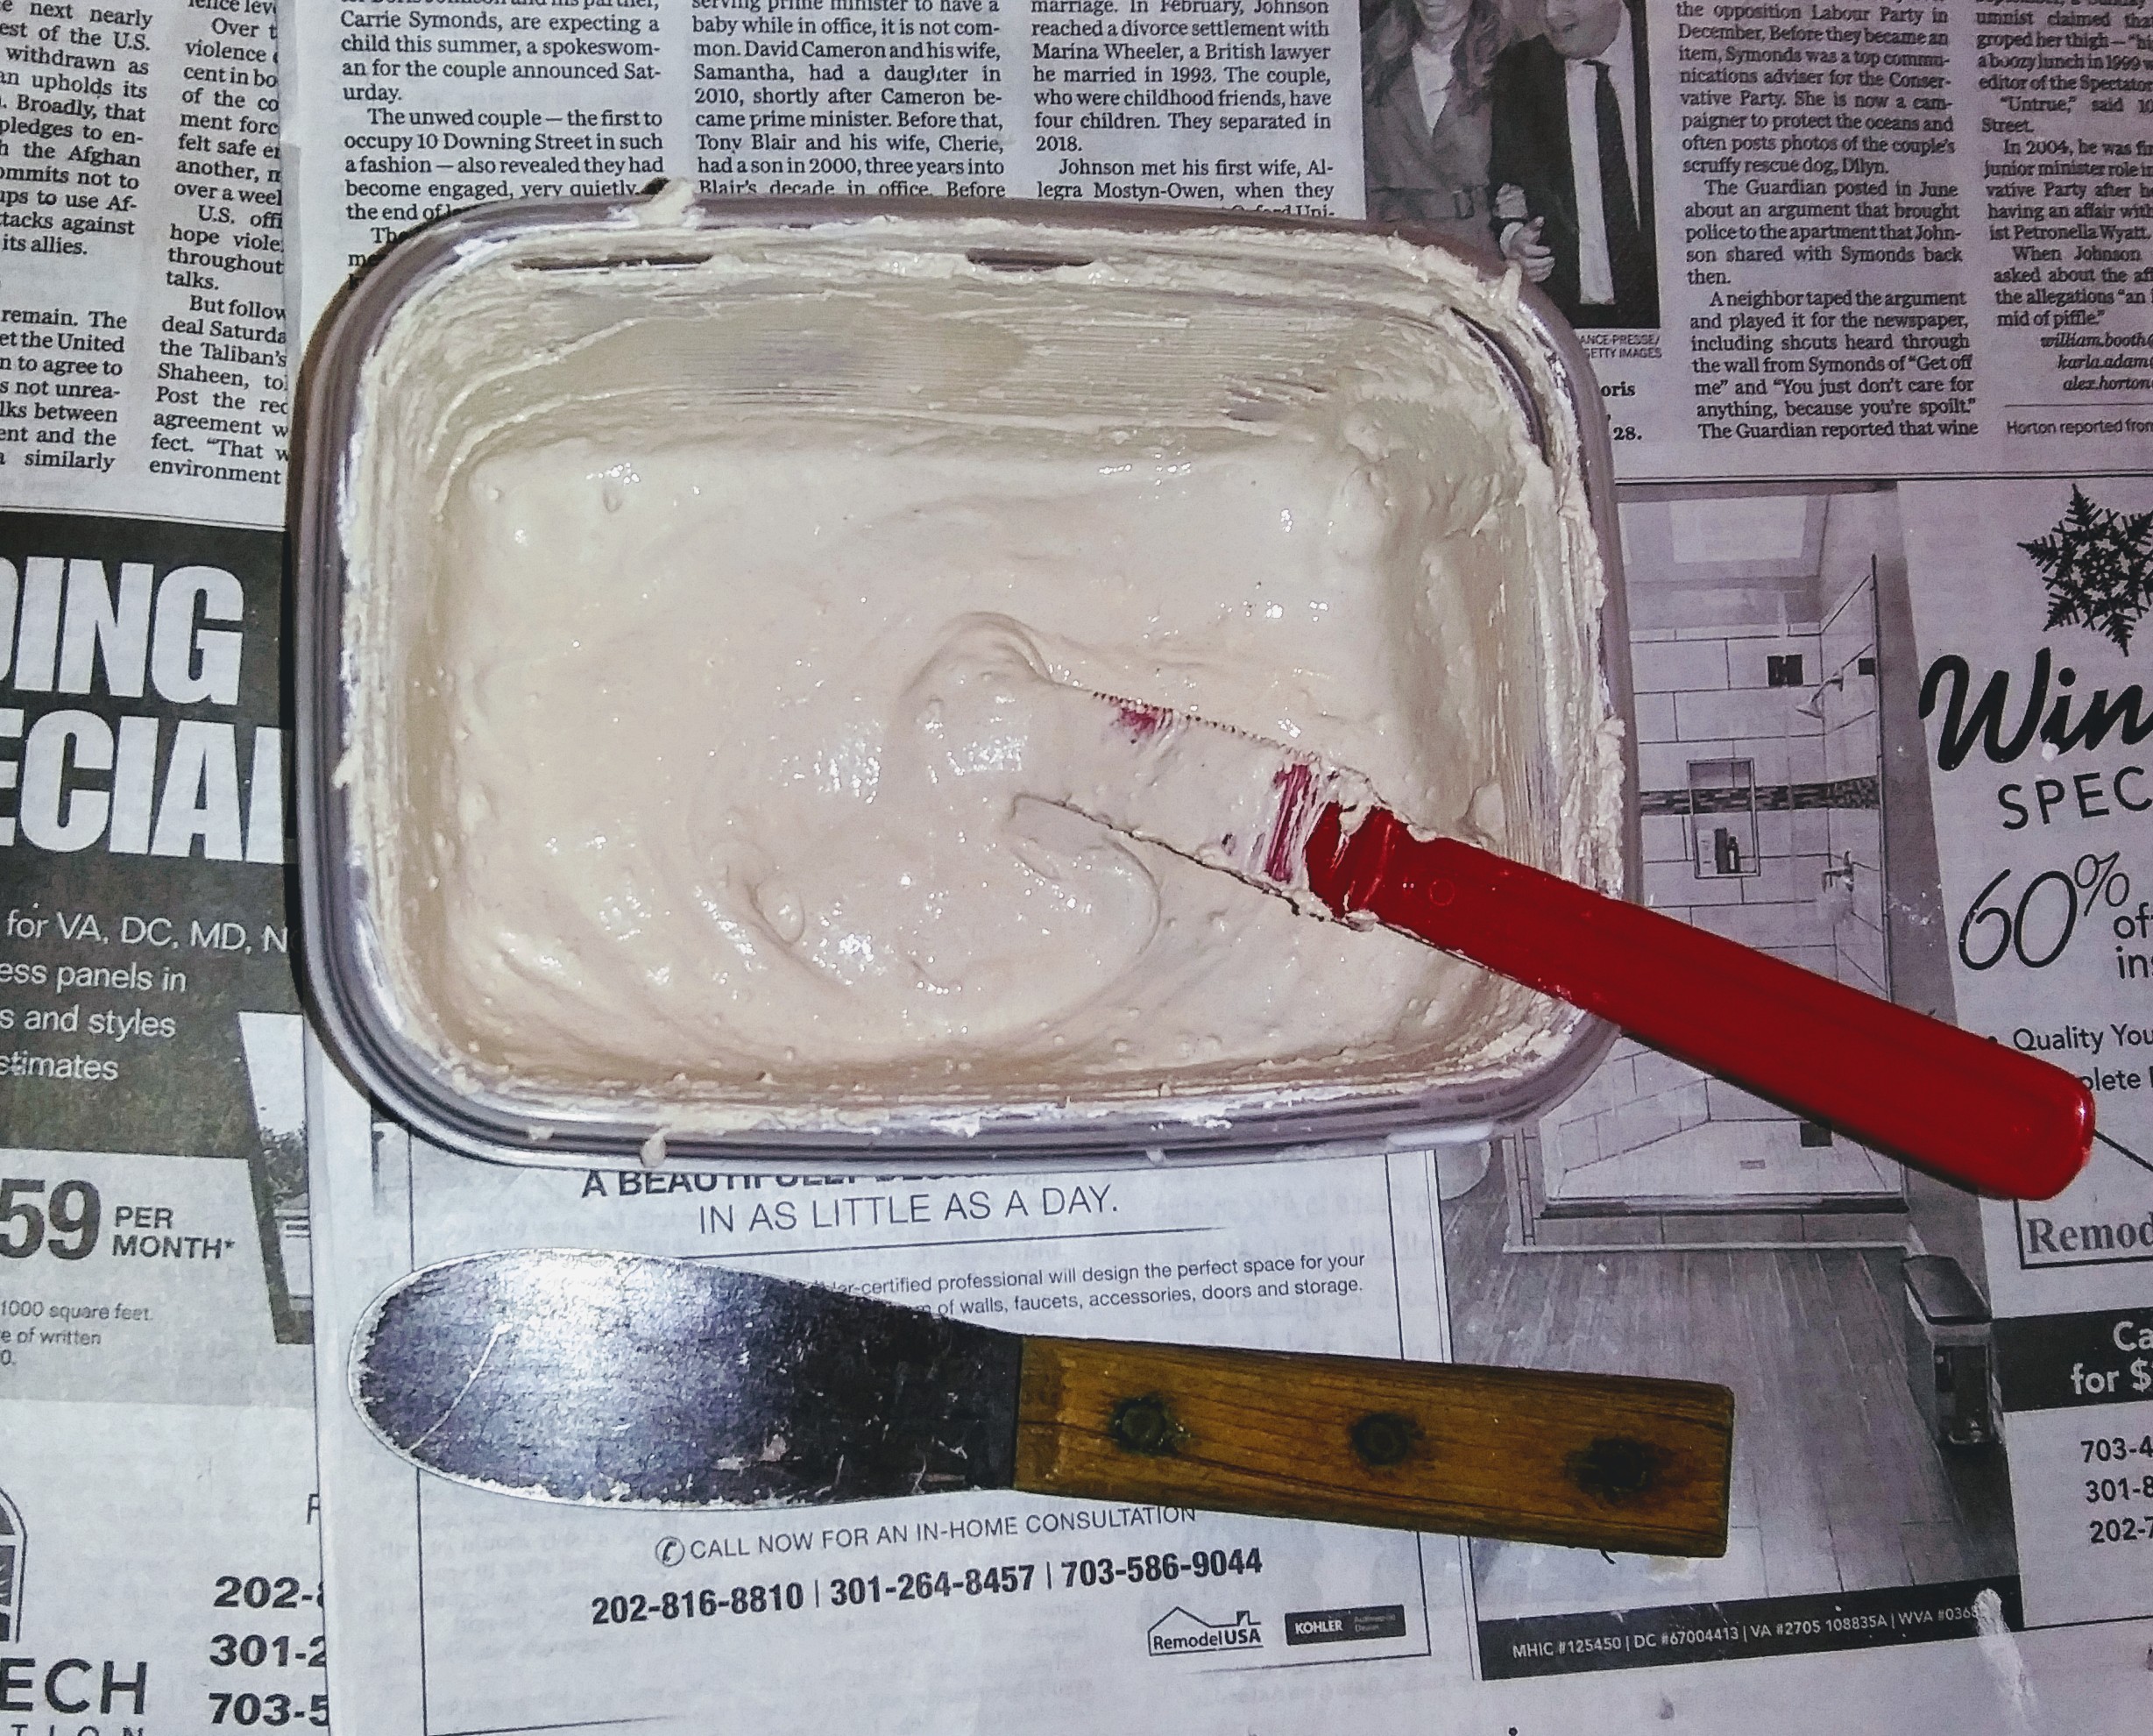 Mixing Plaster of Paris with Water and White Glue
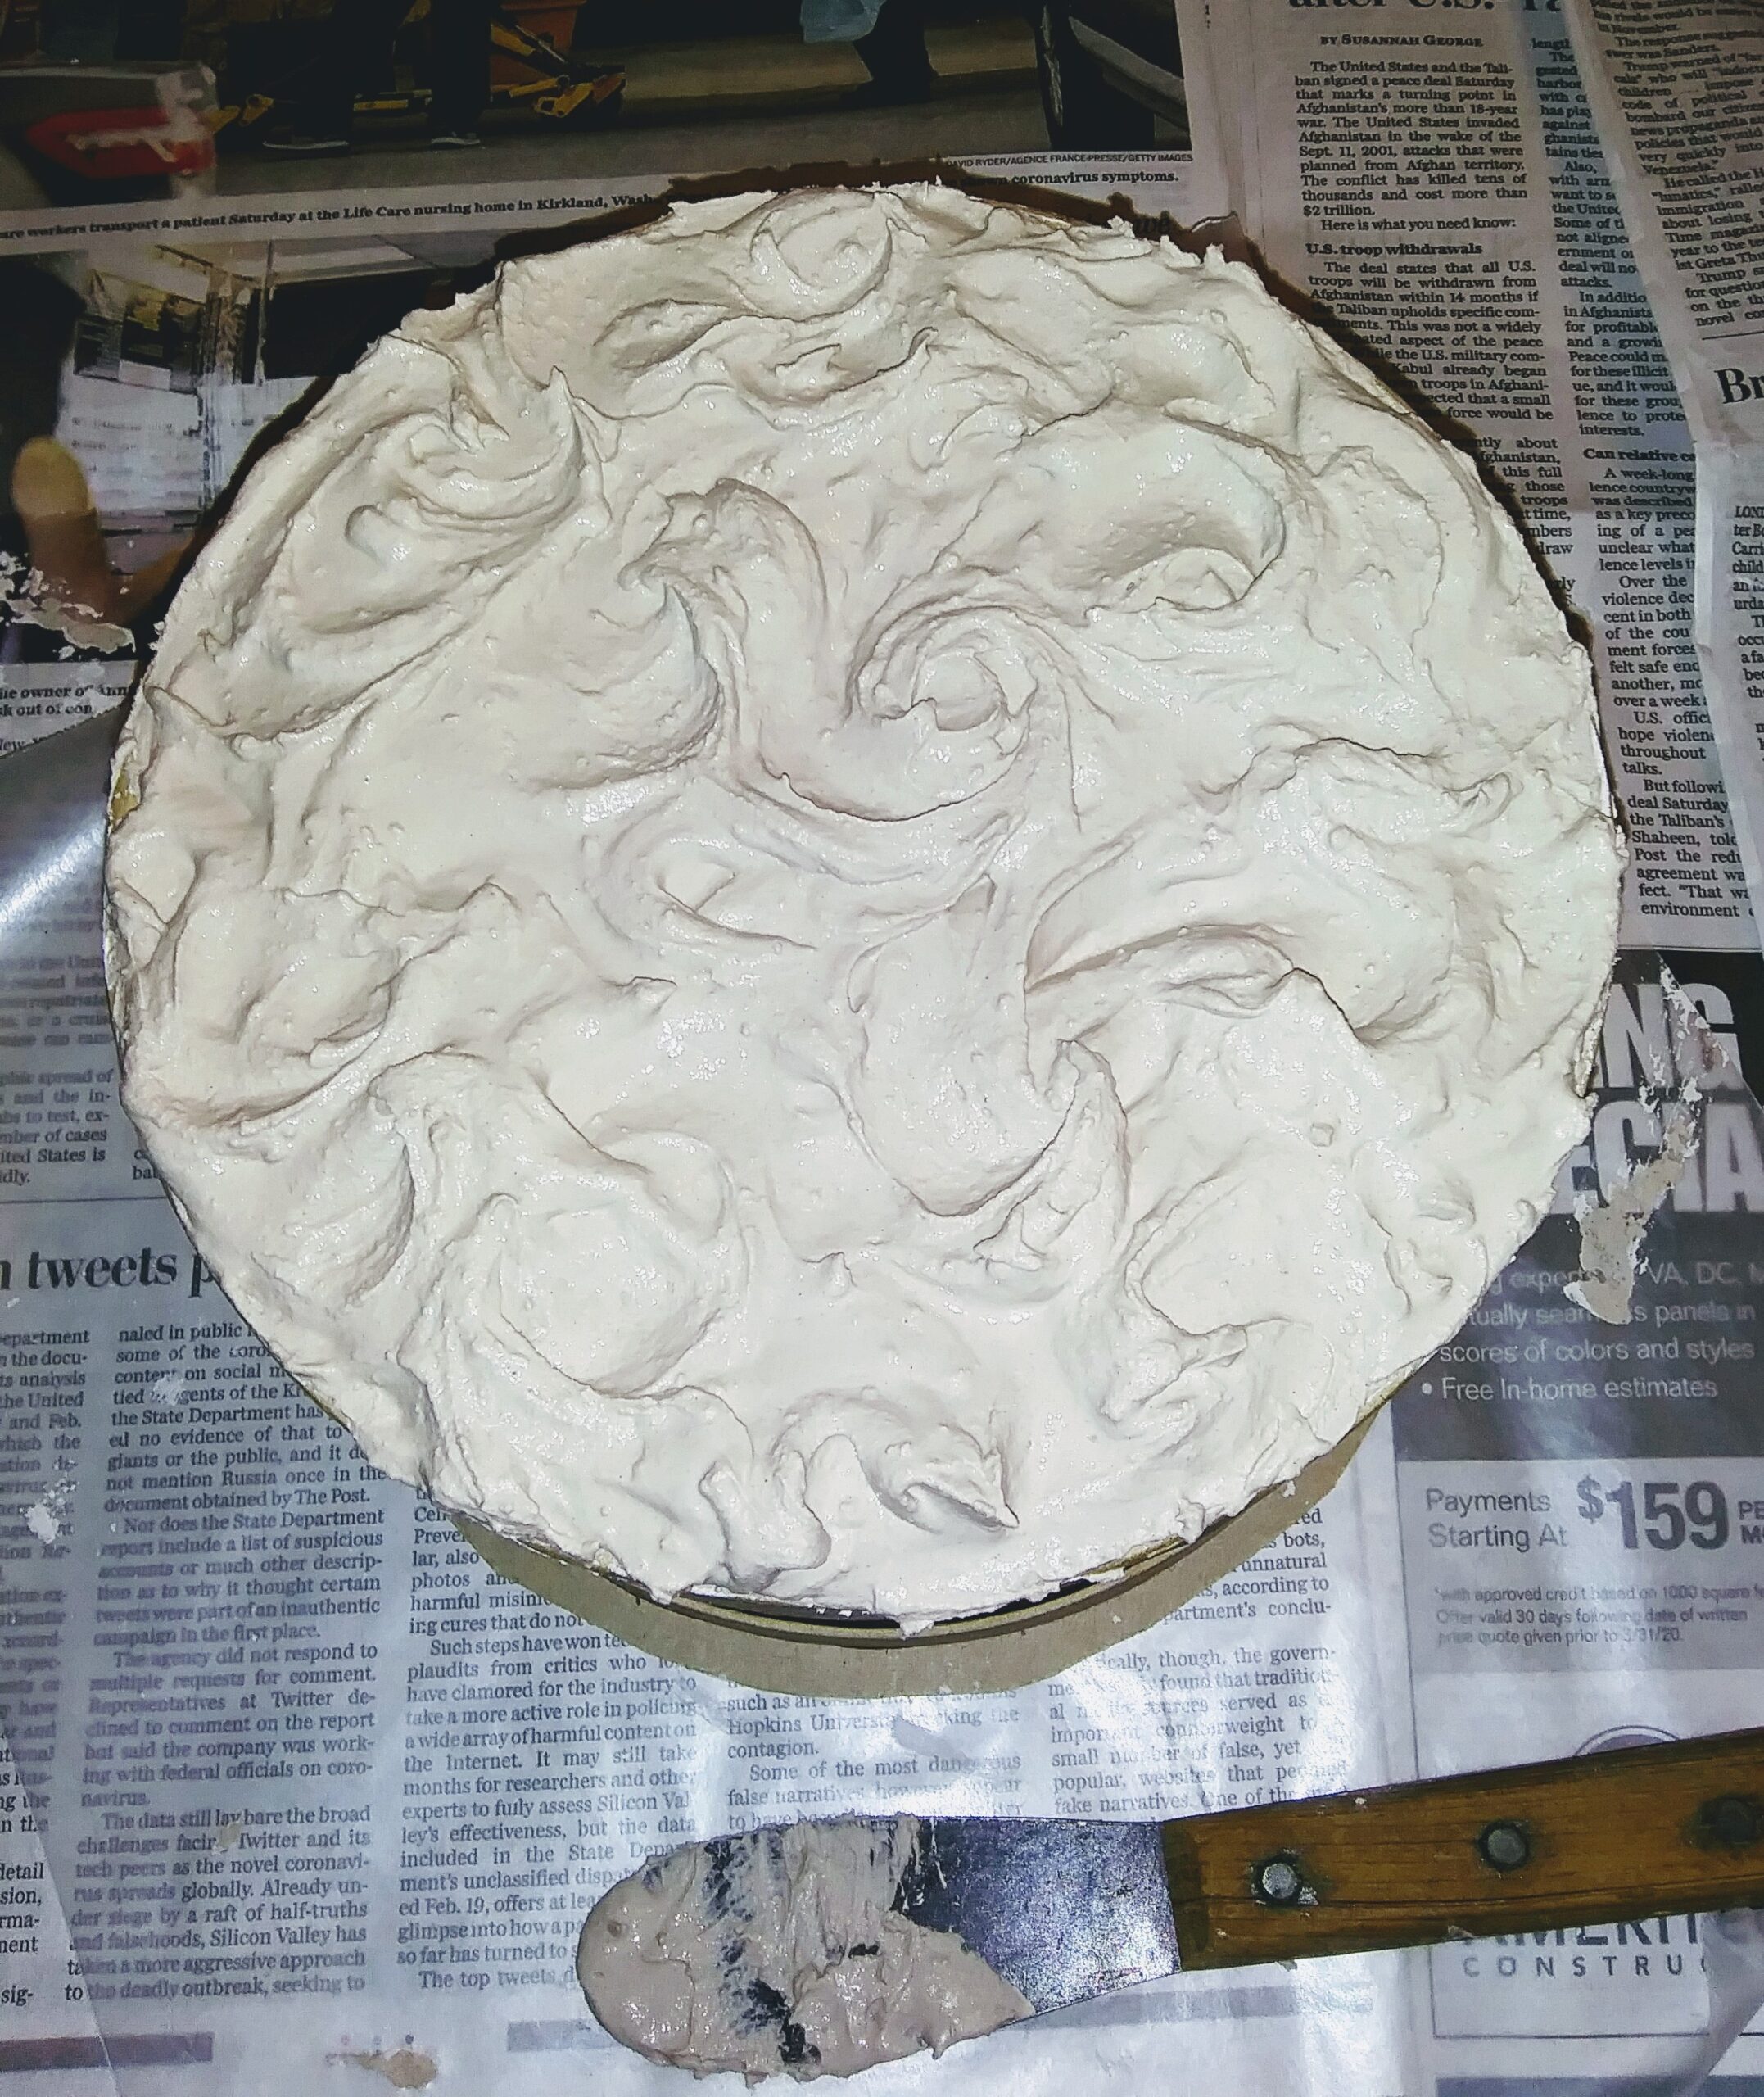 Iced Top of Faux Cake
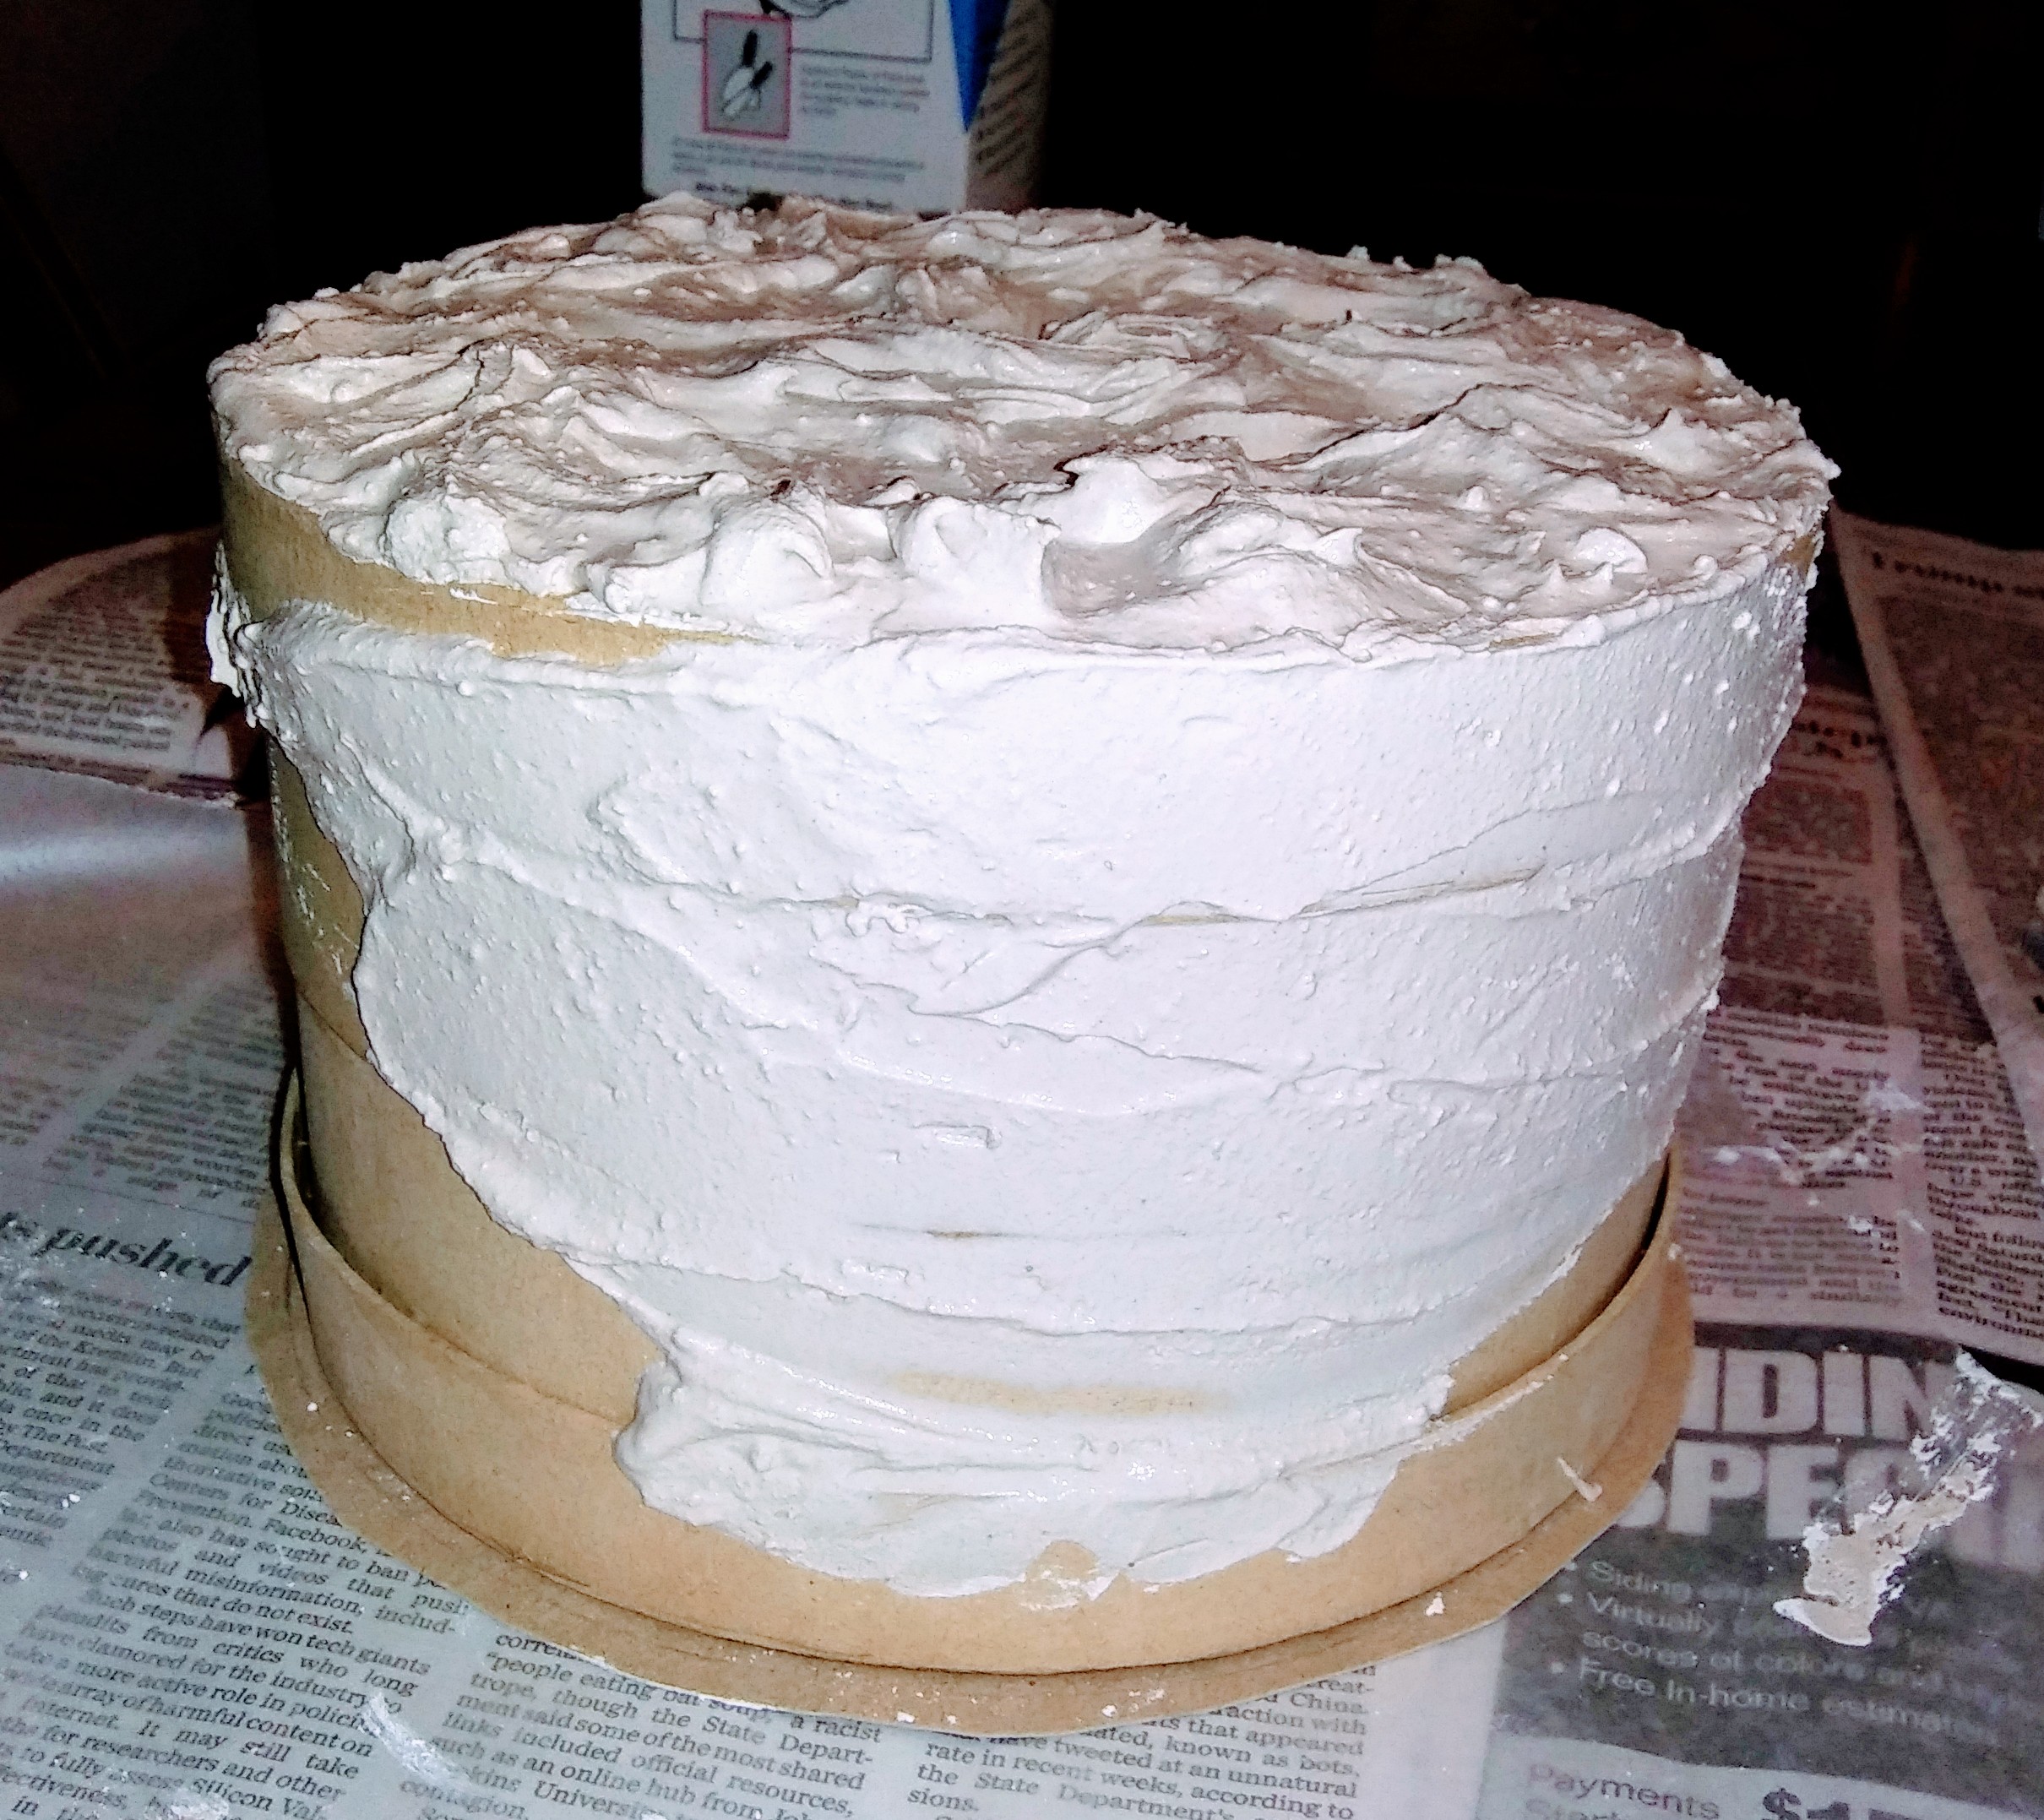 Icing Sides of Faux Cake
Once you get the mixture nice and smooth, then you can begin to ice the cake.
Be sure to place your cakes on a wax paper surface before icing.
I actually use a regular cake icing tool. I start with the top first, then I ice the sides just like a regular cake.
You might need to redo the top a couple of times, until the mixture begins to dry a out a little bit and keeps its shape. When you get the look you want, then ice the sides.
Now the whole cake needs to thoroughly dry. Slide it onto your drying tray by pulling on the wax paper.
If the faux icing cracks, don’t worry, you can repair the cake with more Plaster of Paris mixture. Imperfections can also be lightly sanded off.
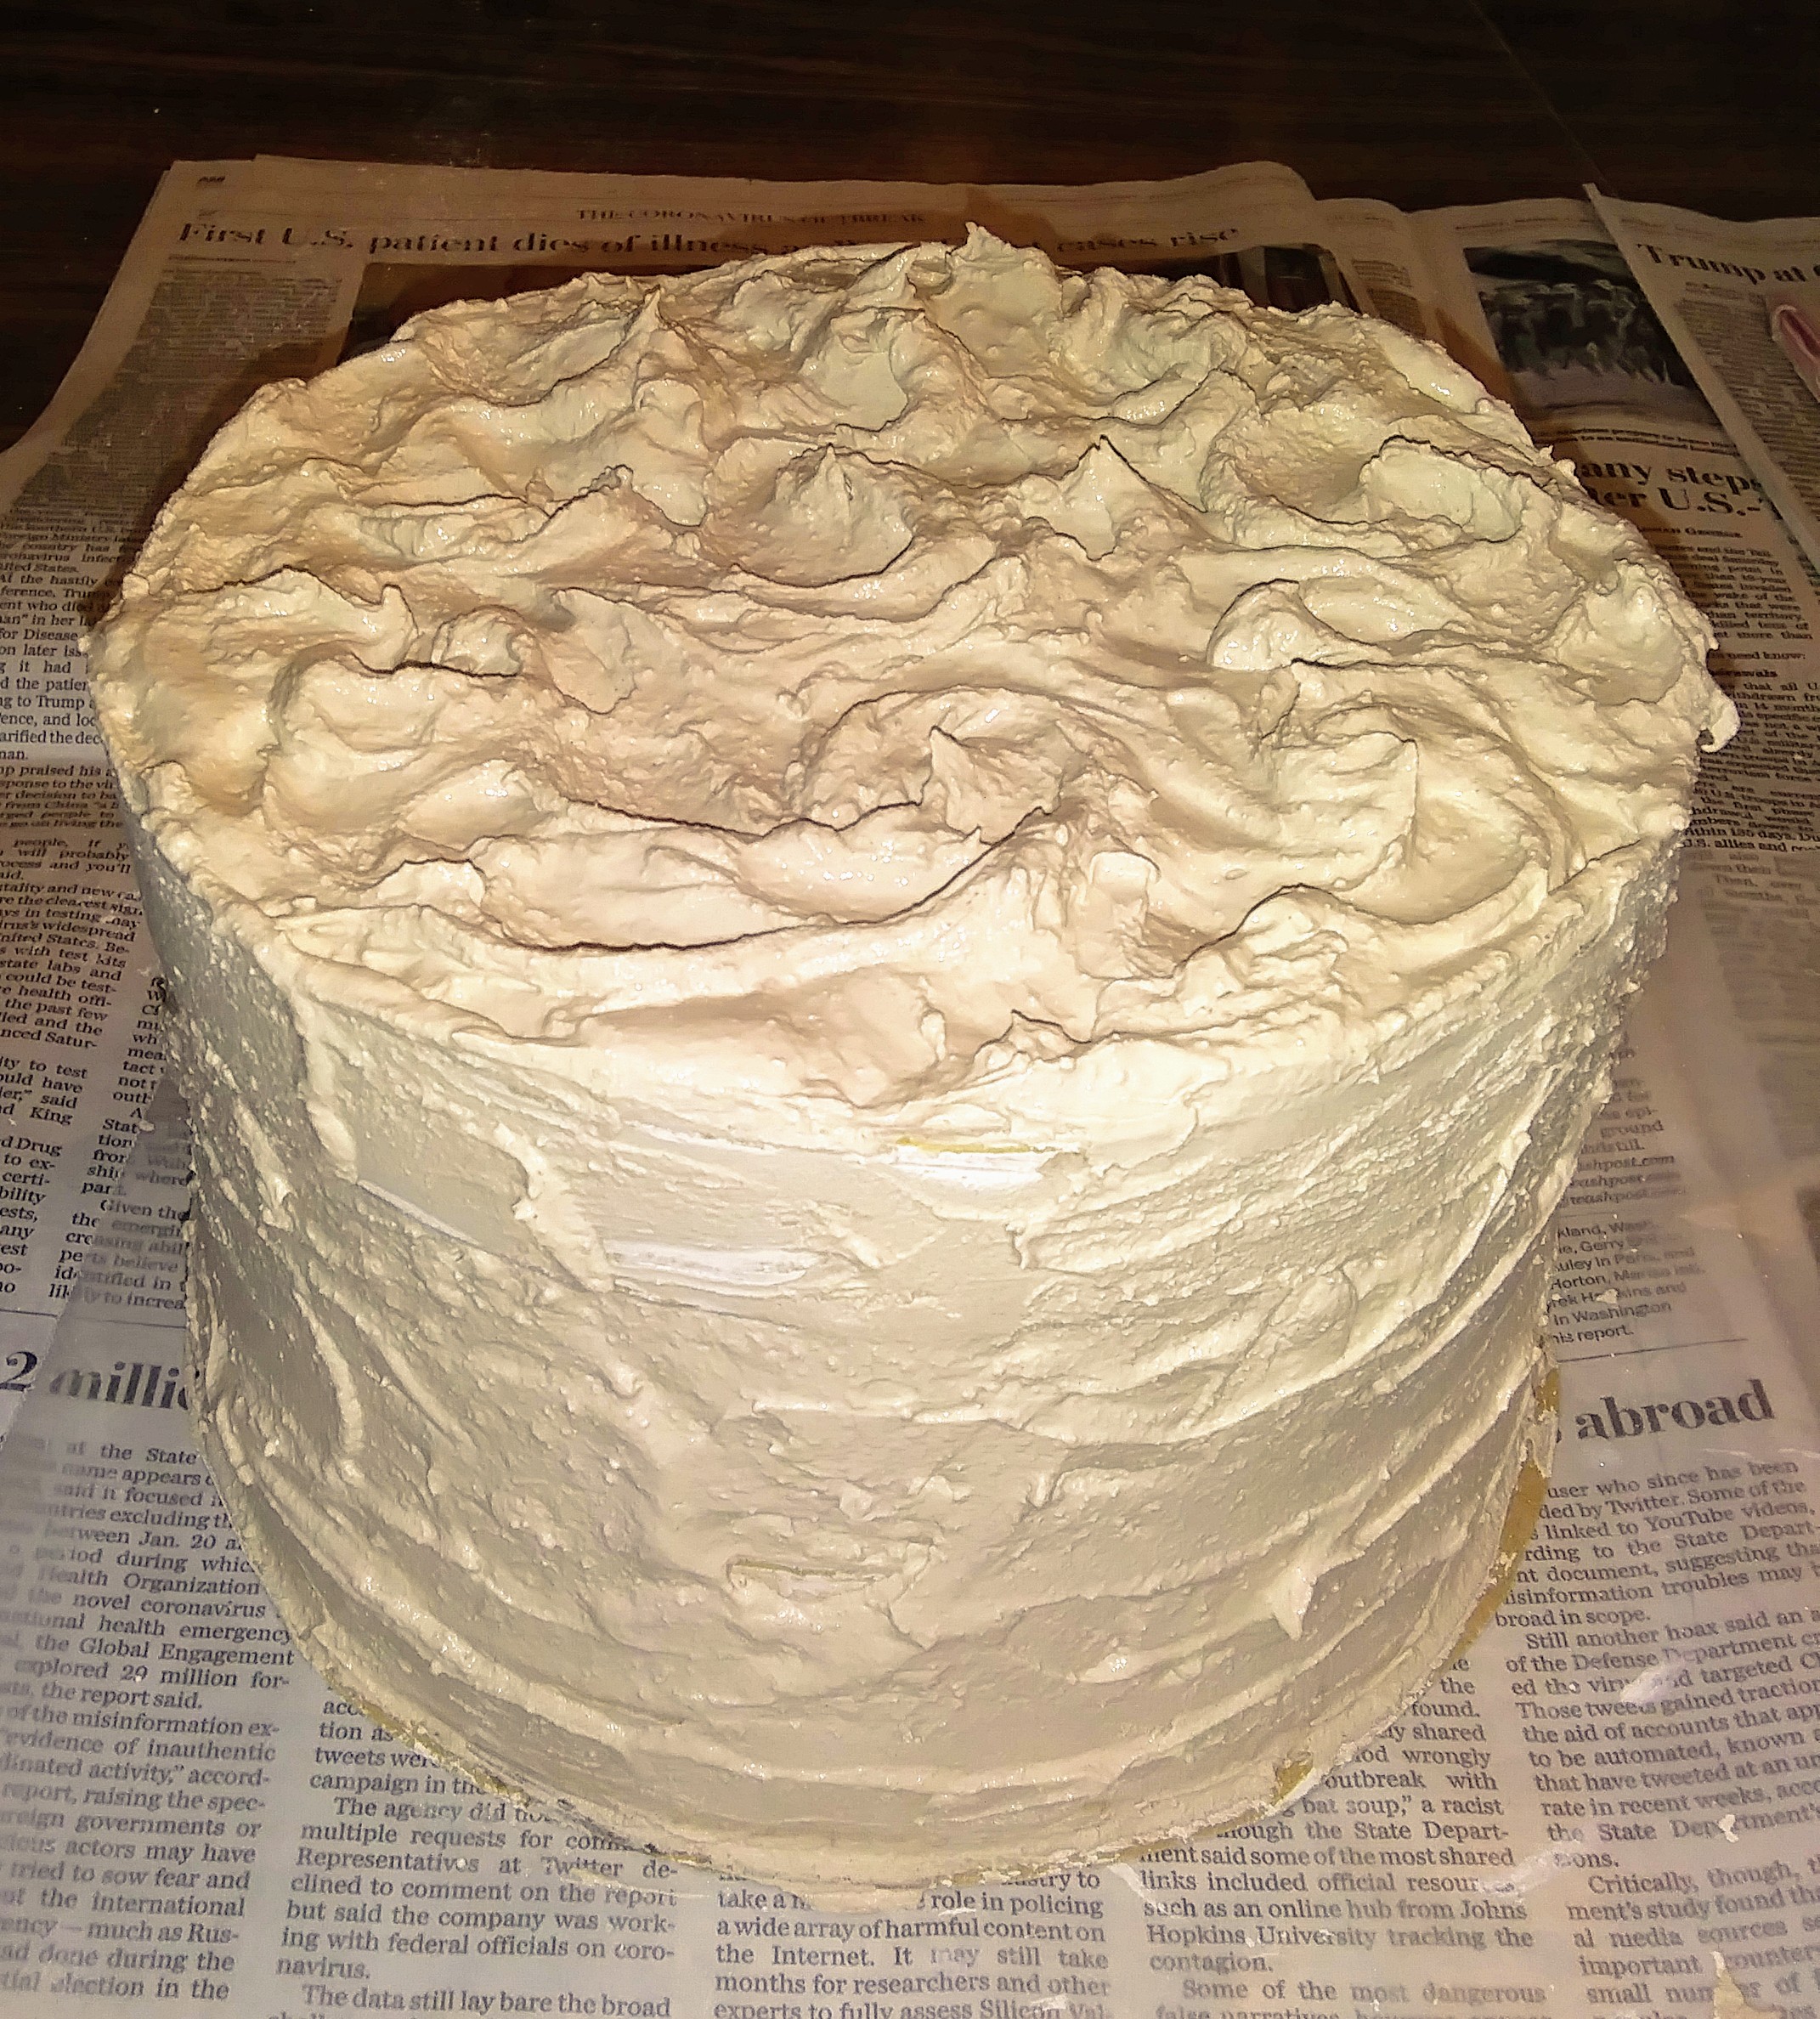 Large Iced Faux Cake
When the cake is thoroughly dry, it can be painted with acrylic paints.
The faux cakes I iced today will be painted with white (vanilla) acrylic paint.
CLEAN UP
Toss out disposable container and wipe down cake icing tool and work surface. Immediately clean with soap and water. To avoid drain clogs, do not pour the remaining Plaster of Paris down the sink.
