We’ve been thinking of redoing or remodeling our fireplace for years. It has been constantly cold and drafty around the fireplace entrance, and basically unusable for a long time.
We had work done years ago, which wasn’t done properly and the company used very cheap materials. They ripped out our nice bricked-in damper. They added a cheap chimney topper and damper which you could only operate by half crawling into the firepit. The dampers they make now, are apparently stainless steel.
Our present damper has rusted away. Now there is an opening at the top of our chimney which is open to the elements. Rain water has been seeping into our chimney from the top and, also, the sides. The chimney sides should have been sealed when they did the last repair job. The mortar crown is cracked.
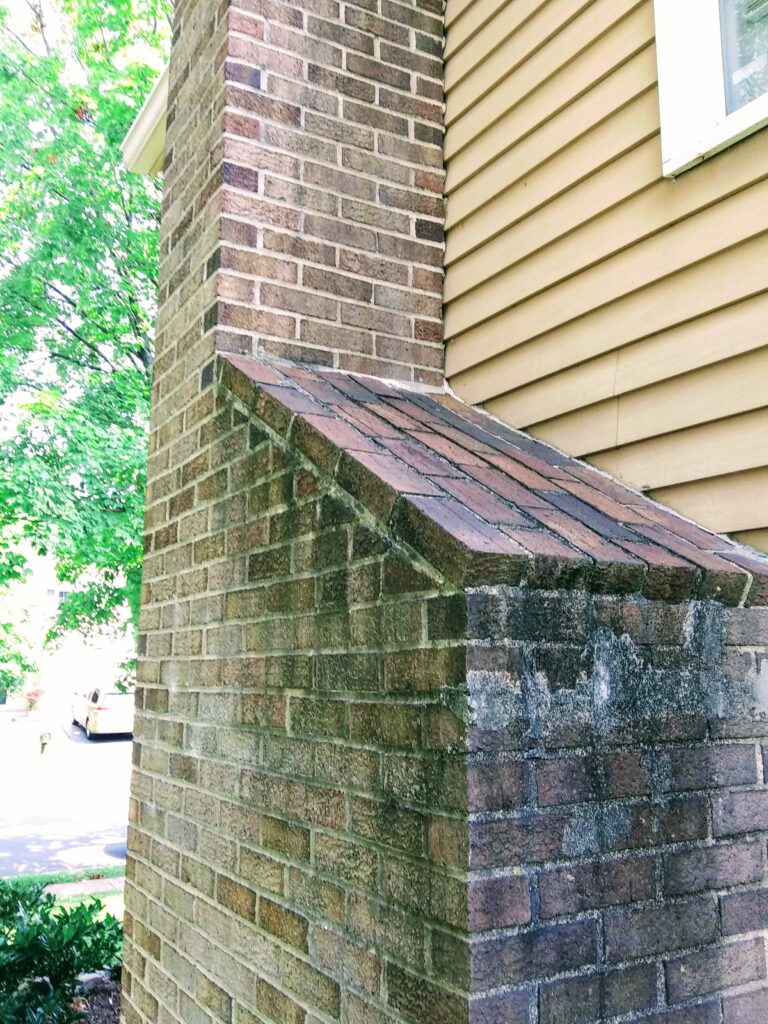
This outside view of the chimney shows that the upper part is not sealed properly.
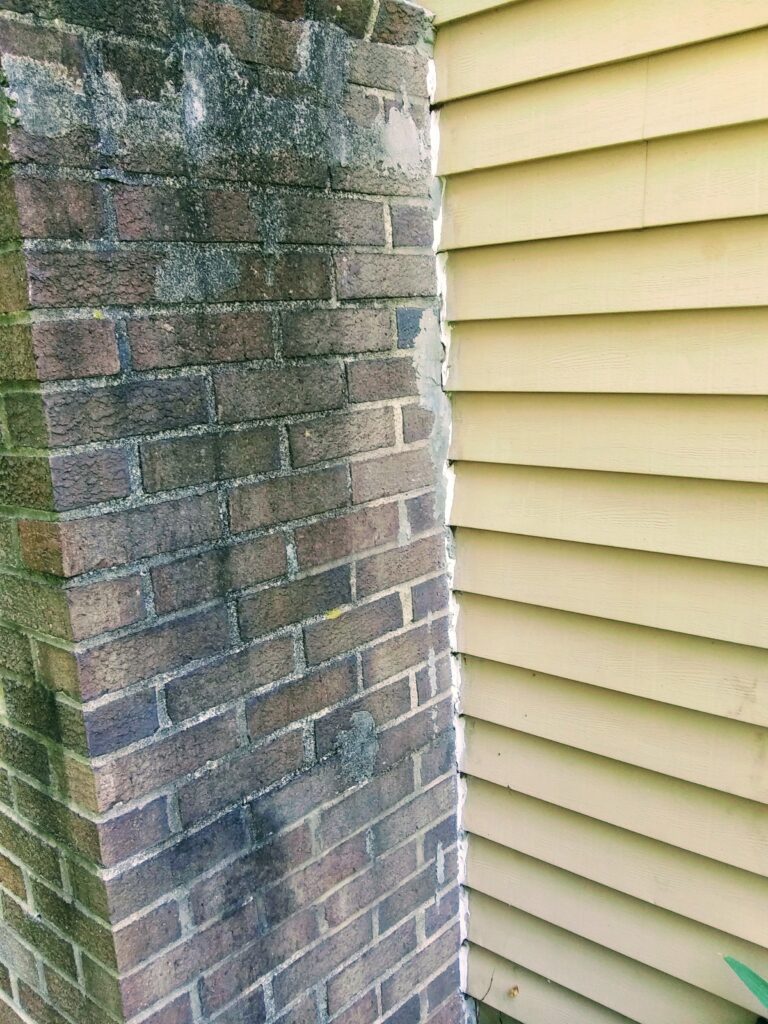
This is a close up view of the chimney.
At one time, we actually purchased a fireplace blanket which had magnets that attached to the metal outer parts to keep the drafts at bay.
We haven’t used the fireplace in years, but it would be nice to use it once again. It is always cozy to lite it on cool nights and watch the flames.
The below two indoor photographs show the old brass toned fireplace screen and a view of the mantle and the front of the fireplace.
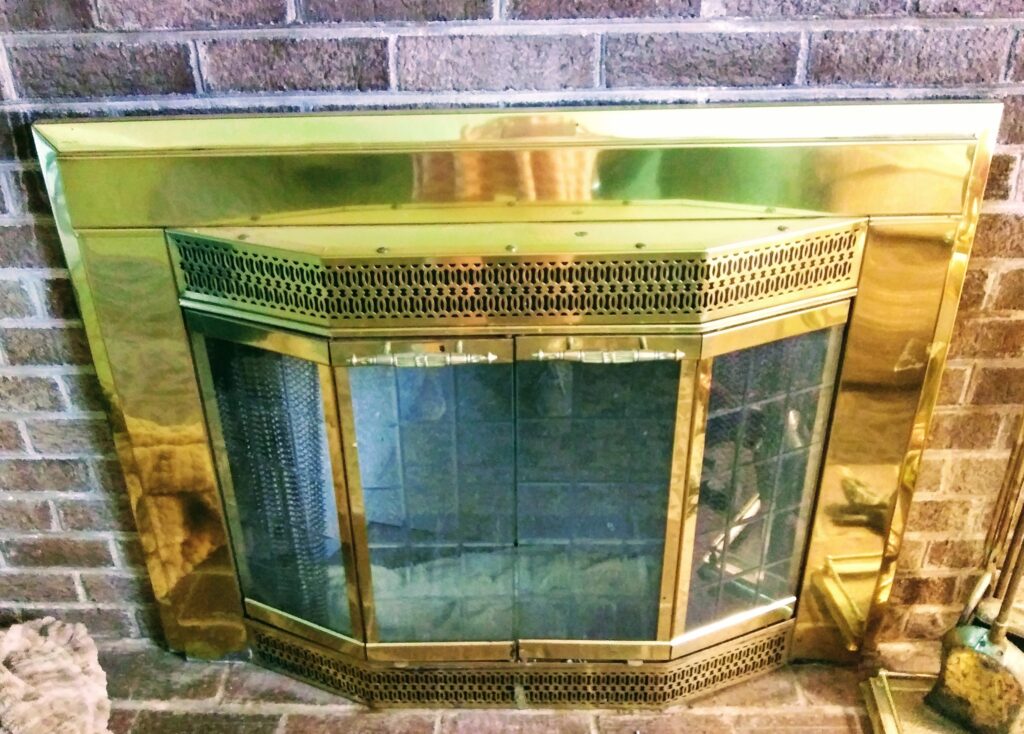
Brass Toned Fireplace Screen 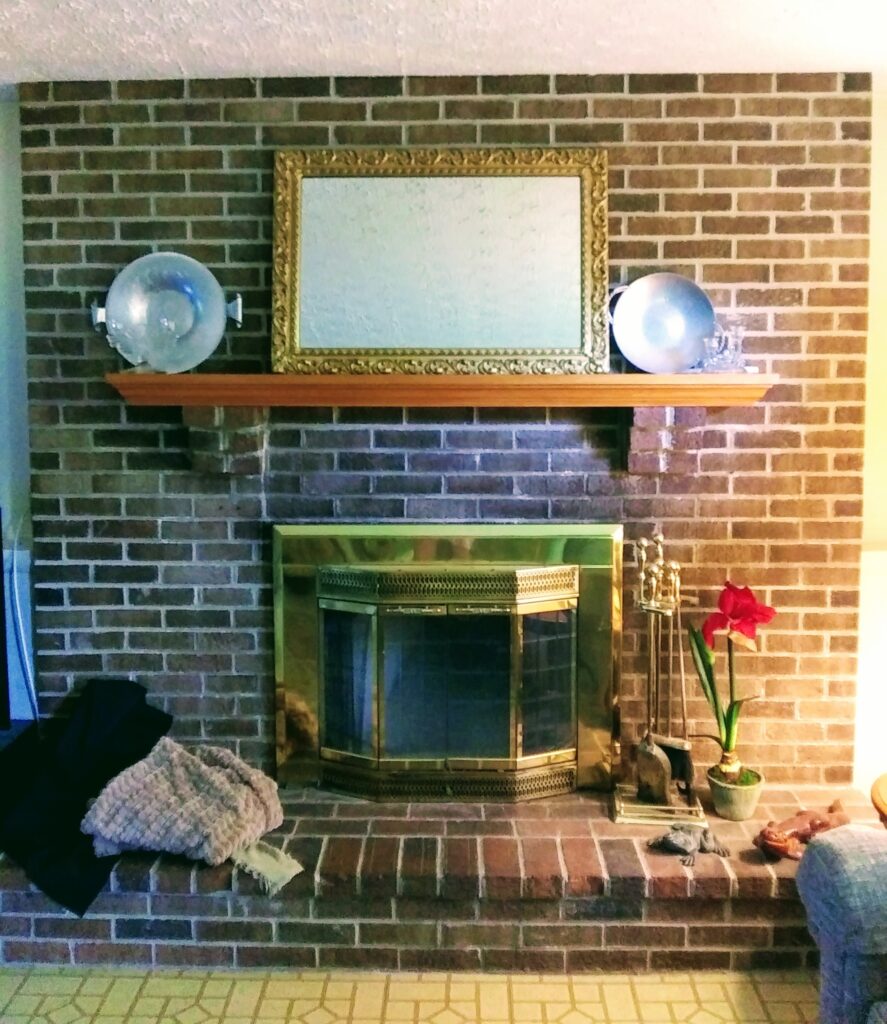
Front of Fireplace
Our choices are as follows:
- Replace the damper with something that works and is rust resistant, repair the outside of the chimney and crown so the water no long comes in. This is a least expensive option.
- Rebuild the brick fireplace shelf with a new damper and repair the outside of the chimney. Apparently three rows of bricks are involved with this.
- Buy an energy efficient wood stove insert which will eliminate most of the drafts we are feeling. Also, repair the outside of the chimney. Our fireplace expert apparently likes to use Regency wood stoves which have nice size windows in them so that you can still view of the wood fire burning. This is the most expensive option but it, also, would be nice to have a way to heat the room if the electricity goes off.
After giving it some thought, we are leaning toward the wood stove insert but are awaiting quotes for the repair work. We, also, do not want a gas burning fireplace.
We will have to trim some of the neighbor’s trees away from the fireplace chimney as they have grown too close to our roof and almost touch in some areas.
As far as appearances go, I would like to switch out the mantle to our larger one and perhaps update the bricks in someway.
Fireplace Remodeling Project: July 13, 2021
We decided on adding a wood stove insert to our fireplace and ordered a large flush wood insert manufactured by House of Fire.
Fortunately, we got the last one in stock and didn’t have to wait months for an order to come in. I’m excited about the project.
Today I removed all the items from around the fireplace and used a vacuum cleaner to clean up the dust on the bricks.
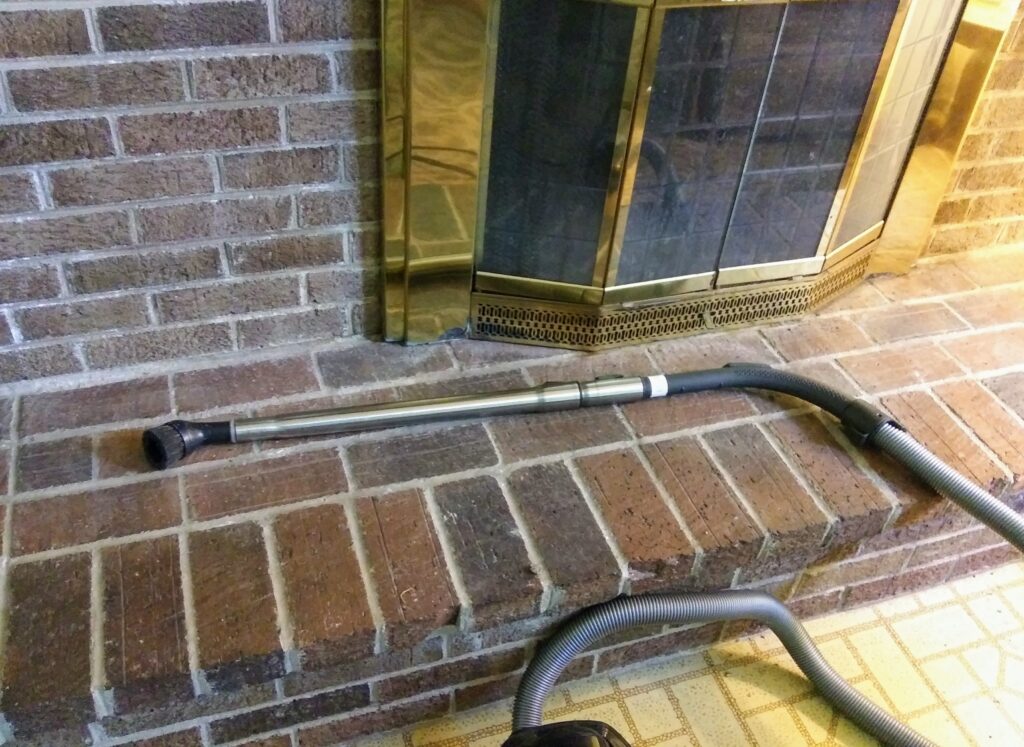
Using a Vacuum Cleaner on the Bricks 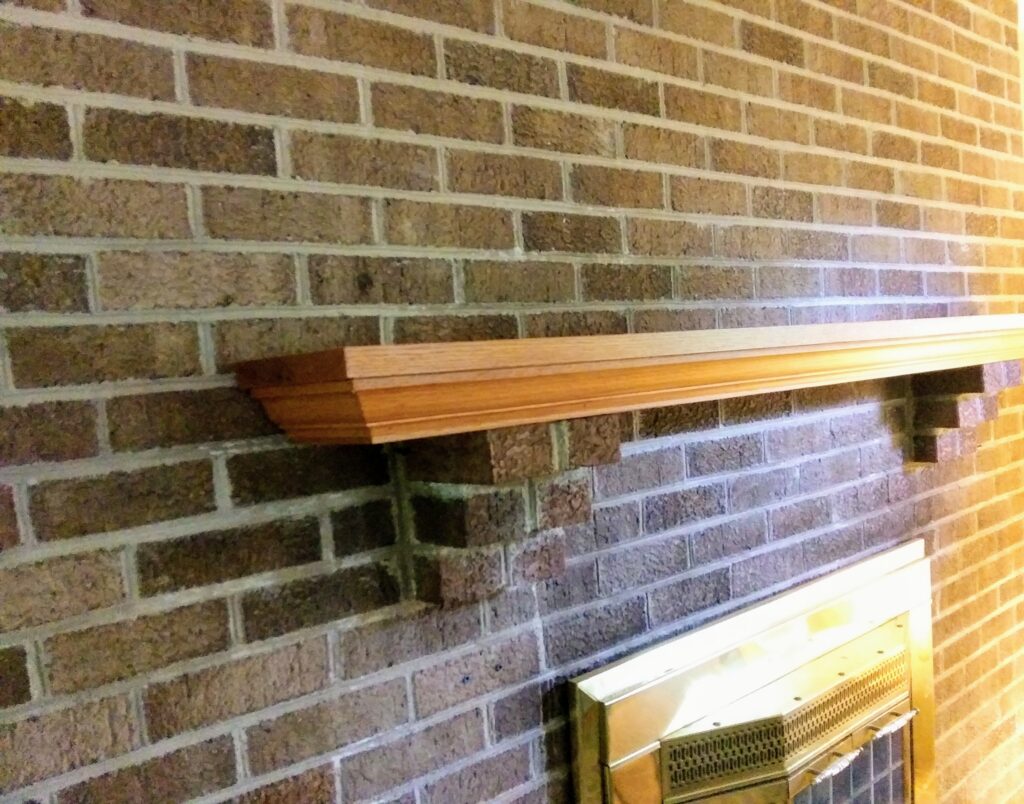
Removing all Items Around the Fireplace
Fireplace Remodeling Project – Day of Installation: July 16, 2021
Since the fireplace insert was in stock, we did not have to wait for it to come in. The photograph below left, shows the insert on a truck. It was carefully unpacked. This cast iron fireplace insert is actually a lot heavier than it looks.
It was extremely difficult to get it off the edge of the truck taking four men to push it off onto a dolly cart. They then had to bring it indoors and then down several steps to the fireplace location.
The photograph on the right, shows the old brass doors which were removed. We are thinking of donating them to the ReStore shop so we don’t have to break them down and toss into the trash.
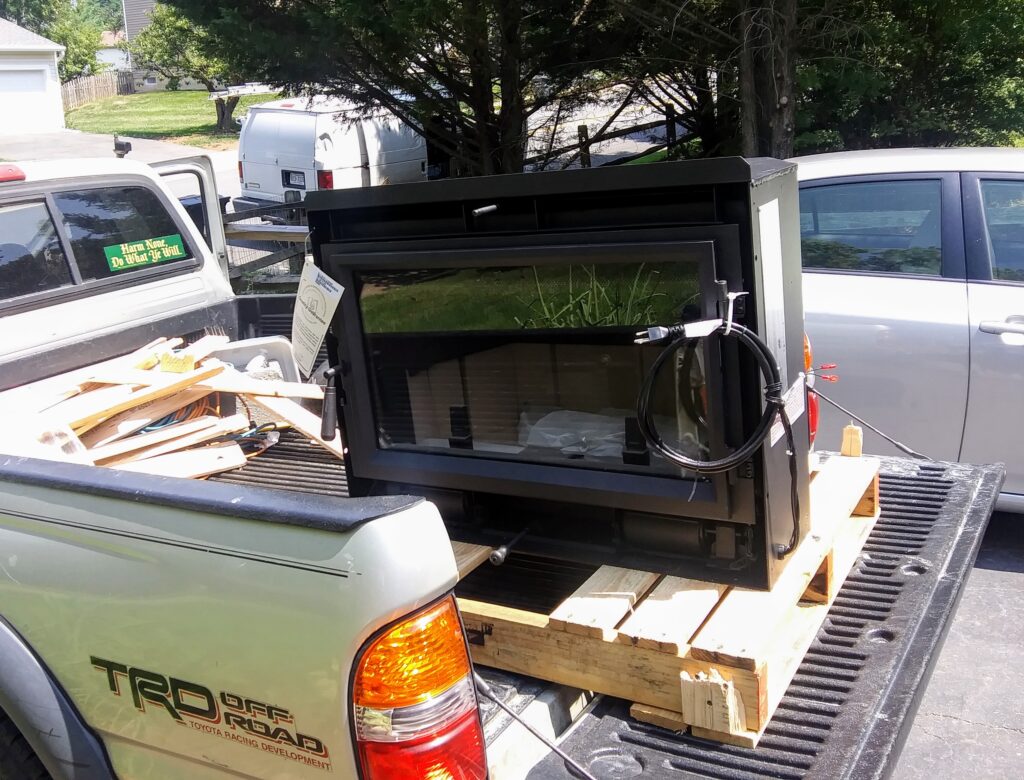
Unpacked Fireplace Wood Stove Insert 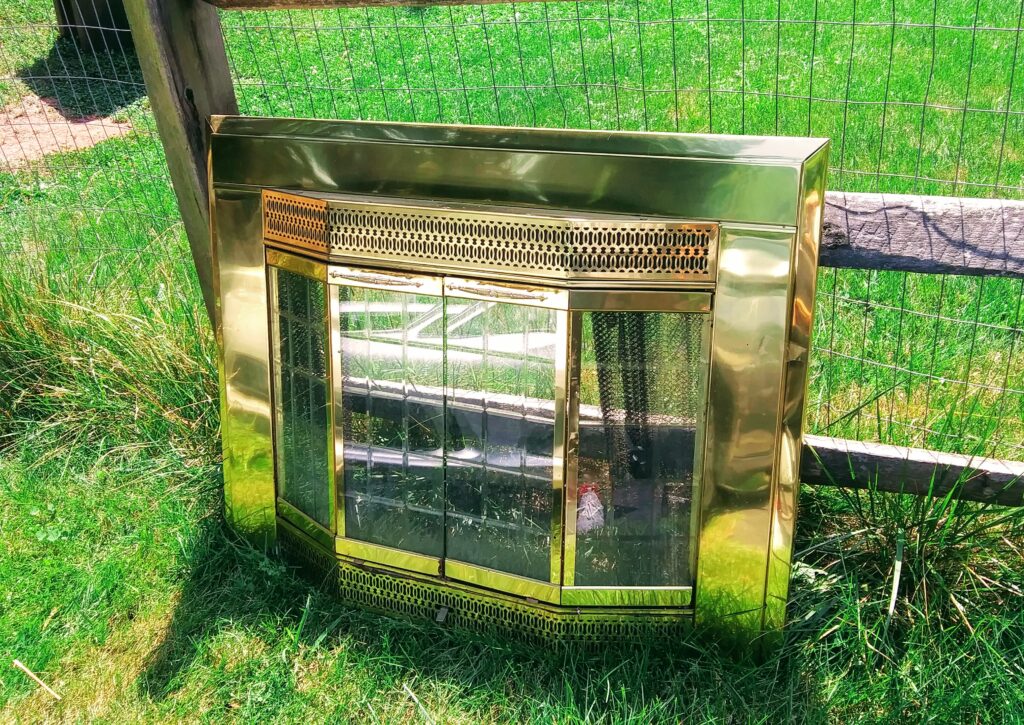
Old Brass Fireplace Glass Doors
The afternoon went quickly after the stove insert arrived. The old fireplace’s rusted damper was removed. Then all the dust and debris was vacuumed out.
The cracks and openings in the outside of the chimney were also repaired.
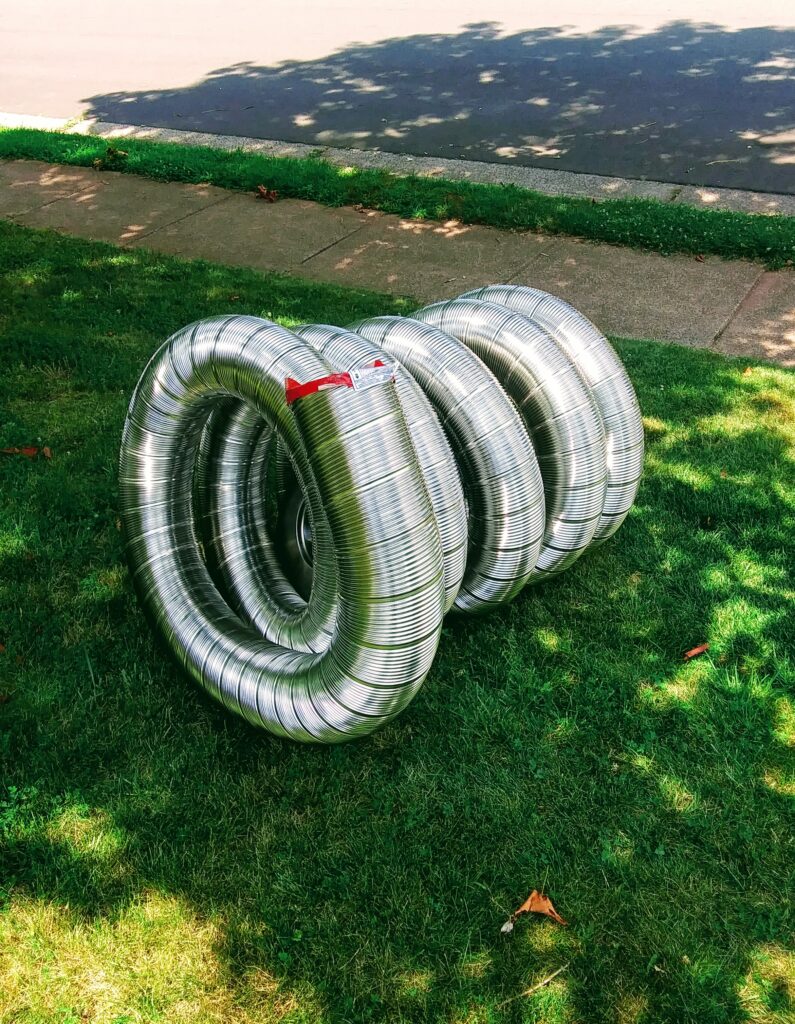
They installed the below stainless steel chimney liner through the top of the chimney and hooked everything up inside together.
The fireplace insert was carefully fitted into the fireplace front. The door actually opens like a microwave door.
The door handle needed to be taped shut so it wouldn’t open during the trip into the house.
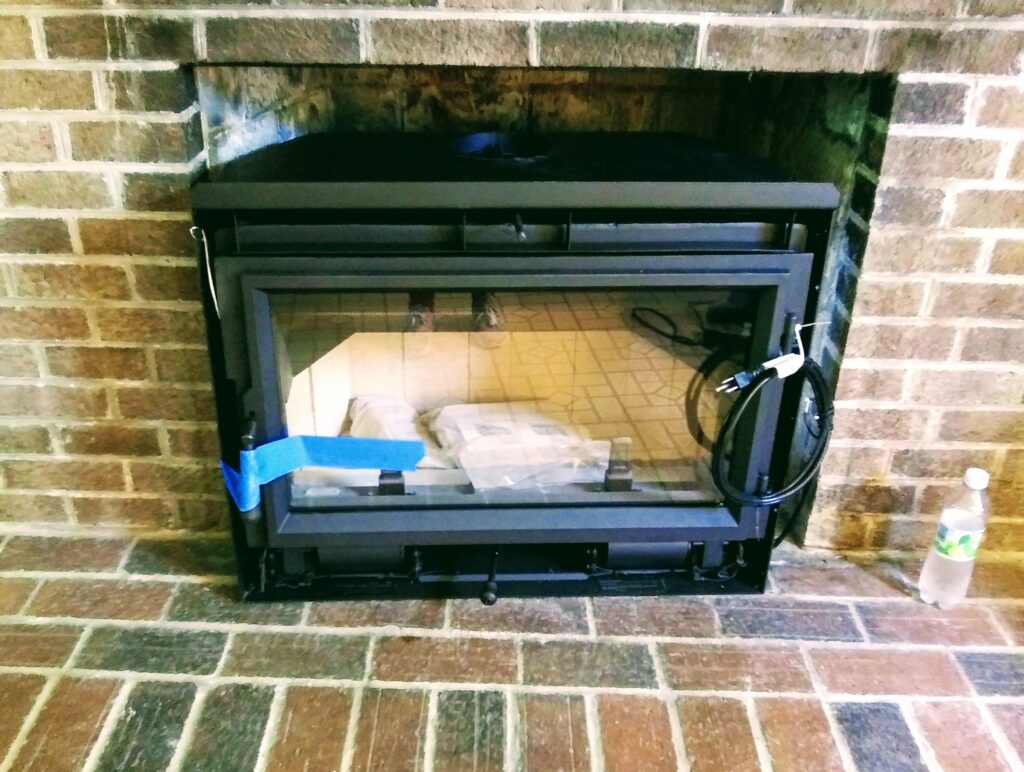
The back bottom of this insert had rollers on it to help get it into the correct position.
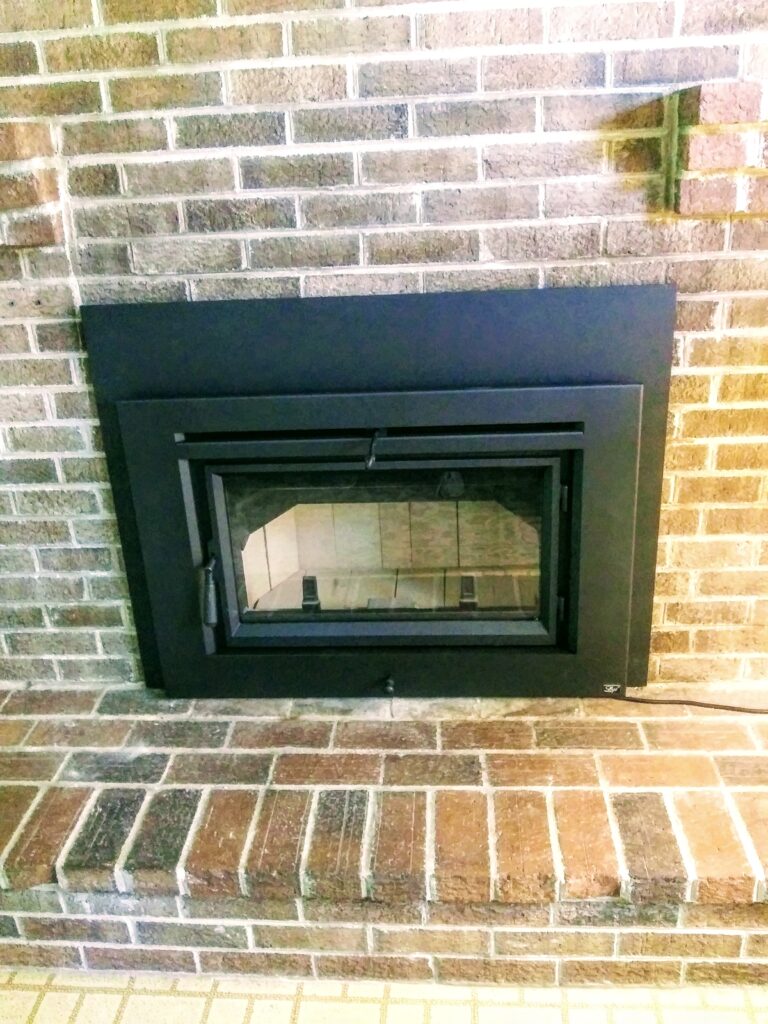
The last part of the project was to install the surround panels.
Our wood stove insert, also, has a high-tech blower with it, so it needs to be plugged in but if the electricity goes off, it is still operational.
Briefly looking through the owner’s manual there are a lot of safety concerns mainly with not touching the hot unit and not starting fires. This insert has a large rectangular door for viewing the flames and we were told it is the most popular model that they sell. No grating is needed and the wood should be burned directly on the bricks.
We are very pleased with the new updated look of our fireplace. Now we are waiting for those cold wintery days so we can fire it up.
By the way, we also need to buy some firewood.
The next job is to pull out our old fireplace mantel out of the basement and reinstall that. I’ll probably stain it to match the new fireplace surround panels. We, also, need to a little research on the project to arrive at the best way to secure the extremely heavy mantel to the brick ledges.
In all, a very busy day for our installers but everything turned out great.
A Special Thank You to A & T Chimney Sweeps. They also do gutter and dryer cleanings.
We will keep our Farmhouse Magic Blog Readers updated on this project.


Klein.,
Thank you for sharing your story of high blood pressure in your family. I hope you are feeling better. Enjoy the day.
FARMHOUSE MAGIC BLOG.COM